# Semantic Text Deduplication
Finding duplicate movie reviews with Supabase Vecs.
This guide will walk you through a ["Semantic Text Deduplication"](https://github.com/supabase/supabase/blob/master/examples/ai/semantic_text_deduplication.ipynb) example using Colab and Supabase Vecs. You'll learn how to find similar movie reviews using embeddings, and remove any that seem like duplicates. You will:
1. Launch a Postgres database that uses pgvector to store embeddings
1. Launch a notebook that connects to your database
1. Load the IMDB dataset
1. Use the `sentence-transformers/all-MiniLM-L6-v2` model to create an embedding representing the semantic meaning of each review.
1. Search for all duplicates.
## Project setup
Let's create a new Postgres database. This is as simple as starting a new Project in Supabase:
1. [Create a new project](https://database.new/) in the Supabase dashboard.
1. Enter your project details. Remember to store your password somewhere safe.
Your database will be available in less than a minute.
**Finding your credentials:**
You can find your project credentials on the dashboard:
- [Database connection strings](/dashboard/project/_/settings/api?showConnect=true): Direct and Pooler connection details including the connection string and parameters.
- [Database password](/dashboard/project/_/database/settings): Reset database password here if you do not have it.
- [API credentials](/dashboard/project/_/settings/api): your serverless API URL and publishable keys.
## Launching a notebook
Launch our [`semantic_text_deduplication`](https://github.com/supabase/supabase/blob/master/examples/ai/semantic_text_deduplication.ipynb) notebook in Colab:
 At the top of the notebook, you'll see a button `Copy to Drive`. Click this button to copy the notebook to your Google Drive.
## Connecting to your database
Inside the Notebook, find the cell which specifies the `DB_CONNECTION`. It will contain some code like this:
```python
import vecs
DB_CONNECTION = "postgresql://:@:/"
# create vector store client
vx = vecs.create_client(DB_CONNECTION)
```
Replace the `DB_CONNECTION` with your own connection string. You can find the connection string on your project dashboard by clicking [Connect](/dashboard/project/_?showConnect=true).
SQLAlchemy requires the connection string to start with `postgresql://` (instead of `postgres://`). Don't forget to rename this after copying the string from the dashboard.
You must use the "connection pooling" string (domain ending in `*.pooler.supabase.com`) with Google Colab since Colab does not support IPv6.
## Stepping through the notebook
Now all that's left is to step through the notebook. You can do this by clicking the "execute" button (`ctrl+enter`) at the top left of each code cell. The notebook guides you through the process of creating a collection, adding data to it, and querying it.
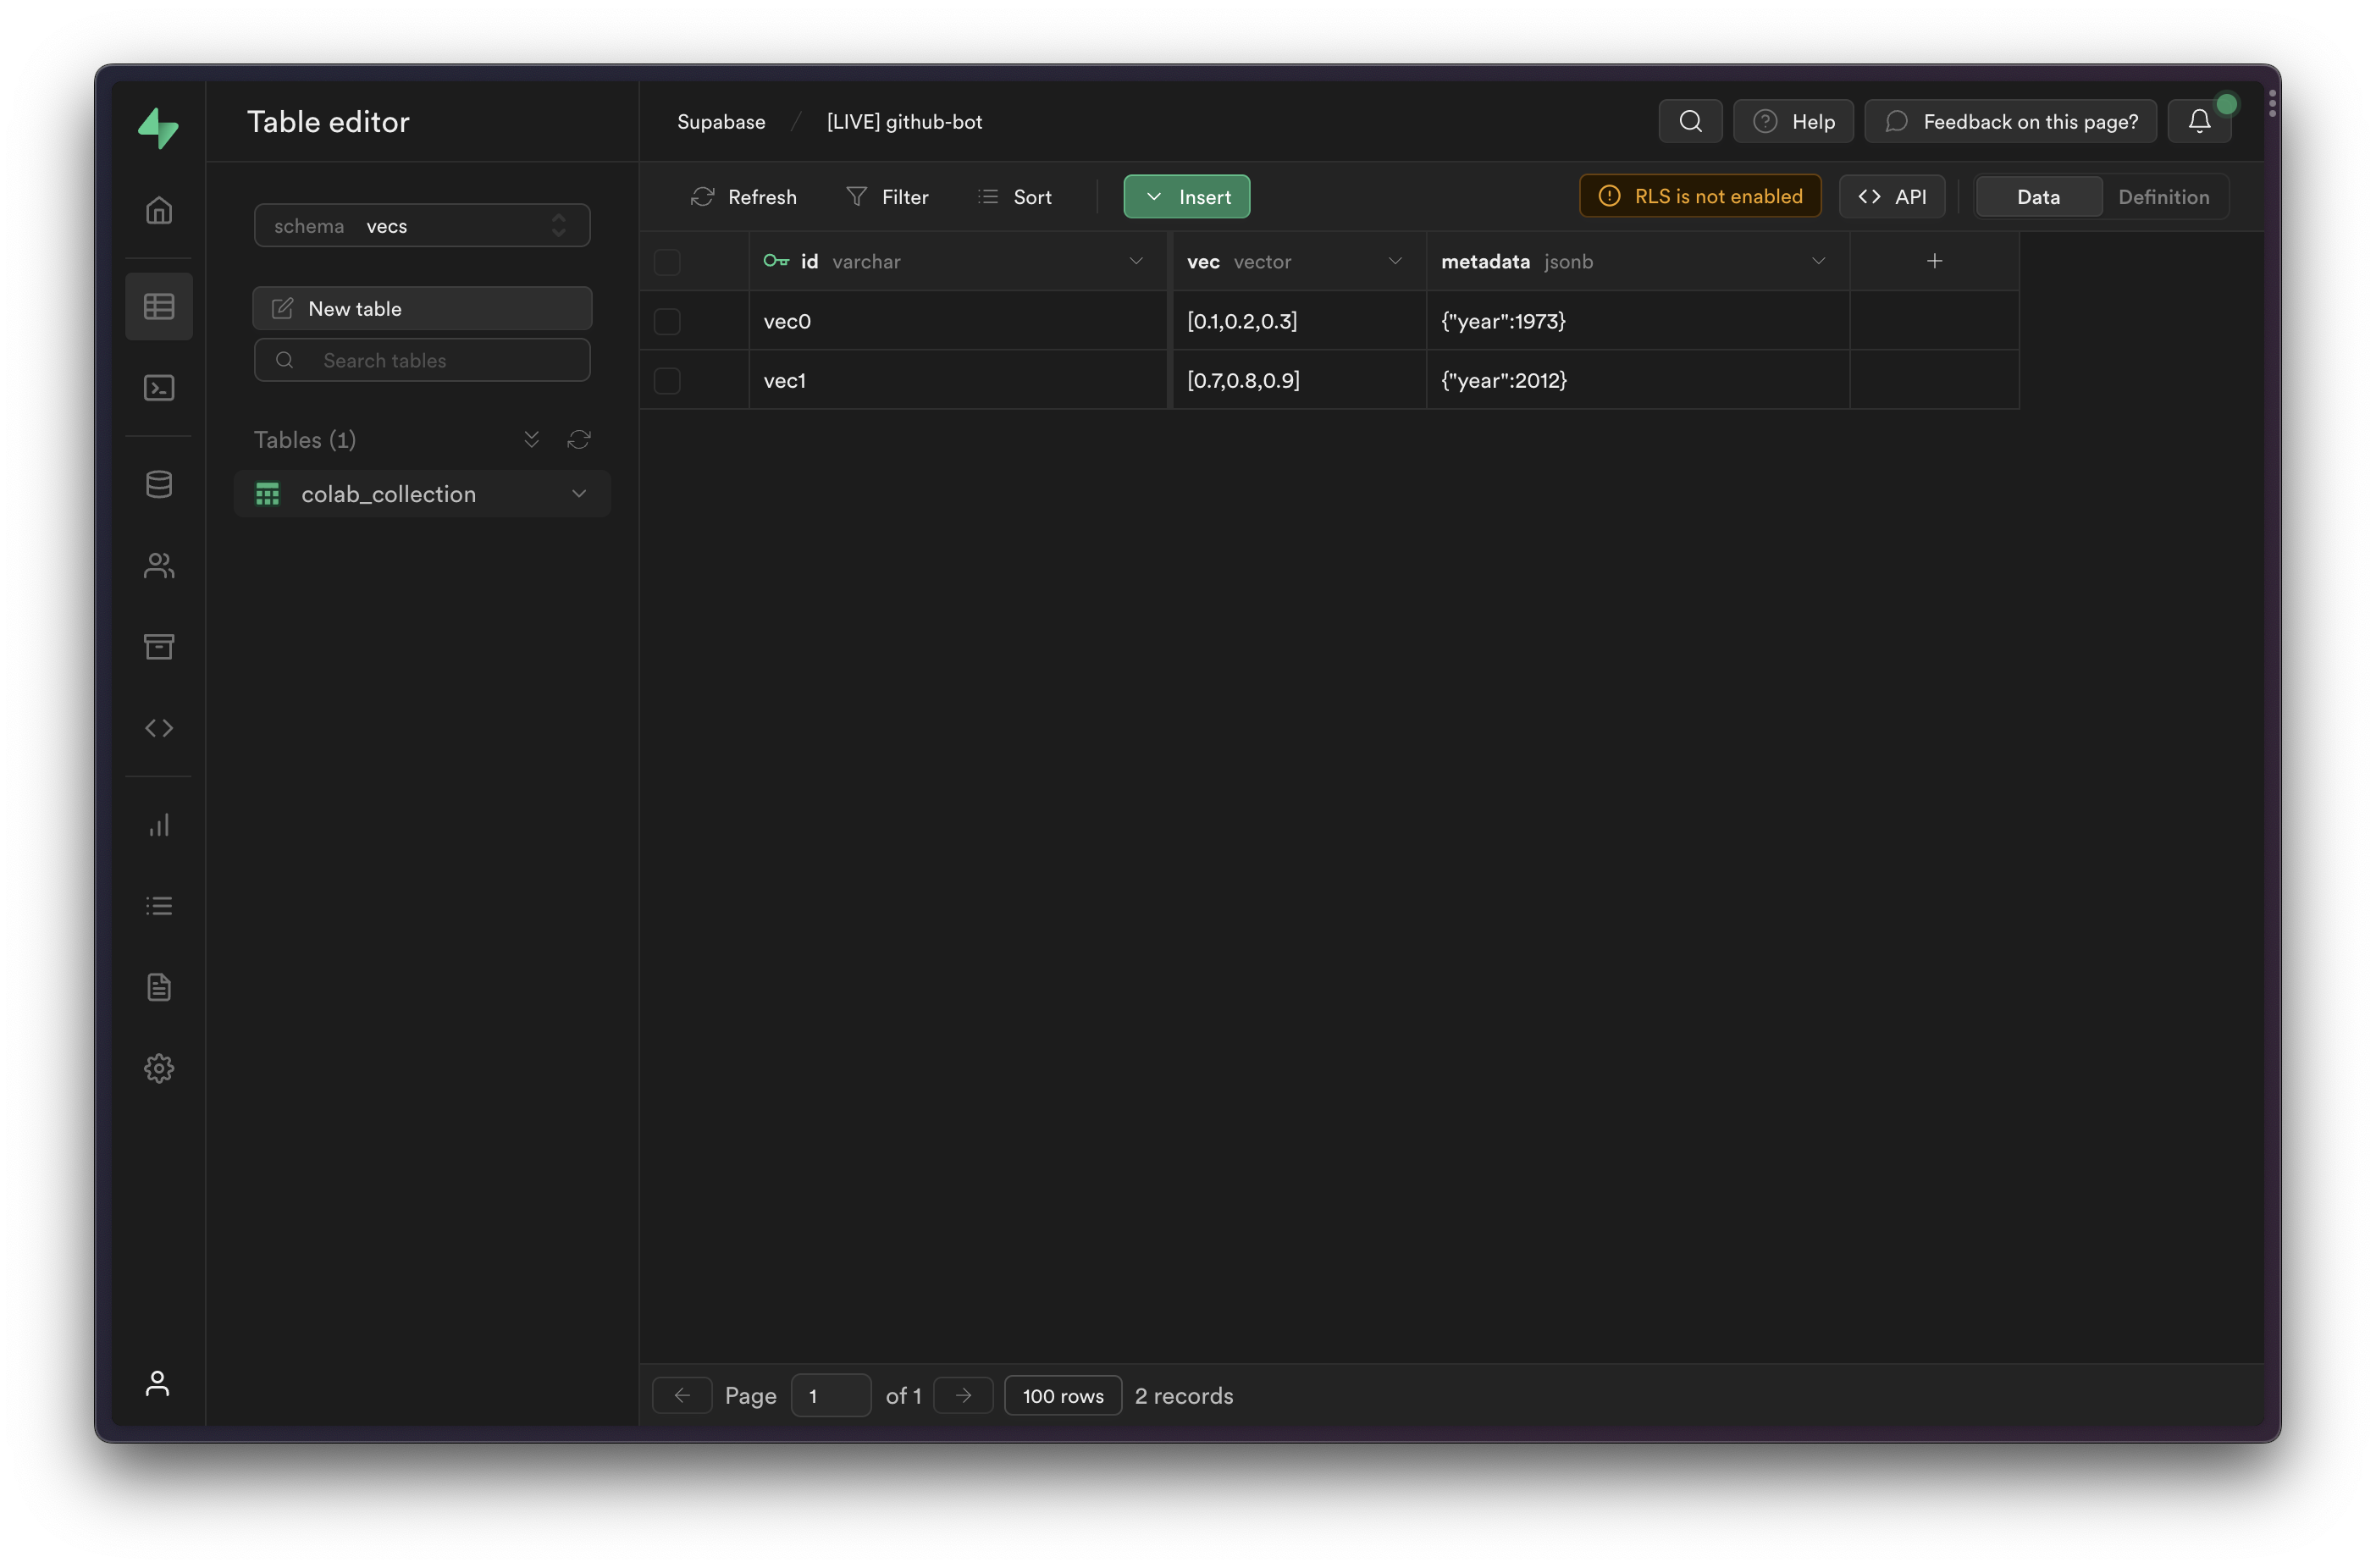
You can view the inserted items in the [Table Editor](/dashboard/project/_/editor/), by selecting the `vecs` schema from the schema dropdown.
## Deployment
If you have your own infrastructure for deploying Python apps, you can continue to use `vecs` as described in this guide.
Alternatively if you would like to quickly deploy using Supabase, check out our guide on using the [Hugging Face Inference API](/docs/guides/ai/hugging-face) in Edge Functions using TypeScript.
## Next steps
You can now start building your own applications with Vecs. Check our [examples](/docs/guides/ai#examples) for ideas.
At the top of the notebook, you'll see a button `Copy to Drive`. Click this button to copy the notebook to your Google Drive.
## Connecting to your database
Inside the Notebook, find the cell which specifies the `DB_CONNECTION`. It will contain some code like this:
```python
import vecs
DB_CONNECTION = "postgresql://:@:/"
# create vector store client
vx = vecs.create_client(DB_CONNECTION)
```
Replace the `DB_CONNECTION` with your own connection string. You can find the connection string on your project dashboard by clicking [Connect](/dashboard/project/_?showConnect=true).
SQLAlchemy requires the connection string to start with `postgresql://` (instead of `postgres://`). Don't forget to rename this after copying the string from the dashboard.
You must use the "connection pooling" string (domain ending in `*.pooler.supabase.com`) with Google Colab since Colab does not support IPv6.
## Stepping through the notebook
Now all that's left is to step through the notebook. You can do this by clicking the "execute" button (`ctrl+enter`) at the top left of each code cell. The notebook guides you through the process of creating a collection, adding data to it, and querying it.
You can view the inserted items in the [Table Editor](/dashboard/project/_/editor/), by selecting the `vecs` schema from the schema dropdown.

## Deployment
If you have your own infrastructure for deploying Python apps, you can continue to use `vecs` as described in this guide.
Alternatively if you would like to quickly deploy using Supabase, check out our guide on using the [Hugging Face Inference API](/docs/guides/ai/hugging-face) in Edge Functions using TypeScript.
## Next steps
You can now start building your own applications with Vecs. Check our [examples](/docs/guides/ai#examples) for ideas.