# Native Mobile Deep Linking
Set up Deep Linking for mobile applications.
Many Auth methods involve a redirect to your app. For example:
- Signup confirmation emails, Magic Link signins, and password reset emails contain a link that redirects to your app.
- In OAuth signins, an automatic redirect occurs to your app.
With Deep Linking, you can configure this redirect to open a specific page. This is necessary if, for example, you need to display a form for [password reset](/docs/guides/auth/passwords#resetting-a-users-password-forgot-password), or to manually exchange a token hash.
## Setting up deep linking
To link to your development build or standalone app, you need to specify a custom URL scheme for your app. You can register a scheme in your app config (app.json, app.config.js) by adding a string under the `scheme` key:
```json
{
"expo": {
"scheme": "com.supabase"
}
}
```
In your project's [auth settings](/dashboard/project/_/auth/url-configuration) add the redirect URL, e.g. `com.supabase://**`.
Finally, implement the OAuth and linking handlers. See the [supabase-js reference](/docs/reference/javascript/initializing?example=react-native-options-async-storage) for instructions on initializing the supabase-js client in React Native.
```tsx ./components/Auth.tsx
import { Button } from "react-native";
import { makeRedirectUri } from "expo-auth-session";
import * as QueryParams from "expo-auth-session/build/QueryParams";
import * as WebBrowser from "expo-web-browser";
import * as Linking from "expo-linking";
import { supabase } from "app/utils/supabase";
WebBrowser.maybeCompleteAuthSession(); // required for web only
const redirectTo = makeRedirectUri();
const createSessionFromUrl = async (url: string) => {
const { params, errorCode } = QueryParams.getQueryParams(url);
if (errorCode) throw new Error(errorCode);
const { access_token, refresh_token } = params;
if (!access_token) return;
const { data, error } = await supabase.auth.setSession({
access_token,
refresh_token,
});
if (error) throw error;
return data.session;
};
const performOAuth = async () => {
const { data, error } = await supabase.auth.signInWithOAuth({
provider: "github",
options: {
redirectTo,
skipBrowserRedirect: true,
},
});
if (error) throw error;
const res = await WebBrowser.openAuthSessionAsync(
data?.url ?? "",
redirectTo
);
if (res.type === "success") {
const { url } = res;
await createSessionFromUrl(url);
}
};
const sendMagicLink = async () => {
const { error } = await supabase.auth.signInWithOtp({
email: "valid.email@supabase.io",
options: {
emailRedirectTo: redirectTo,
},
});
if (error) throw error;
// Email sent.
};
export default function Auth() {
// Handle linking into app from email app.
const url = Linking.useLinkingURL();
if (url) createSessionFromUrl(url);
return (
<>
);
}
```
For the best user experience it is recommended to use universal links which require a more elaborate setup. You can find the detailed setup instructions in the [Expo docs](https://docs.expo.dev/guides/deep-linking/).
// Currently supabase_flutter supports deep links on Android, iOS, Web, macOS and Windows.
### Deep link config
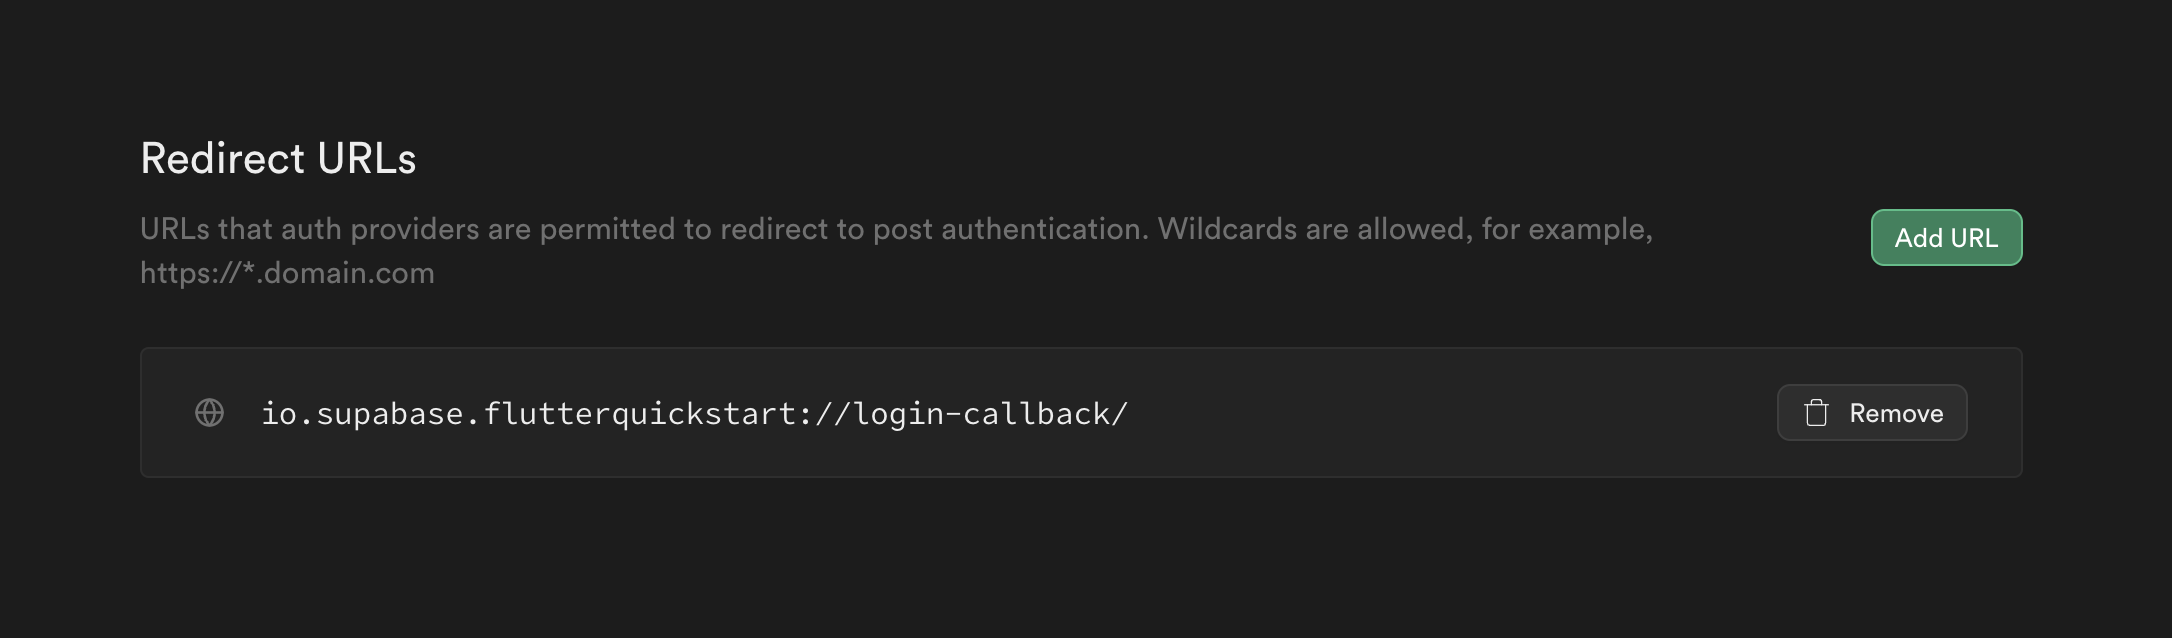
- Go to your [auth settings](/dashboard/project/_/auth/url-configuration) page.
- You need to enter your app redirect callback on `Additional Redirect URLs` field.
The redirect callback URL should have this format `[YOUR_SCHEME]://[YOUR_HOSTNAME]`. Here, `io.supabase.flutterquickstart://login-callback` is just an example, you can choose whatever you would like for `YOUR_SCHEME` and `YOUR_HOSTNAME` as long as the scheme is unique across the user's device. For this reason, typically a reverse domain of your website is used.
### Platform specific config
```xml
```
The `android:host` attribute is optional for Deep Links.
For more info: https://developer.android.com/training/app-links/deep-linking
For **Custom URL schemes** you need to declare the scheme in
`ios/Runner/Info.plist` (or through Xcode's Target Info editor,
under URL Types):
```xml
CFBundleURLTypes
CFBundleTypeRole
Editor
CFBundleURLSchemes
[YOUR_SCHEME]
```
For more info: https://developer.apple.com/documentation/xcode/defining-a-custom-url-scheme-for-your-app
### Universal links
For a better user experience, you can use **Universal Links** instead of custom URL schemes. Universal Links allow your app to open directly from web links without showing a browser redirect prompt.
To enable Universal Links, you need to:
1. **Configure Associated Domains** in your Xcode project:
- Add your domain to the Associated Domains capability
- Format: `applinks:yourdomain.com`
2. **Host the Apple App Site Association (AASA) file** on your own infrastructure:
- The file must be accessible at `https://yourdomain.com/.well-known/apple-app-site-association` or `https://yourdomain.com/apple-app-site-association`
- The file must be served with `Content-Type: application/json` (or `text/json`)
- The file must be accessible over HTTPS without redirects
- The file should not have a file extension
Supabase does not currently support hosting the AASA file. You must host this file on your own
infrastructure following [Apple's best
practices](https://developer.apple.com/documentation/xcode/supporting-associated-domains).
The AASA file format should look like this:
```json
{
"applinks": {
"apps": [],
"details": [
{
"appID": "TEAM_ID.BUNDLE_ID",
"paths": ["*"]
}
]
}
}
```
Replace `TEAM_ID` with your Apple Developer Team ID and `BUNDLE_ID` with your app's bundle identifier.
For detailed setup instructions, see [Apple's documentation on supporting associated domains](https://developer.apple.com/documentation/xcode/supporting-associated-domains).
Setting up deep links in Windows has few more steps than other platforms.
[Learn more](https://pub.dev/packages/app_links#windows)
Declare this method in `\windows\runner\win32_window.h`
```cpp
// Dispatches link if any.
// This method enables our app to be with a single instance too.
// This is optional but mandatory if you want to catch further links in same app.
bool SendAppLinkToInstance(const std::wstring& title);
```
Add this inclusion at the top of `\windows\runner\win32_window.cpp`
```cpp
#include "app_links_windows/app_links_windows_plugin.h"
```
Add this method in `\windows\runner\win32_window.cpp`
```cpp
bool Win32Window::SendAppLinkToInstance(const std::wstring& title) {
// Find our exact window
HWND hwnd = ::FindWindow(kWindowClassName, title.c_str());
if (hwnd) {
// Dispatch new link to current window
SendAppLink(hwnd);
// (Optional) Restore our window to front in same state
WINDOWPLACEMENT place = { sizeof(WINDOWPLACEMENT) };
GetWindowPlacement(hwnd, &place);
switch(place.showCmd) {
case SW_SHOWMAXIMIZED:
ShowWindow(hwnd, SW_SHOWMAXIMIZED);
break;
case SW_SHOWMINIMIZED:
ShowWindow(hwnd, SW_RESTORE);
break;
default:
ShowWindow(hwnd, SW_NORMAL);
break;
}
SetWindowPos(0, HWND_TOP, 0, 0, 0, 0, SWP_SHOWWINDOW | SWP_NOSIZE | SWP_NOMOVE);
SetForegroundWindow(hwnd);
// END Restore
// Window has been found, don't create another one.
return true;
}
return false;
}
```
Add the call to the previous method in `CreateAndShow`
```cpp
bool Win32Window::CreateAndShow(const std::wstring& title,
const Point& origin,
const Size& size) {
if (SendAppLinkToInstance(title)) {
return false;
}
...
```
At this point, you can register your own scheme.
On Windows, URL protocols are setup in the Windows registry.
This package won't do it for you.
You can achieve it with [url_protocol](https://pub.dev/packages/url_protocol) inside you app.
The most relevant solution is to include those registry modifications into your installer to allow for deregistration.
Add this XML chapter in your `macos/Runner/Info.plist` inside `` chapter:
```xml
CFBundleURLTypes
CFBundleURLName
sample_name
CFBundleURLSchemes
sample
```
### Deep link config
1. Go to your [auth settings](/dashboard/project/_/auth/url-configuration) page.
2. Enter your app redirect URL in the `Additional Redirect URLs` field. This is the URL that the user gets redirected to after clicking a magic link.
The redirect callback URL should have the format `[YOUR_SCHEME]://[YOUR_HOSTNAME]`. Here, `io.supabase.user-management://login-callback` is just an example. You can choose whatever you would like for `YOUR_SCHEME` and `YOUR_HOSTNAME` as long as the scheme is unique across the user's device. For this reason, typically a reverse domain of your website is used.

Now add a custom URL to your application, so the OS knows how to redirect back your application once the user clicks the magic link.
You have the option to use Xcode's Target Info Editor following [official Apple documentation](https://developer.apple.com/documentation/xcode/defining-a-custom-url-scheme-for-your-app#Register-your-URL-scheme).
Or, declare the URL scheme manually in your `Info.plist` file.
```xml Info.plist
CFBundleURLTypes
CFBundleTypeRole
Editor
CFBundleURLSchemes
io.supabase.user-management
```
### Universal links
For a better user experience, you can use **Universal Links** instead of custom URL schemes. Universal Links allow your app to open directly from web links without showing a browser redirect prompt.
To enable Universal Links, you need to:
1. **Configure Associated Domains** in your Xcode project:
- Add your domain to the Associated Domains capability
- Format: `applinks:yourdomain.com`
2. **Host the Apple App Site Association (AASA) file** on your own infrastructure:
- The file must be accessible at `https://yourdomain.com/.well-known/apple-app-site-association` or `https://yourdomain.com/apple-app-site-association`
- The file must be served with `Content-Type: application/json` (or `text/json`)
- The file must be accessible over HTTPS without redirects
- The file should not have a file extension
Supabase does not currently support hosting the AASA file. You must host this file on your own
infrastructure following [Apple's best
practices](https://developer.apple.com/documentation/xcode/supporting-associated-domains).
The AASA file format should look like this:
```json
{
"applinks": {
"apps": [],
"details": [
{
"appID": "TEAM_ID.BUNDLE_ID",
"paths": ["*"]
}
]
}
}
```
Replace `TEAM_ID` with your Apple Developer Team ID and `BUNDLE_ID` with your app's bundle identifier.
For detailed setup instructions, see [Apple's documentation on supporting associated domains](https://developer.apple.com/documentation/xcode/supporting-associated-domains).
### Deep link config
1. Go to your [auth settings](/dashboard/project/_/auth/url-configuration) page.
2. Enter your app redirect URL in the `Additional Redirect URLs` field. This is the URL that the user gets redirected to after clicking a magic link.
The redirect callback URL should have the format `[YOUR_SCHEME]://[YOUR_HOSTNAME]`. Here, `io.supabase.user-management://login-callback` is just an example. You can choose whatever you would like for `YOUR_SCHEME` and `YOUR_HOSTNAME` as long as the scheme is unique across the user's device. For this reason, typically a reverse domain of your website is used.
Now, edit the Android manifest to make sure the app opens when the user clicks on the magic link.
```xml
```
Check the [Android documentation](https://developer.android.com/training/app-links/deep-linking) for more information.
Next, specify the scheme and host in the Supabase Client:
```kotlin
install(Auth) {
host = "login-callback"
scheme = "io.supabase.user-management"
}
```
Finally, call `Auth#handleDeeplinks` when the app opens:
```kotlin
override fun onCreate(savedInstanceState: Bundle?) {
super.onCreate(savedInstanceState)
supabase.handleDeeplinks(intent)
}
```
The user will now be authenticated when your app receives a valid deep link!