Troubleshooting MIGRATIONS_FAILED: missing tables or an incomplete schema on your branch
When a Preview Branch is created through the Dashboard, it's built by replaying the migration history from your main branch against a fresh database. If that replay fails partway through, the branch is left either empty or partly complete and its status shows MIGRATIONS_FAILED. This almost always means the migration history on main is out of sync with its actual live schema, commonly because a change was made directly in the SQL Editor or through another manual edit that was never captured as a migration file.
Work through the following steps to diagnose and repair your migration history so branching can complete successfully.
1. Confirm the branch failure and view its workflow#
- Go to Branches and find the affected branch.
- Click View logs. A dialog shows the branch's creation workflow, including the failed step.

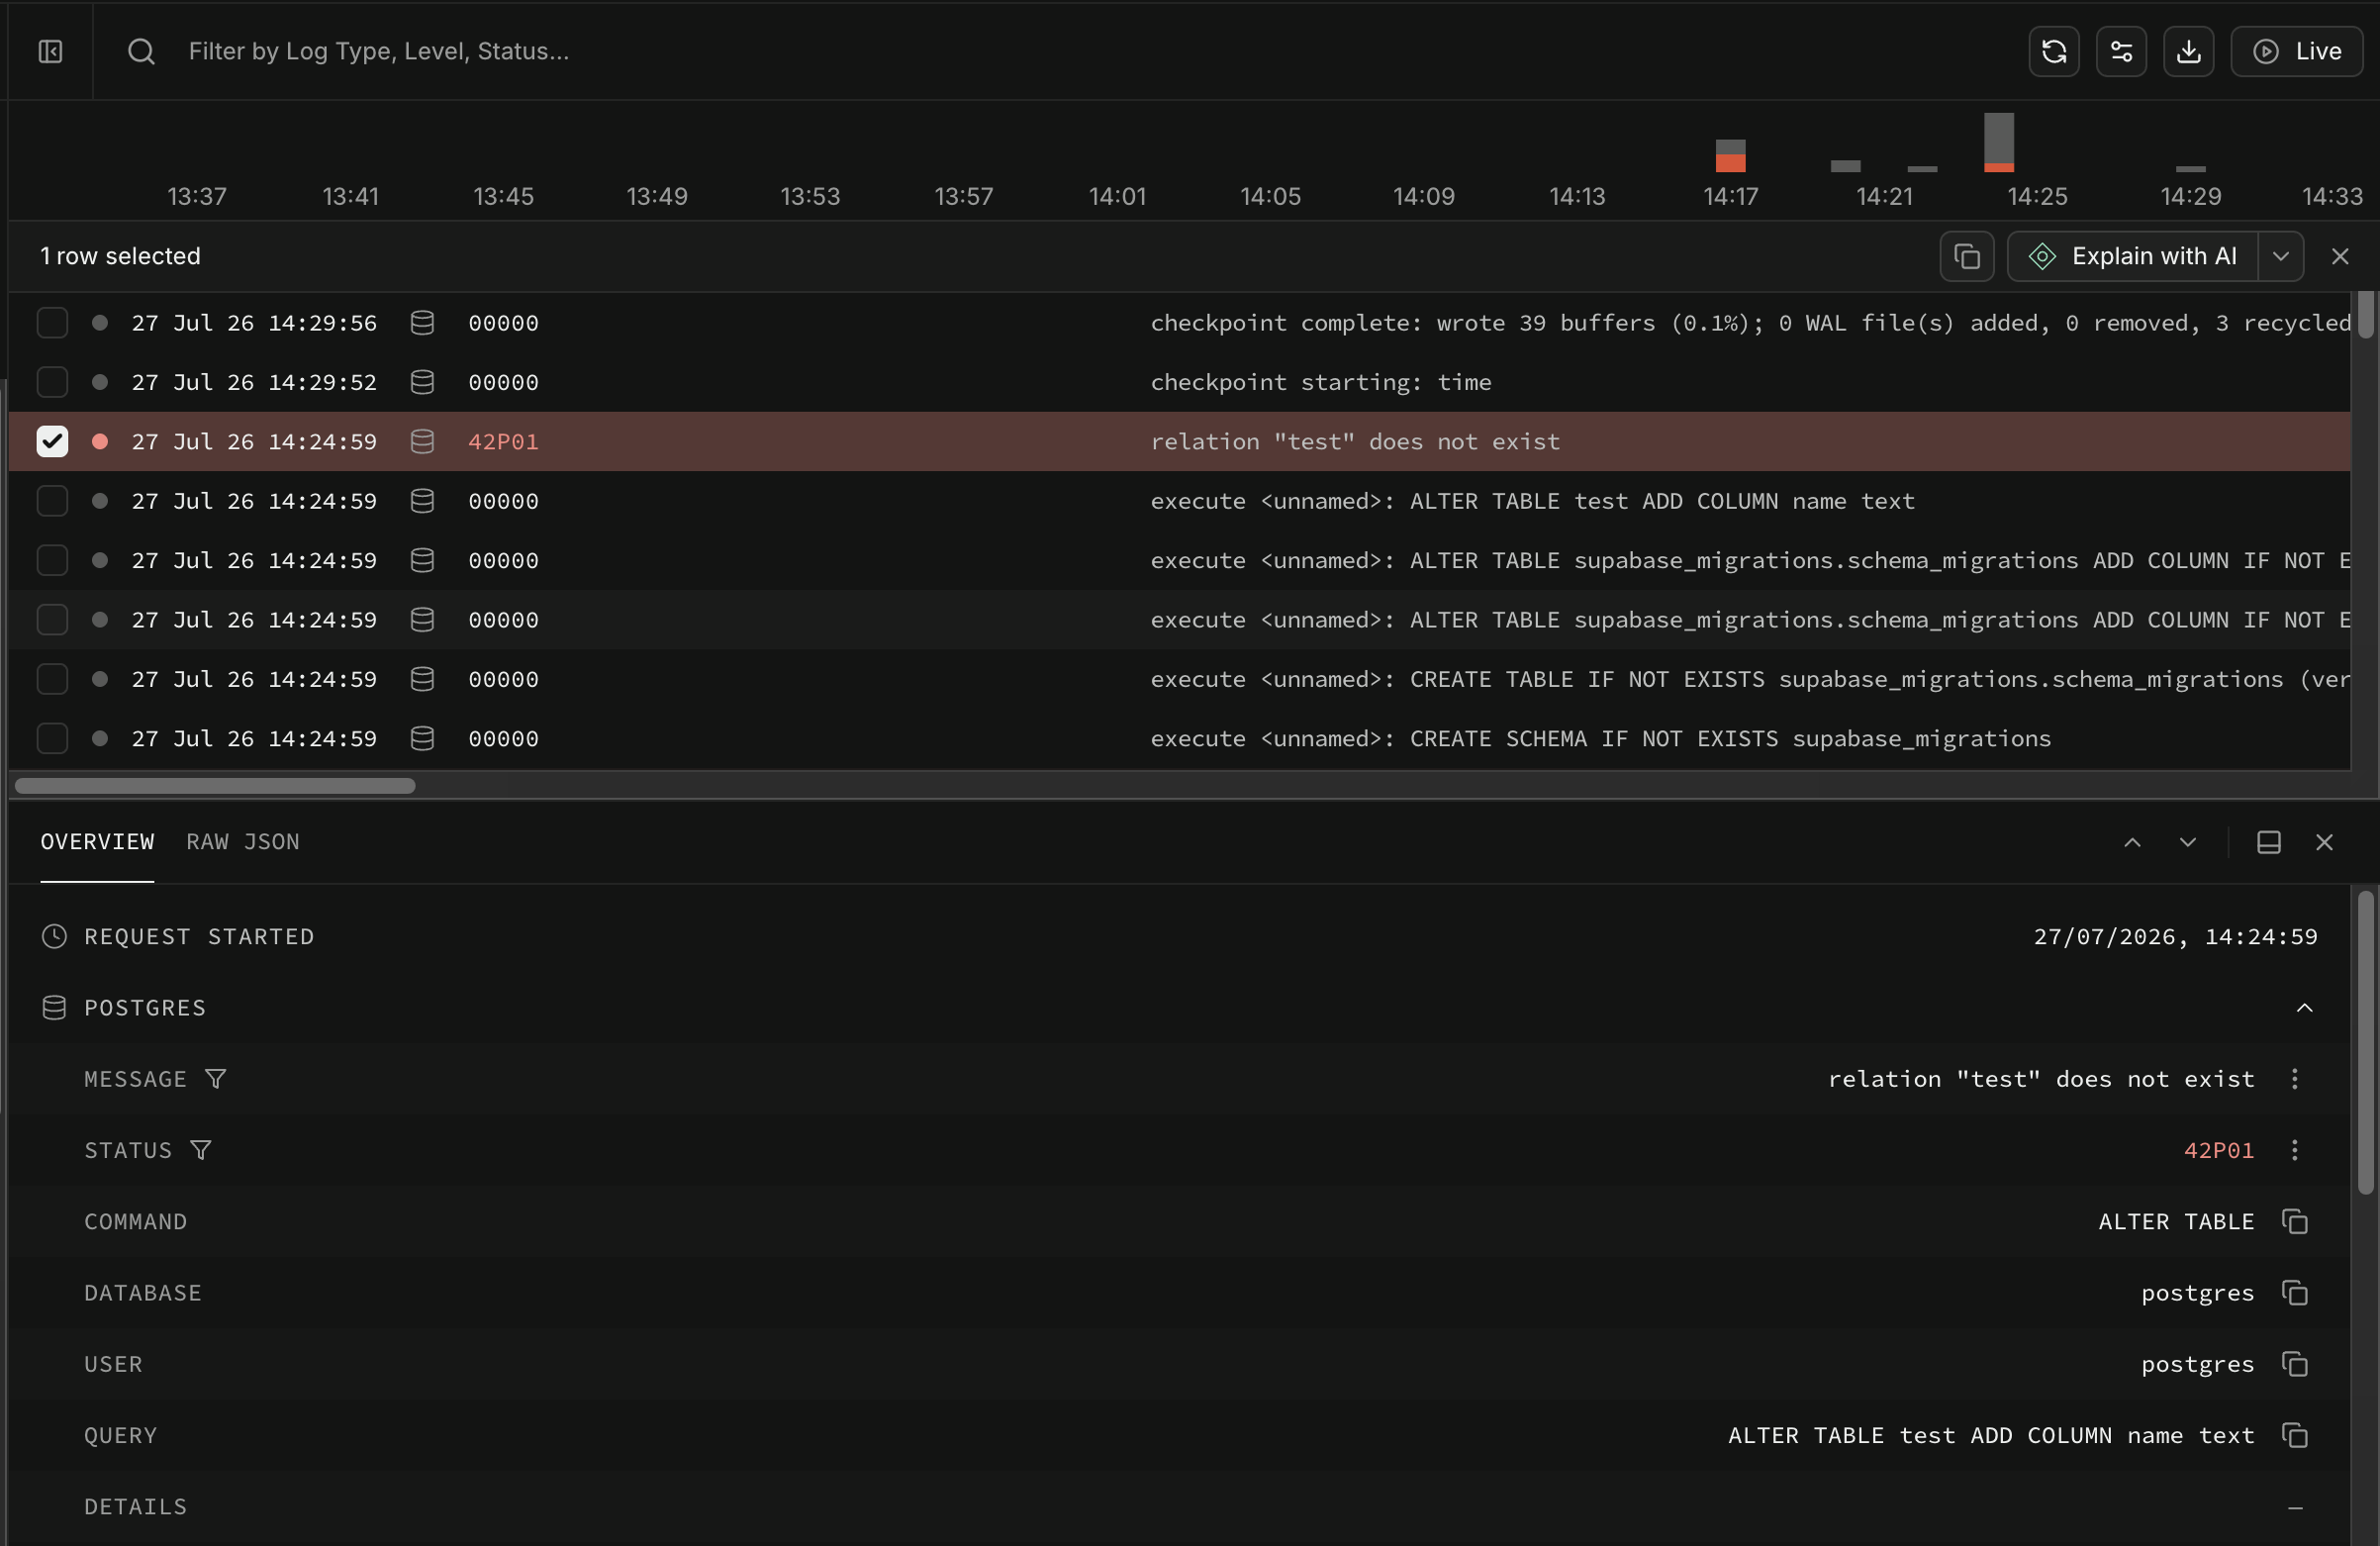
2. Find the exact SQL error in your Postgres logs#
- Go to Postgres Logs.
- Look for entries beginning with
execute <unnamed>:. These are the individual migration statements being replayed. - Find the entry marked as an error, which the Dashboard also highlights in red. This is the statement that failed, and its message explains why. Common messages include relation already exists, column not found, permission denied, and relation does not exist.
3. Prepare a local Supabase environment#
If you don't already have one, follow the local development getting started guide, then link your project:
supabase link4. Pull down your production migration history#
supabase migration fetchThis retrieves the migration files currently recorded against your main branch, so you can compare them against the actual live schema and locate the one causing the failure.
5. Repair the culprit migration#
-
Locate the migration file containing the SQL statement that matches the error you found in step 2, and correct it so it reflects the real state of your production schema.
-
After correcting the file, mark it as applied using its timestamp:
supabase migration repair <timestamp> --status applied -
Verify the repair took effect by checking production migrations in the Dashboard.
6. Re-test branch creation#
After repairing the migration history, either create a new branch or rebase the existing affected branch.
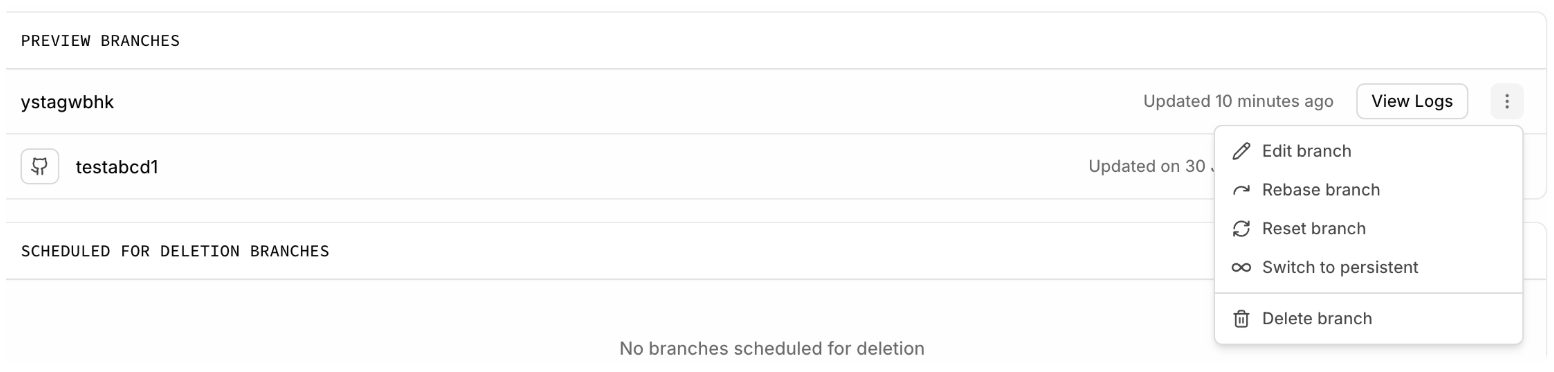
Check the branch's workflow logs again, as described in step 1, to confirm migrations now complete successfully.
Branch creation can fail more than once because more than one migration is out of sync. Each failure surfaces the next problem statement, so repeat steps 2 through 6 to work through them one at a time.
Additional tips#
If issues persist after repairing migration history, such as schema drift or repeated mismatches, review the branching troubleshooting documentation and consider further manual repair with supabase migration repair.
If your migration history has drifted too far out of sync for repairing individual migrations to be practical, consider creating a single baseline migration that encapsulates your production project's current schema instead. The new branch doesn't copy database troubleshooting guide walks through the commands for setting this up.