Local development with schema migrations
Develop locally with the Supabase CLI and schema migrations.
Supabase is a flexible platform that lets you decide how you want to build your projects. You can use the Dashboard directly to get up and running quickly, or use a proper local setup. We suggest you work locally and deploy your changes to a linked project on the Supabase Platform.
Develop locally using the CLI to run a local Supabase stack. You can use the integrated Studio Dashboard to make changes, then capture your changes in schema migration files, which can be saved in version control.
Alternatively, if you're comfortable with migration files and SQL, you can write your own migrations and push them to the local database for testing before sharing your changes.
Database migrations#
Database changes are managed through "migrations." Database migrations are a common way of tracking changes to your database over time.
For this guide, we'll create a table called employees and see how we can make changes to it.
Create your first migration file
To get started, generate a new migration to store the SQL needed to create our employees table
Terminal
1supabase migration new create_employees_tableAdd the SQL to your migration file
This creates a new migration: supabase/migrations/<timestamp> _create_employees_table.sql.
To that file, add the SQL to create this employees table
20250101000000_create_employees_table.sql
1create table employees (2 id bigint primary key generated always as identity,3 name text,4 email text,5 created_at timestamptz default now()6);Apply your migration
Now that you have a migration file, you can run this migration and create the employees table.
Use the reset command here to reset the database to the current migrations
Terminal
1supabase db resetModify your employees table
Now you can visit your new employees table in the Dashboard.
Next, modify your employees table by adding a column for department. Create a new migration file for that.
Terminal
1supabase migration new add_department_to_employees_tableAdd a new column to your table
This creates a new migration file: supabase/migrations/<timestamp> _add_department_to_employees_table.sql.
To that file, add the SQL to create a new department column
20250101000001_add_department_to_employees_table.sql
1alter table if exists public.employees2add department text default 'Hooli';Add sample data#
Now that you are managing your database with migrations scripts, it would be great have some seed data to use every time you reset the database.
For this, you can create a seed script in supabase/seed.sql.
Populate your table
Insert data into your employees table with your supabase/seed.sql file.
supabase/seed.sql
1insert into public.employees2 (name)3values4 ('Erlich Bachman'),5 ('Richard Hendricks'),6 ('Monica Hall');Reset your database
Reset your database (apply current migrations), and populate with seed data
Terminal
1supabase db resetYou should now see the employees table, along with your seed data in the Dashboard! All of your database changes are captured in code, and you can reset to a known state at any time, complete with seed data.
Diffing changes#
This workflow is great if you know SQL and are comfortable creating tables and columns. If not, you can still use the Dashboard to create tables and columns, and then use the CLI to diff your changes and create migrations.
Create a new table called cities, with columns id, name and population. To see the corresponding SQL for this, you can use the supabase db diff --schema public command. This will show you the SQL that will be run to create the table and columns. The output of supabase db diff will look something like this:
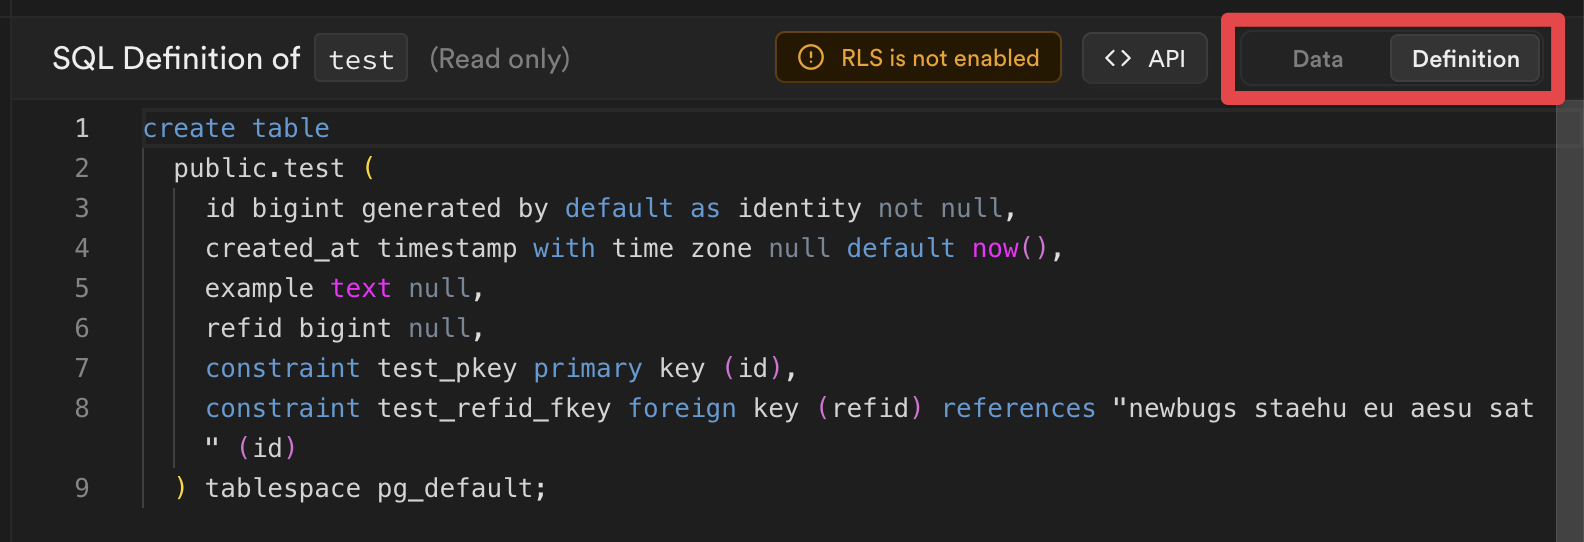
1Diffing schemas: public2Finished supabase db diff on branch main.34create table "public"."cities" (5 "id" bigint primary key generated always as identity,6 "name" text,7 "population" bigint8);Alternately, you can view your table definitions directly from the Table Editor:
You can then copy this SQL into a new migration file, and run supabase db reset to apply the changes.
The last step is deploying these changes to a live Supabase project.
Deploy your project#
You've been developing your project locally, making changes to your tables via migrations. It's time to deploy your project to the Supabase Platform and start scaling up to millions of users! Head over to Supabase and create a new project to deploy to.
Log in to the Supabase CLI#
1supabase loginLink your project#
Associate your project with your remote project using supabase link.
1supabase link --project-ref <project-id>2# You can get <project-id> from your project's dashboard URL: https://supabase.com/dashboard/project/<project-id>34supabase db pull5# Capture any changes that you have made to your remote database before you went through the steps above6# If you have not made any changes to the remote database, skip this stepsupabase/migrations is now populated with a migration in <timestamp>_remote_schema.sql.
This migration captures any changes required for your local database to match the schema of your remote Supabase project.
Review the generated migration file and once happy, apply the changes to your local instance:
1# To apply the new migration to your local database:2supabase migration up34# To reset your local database completely:5supabase db resetThere are a few commands required to link your project. We are in the process of consolidating these commands into a single command. Bear with us!
Deploy database changes#
Deploy any local database migrations using db push:
1supabase db pushVisiting your live project on Supabase, you'll see a new employees table, complete with the department column you added in the second migration above.
Deploy Edge Functions#
If your project uses Edge Functions, you can deploy these using functions deploy:
1supabase functions deploy <function_name>Use Auth locally#
To use Auth locally, update your project's supabase/config.toml file that gets created after running supabase init. Add any providers you want, and set enabled to true.
1[auth.external.github]2enabled = true3client_id = "env(SUPABASE_AUTH_GITHUB_CLIENT_ID)"4secret = "env(SUPABASE_AUTH_GITHUB_SECRET)"5redirect_uri = "http://localhost:54321/auth/v1/callback"As a best practice, any secret values should be loaded from environment variables. You can add them to .env file in your project's root directory for the CLI to automatically substitute them.
1SUPABASE_AUTH_GITHUB_CLIENT_ID="redacted"2SUPABASE_AUTH_GITHUB_SECRET="redacted"For these changes to take effect, you need to run supabase stop and supabase start again.
If you have additional triggers or RLS policies defined on your auth schema, you can pull them as a migration file locally.
1supabase db pull --schema authSync storage buckets#
Your RLS policies on storage buckets can be pulled locally by specifying storage schema. For example,
1supabase db pull --schema storageThe buckets and objects themselves are rows in the storage tables so they won't appear in your schema. You can instead define them via supabase/config.toml file. For example,
1[storage.buckets.images]2public = false3file_size_limit = "50MiB"4allowed_mime_types = ["image/png", "image/jpeg"]5objects_path = "./images"This will upload files from supabase/images directory to a bucket named images in your project with one command.
1supabase seed bucketsSync any schema with --schema#
You can synchronize your database with a specific schema using the --schema option as follows:
1supabase db pull --schema <schema_name>Using --schema
If the local supabase/migrations directory is empty, the db pull command will ignore the --schema parameter.
To fix this, you can pull twice:
1supabase db pull2supabase db pull --schema <schema_name>Limitations and considerations#
The local development environment is not as feature-complete as the Supabase Platform. Here are some of the differences:
- You cannot update your project settings in the Dashboard. This must be done using the local config file.
- The CLI version determines the local version of Studio used, so make sure you keep your local Supabase CLI up to date. We're constantly adding new features and bug fixes.