Creating and managing collections
Connecting to your database with Colab.
This guide will walk you through a basic "Hello World" example using Colab and Supabase Vecs. You'll learn how to:
- Launch a Postgres database that uses pgvector to store embeddings
- Launch a notebook that connects to your database
- Create a vector collection
- Add data to the collection
- Query the collection
Project setup#
To create a new Postgres database, start a new Project in Supabase:
- Create a new project in the Supabase dashboard.
- Enter your project details. Remember to store your password somewhere safe.
Your database will be available in less than a minute.
Finding your credentials:
You can find your project credentials on the dashboard:
- Database connection strings: Direct and Pooler connection details including the connection string and parameters.
- Database password: Reset database password here if you do not have it.
- API credentials: your serverless API URL and publishable keys.
Launching a notebook#
Launch our vector_hello_world notebook in Colab:
At the top of the notebook, you'll see a button Copy to Drive. Click this button to copy the notebook to your Google Drive.
Connecting to your database#
Inside the Notebook, find the cell which specifies the DB_CONNECTION. It will contain some code like this:
1import vecs23DB_CONNECTION = "postgresql://<user>:<password>@<host>:<port>/<db_name>"45# create vector store client6vx = vecs.create_client(DB_CONNECTION)Replace the DB_CONNECTION with your Session pooler connection string. You can find the connection string on your project dashboard by clicking Connect.
SQLAlchemy requires the connection string to start with postgresql:// (instead of postgres://). Don't forget to rename this after copying the string from the dashboard.
You must use the Session pooler connection string with Google Colab since Colab does not support IPv6.
Stepping through the notebook#
Now all that's left is to step through the notebook. You can do this by clicking the "execute" button (ctrl+enter) at the top left of each code cell. The notebook guides you through the process of creating a collection, adding data to it, and querying it.
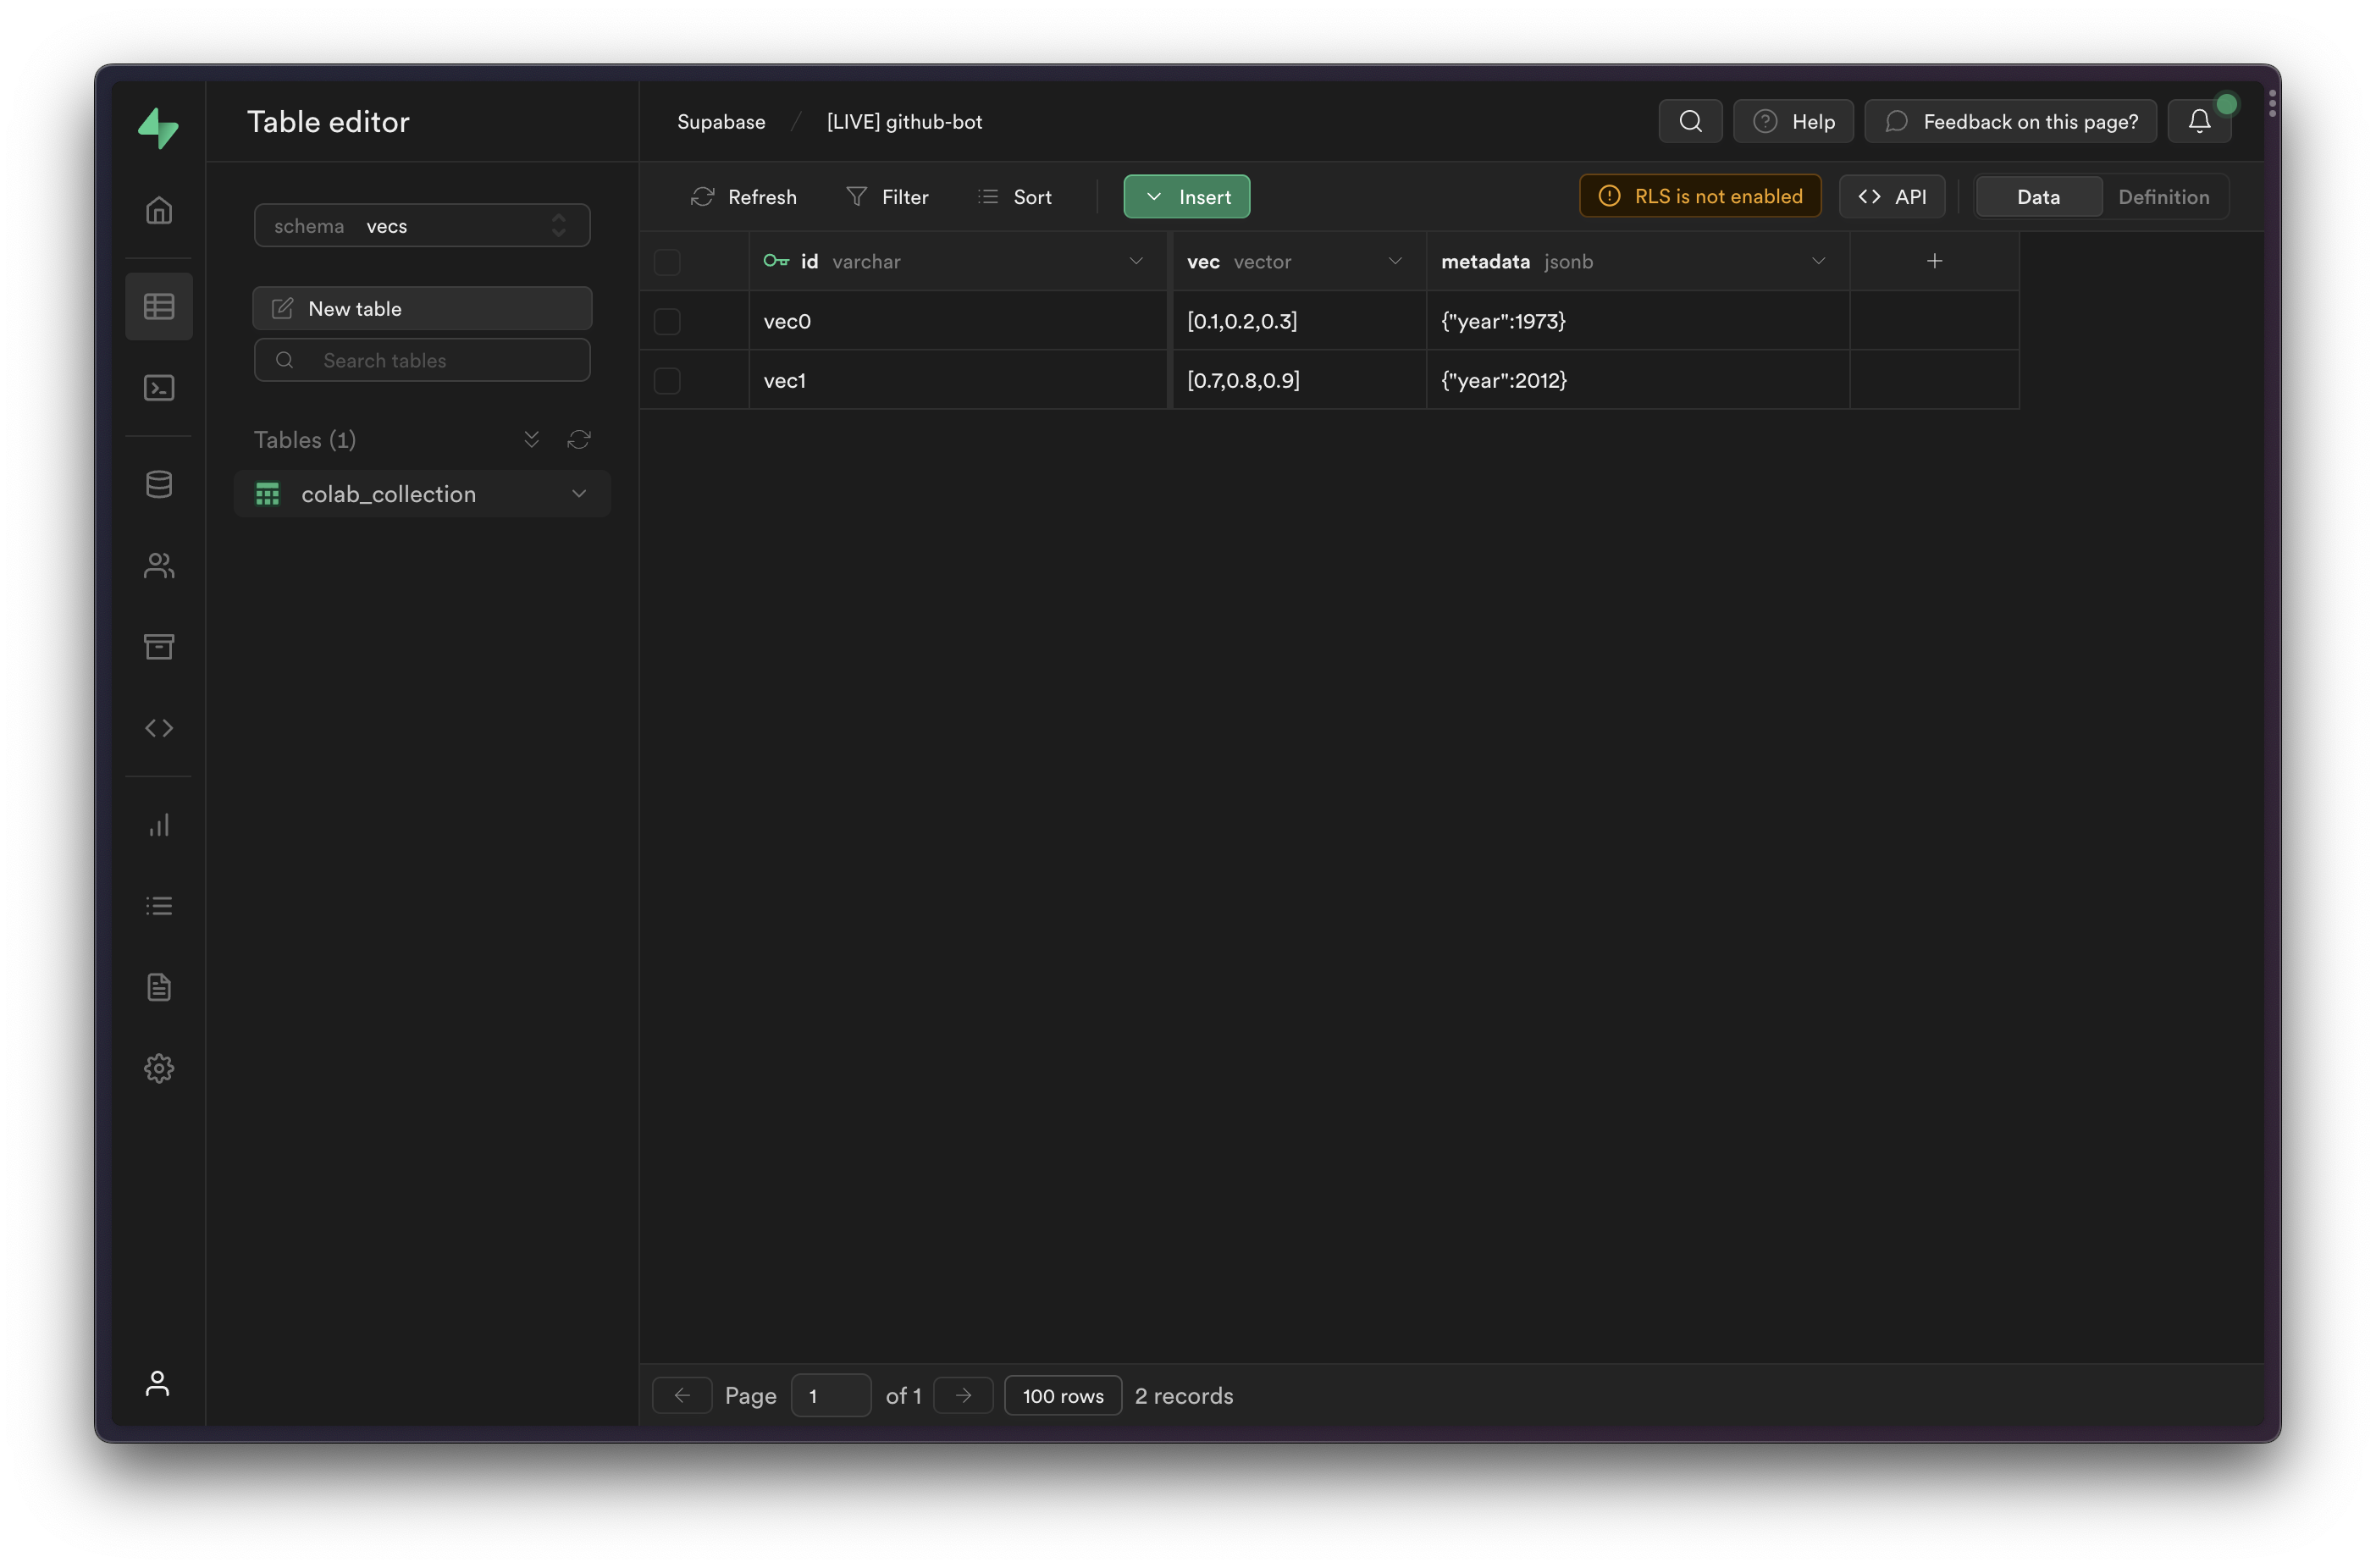
You can view the inserted items in the Table Editor, by selecting the vecs schema from the schema dropdown.
Next steps#
You can now start building your own applications with Vecs. Check our examples for ideas.