Upgrading
Supabase ships fast and we endeavor to add all new features to existing projects wherever possible. In some cases, access to new features require upgrading or migrating your Supabase project.
This guide refers to upgrading the Postgres version of your Supabase Project. For scaling your compute size, refer to the Compute and Disk page.
You can upgrade your project using in-place upgrades or by pausing and restoring your project.
In-place upgrades#
For security purposes, passwords for custom roles are not backed up and, following a restore, they would need to be reset. See here for more details
In-place upgrades uses pg_upgrade. For projects larger than 1GB, this method is generally faster than a pause and restore cycle, and the speed advantage grows with the size of the database.
- Plan for an appropriate downtime window, and ensure you have reviewed the caveats section of this document before executing the upgrade.
- Use the "Upgrade project" button on the Infrastructure section of your dashboard.
Additionally, if the upgrade should fail, your original database would be brought back up online and be able to service requests.
As a rough rule of thumb, pg_upgrade operates at ~100MBps (when executing an upgrade on your data). Using the size of your database, you can use this metric to derive an approximate sense of the downtime window necessary for the upgrade. During this window, you should plan for your database and associated services to be unavailable.
Pause and restore#
We recommend using the In-place upgrade method, as it is faster, and more reliable. Additionally, only Free-tier projects are eligible to use the Pause and Restore method.
When you pause and restore a project, the restored database includes the latest features. This method does include downtime, so be aware that your project will be inaccessible for a short period of time.
- On the General Settings page in the Dashboard, click Pause project. You will be redirected to the home screen as your project is pausing. This process can take several minutes.
- After your project is paused, click Restore project. The restoration can take several minutes depending on how much data your database has. You will receive an email once the restoration is complete.
Note that a pause + restore upgrade involves tearing down your project's resources before bringing them back up again. If the restore process should fail, manual intervention from Supabase support will be required to bring your project back online.
Caveats#
Regardless of the upgrade method, a few caveats apply:
Logical replication#
If you are using logical replication, the replication slots will not be preserved by the upgrade process. You will need to manually recreate them after the upgrade with the method pg_create_logical_replication_slot. Refer to the Postgres docs on Replication Management Functions for more details about the method.
Breaking changes#
Newer versions of services can break functionality or change the performance characteristics you rely on. If your project is eligible for an upgrade, you will be able to find your current service versions from within the Supabase dashboard.
Breaking changes are generally only present in major version upgrades of Postgres and PostgREST. You can find their respective release notes at:
If you are upgrading from a significantly older version, you will need to consider the release notes for any intermediary releases as well.
Time limits#
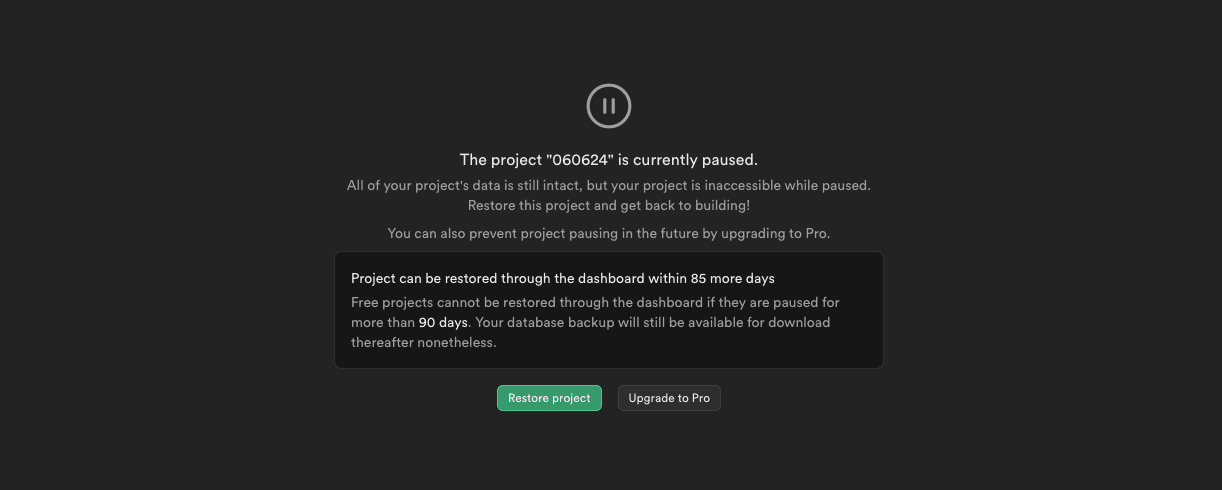
Starting from 2024-06-24, when a project is paused, users then have a 90-day window to restore the project on the platform from within Supabase Studio.
The 90-day window allows Supabase to introduce platform changes that may not be backwards compatible with older backups. Unlike active projects, static backups can't be updated to accommodate such changes.
During the 90-day restore window a paused project can be restored to the platform with a single button click from Studio's dashboard page.
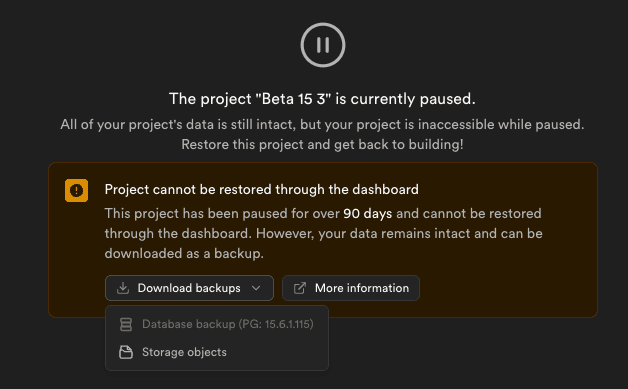
After the 90-day restore window, you can download your project's backup file, and Storage objects from the project dashboard. You can restore the data in the following ways:
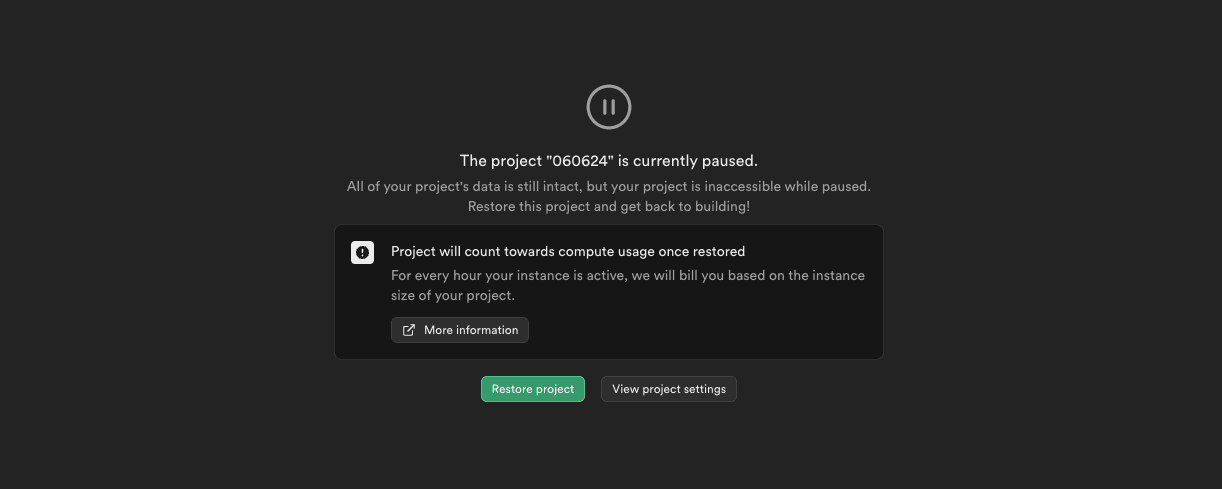
If you upgrade to a paid plan while your project is paused within the 90-day restore window, any expired one-click restore options are reenabled. Since the backup was taken outside the backwards compatibility window, it may fail to restore. If you have a problem restoring your backup after upgrading, contact Support.
Disk sizing#
When upgrading, the Supabase platform will "right-size" your disk based on the current size of the database. For example, if your database is 100GB in size, and you have a 200GB disk, the upgrade will reduce the disk size to 120GB (1.2x the size of your database).
Objects dependent on Postgres extensions#
In-place upgrades do not support upgrading of databases containing reg* data types referencing system OIDs. If you have created any objects that depend on the following extensions, you will need to recreate them after the upgrade.
pg_cron records#
pg_cron does not automatically clean up historical records. This can lead to extremely large cron.job_run_details tables if the records are not regularly pruned; you should clean unnecessary records from this table prior to an upgrade.
During an in-place upgrade, the pg_cron extension gets dropped and recreated. Prior to this process, the cron.job_run_details table is duplicated to avoid losing historical logs. The instantaneous disk pressure created by duplicating an extremely large details table can cause at best unnecessary performance degradation, or at worst, upgrade process failures.
Extensions#
In-place upgrades do not currently support upgrading of databases using extensions older than the following versions:
- TimescaleDB 2.16.1
- plv8 3.1.10
To upgrade to a newer version of Postgres, you will need to drop the extensions before the upgrade, and recreate them after the upgrade.
Authentication method changes - deprecating md5 in favor of scram-sha-256#
The md5 hashing method has known weaknesses that make it unsuitable for cryptography. As such, we are deprecating md5 in favor of scram-sha-256, which is the default and most secure authentication method used in the latest Postgres versions.
We automatically migrate Supabase-managed roles' passwords to scram-sha-256 during the upgrade process, but you will need to manually migrate the passwords of any custom roles you have created, else you won't be able to connect using them after the upgrade.
To identify roles using the md5 hashing method and migrate their passwords, you can use the following SQL statements after the upgrade:
1-- List roles using md5 hashing method2SELECT3 rolname4FROM pg_authid5WHERE rolcanlogin = true6 AND rolpassword LIKE 'md5%';78-- Migrate a role's password to scram-sha-2569ALTER ROLE <role_name> WITH PASSWORD '<password>';Database size reduction#
As part of the upgrade process, maintenance operations such as vacuuming are also executed. This can result in a reduction in the reported database size.
Post-upgrade validation#
Supabase performs extensive pre- and post-upgrade validations to ensure that the database has been correctly upgraded. However, you should plan for your own application-level validations, as there might be changes you might not have anticipated, and this should be budgeted for when planning your downtime window.
Specific upgrade notes#
Upgrading to Postgres 17#
In projects using Postgres 17, the following extensions are deprecated:
plcoffeepllsplv8timescaledbpgjwt
Projects planning to upgrade from Postgres 15 to Postgres 17 need to first disable these extensions in the Supabase Dashboard.
pgjwt was enabled by default on every Supabase project up until Postgres 17. If you weren’t explicitly using pgjwt in your project, it’s most likely safe to disable.
Existing projects on lower versions of Postgres are not impacted, and the extensions will continue to be supported on projects using Postgres 15, until the end of life of Postgres 15 on the Supabase platform.