Estuary
Overview
Analytics for your Supabase data. Estuary helps seamlessly migrate your data from Firestore to a Supabase Postgres database.
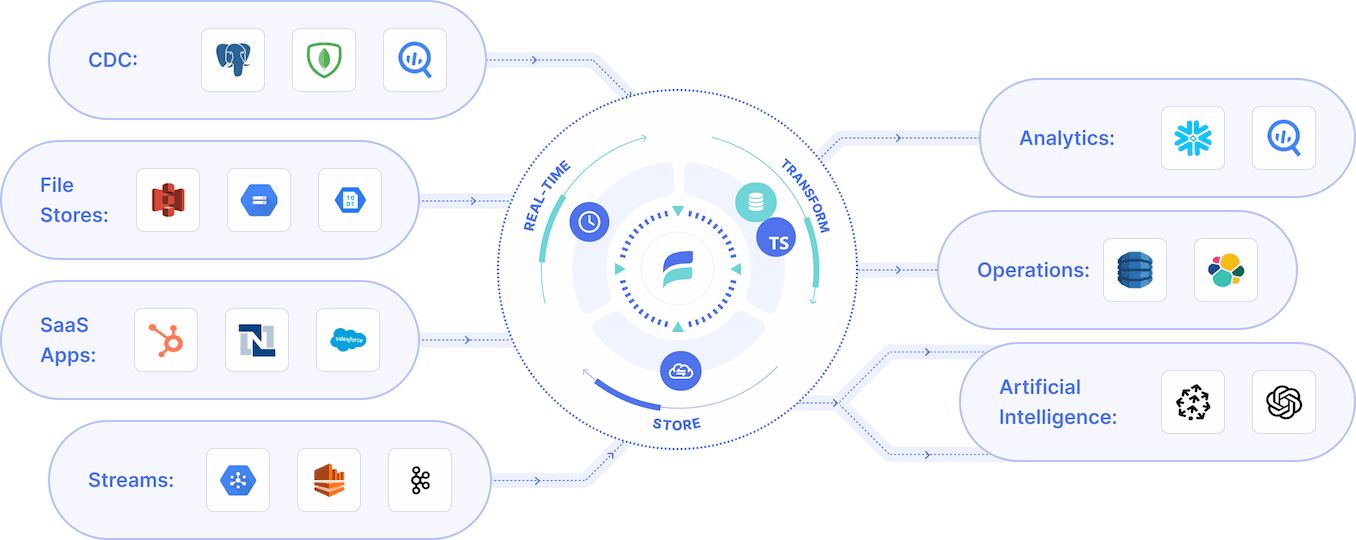
Estuary is a real-time data pipeline platform, enabling seamless capture from sources, historical backfill and real-time synchronization between sources and destinations. This makes it simple to continuously extract data from Supabase for analytics or creating data products.
Benefits
As a real-time platform, Estuary continuously extracts data from sources like Supabase using CDC. This has a few main benefits:
- Access real-time analytics in your warehouse or destination of choice
- Least impact on your Supabase DB
- The ability to push to any destination that either Estuary or Kafka Connect and push to
Overview
Details on how to use Estuary's Supabase specific connector can be found here. Setting up Estuary is straightforward and has a few main requirements:
- Create a free account here. Note that Estuary provides lifetime free service for anyone whose monthly usage is less than 10 GB and 2 connectors. A 30 day free trial is automatically applied for accounts that exceed that usage.
- Capture data from your Supabse instance using the relevant documentation. Note that you will need to create a dedicated IPV4 address to use as your hostname within Estuary.
- Push that data to your destination of choice. Example docs for Snowflake can be found here.
Detailed Documentation
Prerequisites
You'll need a Supabase PostgreSQL database setup with the following:
- A Supabase IPV4 address. This can be configured under "Project Settings" -> "Add ons" within Supabase's UI.
- Logical replication enabled -
wal_level=logical - User role with
REPLICATIONattribute - A replication slot. This represents a "cursor" into the PostgreSQL write-ahead log from which change events can be read.
- Optional; if none exist, one will be created by the connector.
- If you wish to run multiple captures from the same database, each must have its own slot. You can create these slots yourself, or by specifying a name other than the default in the advanced configuration.
- A publication. This represents the set of tables for which change events will be reported.
- In more restricted setups, this must be created manually, but can be created automatically if the connector has suitable permissions.
- A watermarks table. The watermarks table is a small "scratch space" to which the connector occasionally writes a small amount of data to ensure accuracy when backfilling preexisting table contents.
- In more restricted setups, this must be created manually, but can be created automatically if the connector has suitable permissions.
Configuration Tip
To configure this connector to capture data from databases hosted on your internal network, you must set up SSH tunneling. For more specific instructions on setup, see configure connections with SSH tunneling.
Setup
The simplest way to meet the above prerequisites is to change the WAL level and have the connector use a database superuser role.
For a more restricted setup, create a new user with just the required permissions as detailed in the following steps:
-
Connect to your instance and create a new user and password:
_10CREATE USER flow_capture WITH PASSWORD 'secret' REPLICATION; -
Assign the appropriate role.
a. If using PostgreSQL v14 or later:
_10GRANT pg_read_all_data TO flow_capture;b. If using an earlier version:
_10ALTER DEFAULT PRIVILEGES IN SCHEMA public GRANT SELECT ON TABLES to flow_capture;_10GRANT SELECT ON ALL TABLES IN SCHEMA public, <other_schema> TO flow_capture;_10GRANT SELECT ON ALL TABLES IN SCHEMA information_schema, pg_catalog TO flow_capture;where
<other_schema>lists all schemas that will be captured from.INFO
If an even more restricted set of permissions is desired, you can also grant SELECT on just the specific table(s) which should be captured from. The 'information_schema' and 'pg_catalog' access is required for stream auto-discovery, but not for capturing already configured streams.
-
Create the watermarks table, grant privileges, and create publication:
_10CREATE TABLE IF NOT EXISTS public.flow_watermarks (slot TEXT PRIMARY KEY, watermark TEXT);_10GRANT ALL PRIVILEGES ON TABLE public.flow_watermarks TO flow_capture;_10CREATE PUBLICATION flow_publication;_10ALTER PUBLICATION flow_publication SET (publish_via_partition_root = true);_10ALTER PUBLICATION flow_publication ADD TABLE public.flow_watermarks, <other_tables>;
where <other_tables> lists all tables that will be captured from. The publish_via_partition_root setting is recommended (because most users will want changes to a partitioned table to be captured under the name of the root table) but is not required.
- Set WAL level to logical:
_10ALTER SYSTEM SET wal_level = logical;
- Restart PostgreSQL to allow the WAL level change to take effect.
Resources
For more information, visit the Flow docs. In particular:
Details
Third-party integrations and docs are managed by Supabase partners.
