
FlutterFlow

Overview
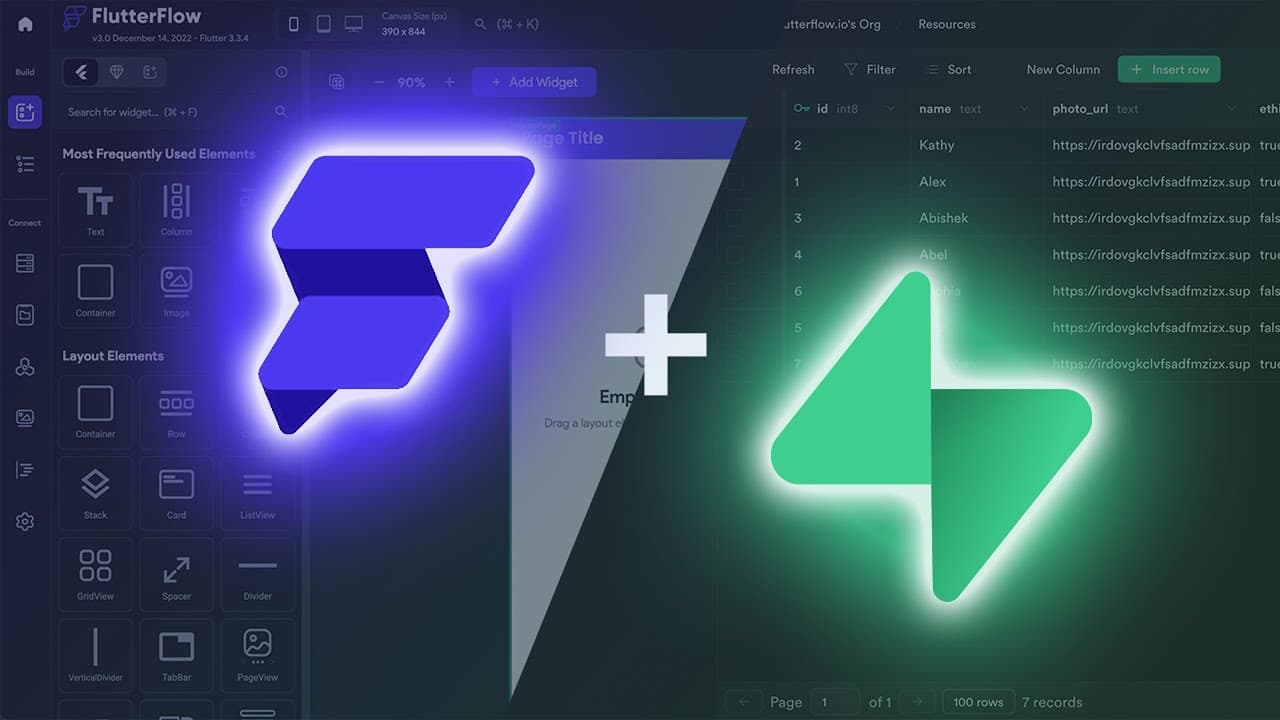
FlutterFlow is a low-code builder for developing native mobile and web applications using Flutter. You can use the simple drag-and-drop interface to build your app faster than traditional development, and create designs in seconds with AI-powered assistance.
Documentation
This guide gives you a quick overview of implementing basic CRUD operations using FlutterFlow and Supabase. You can find the full docs on FlutterFlow and Supabase here:
- docs.flutterflow.io/integrations/database/supabase/setup
- docs.flutterflow.io/integrations/database/supabase/database-actions
Step 1: Connect FlutterFlow to Supabase
Before we dive into the code, this guide assumes that you have the following ready:
- Supabase project created
- Have setup tables in your Supabase project
- FlutterFlow project created
You can then connect your Supabase project to your FlutterFlow project with the following steps:
- In your Supabase project, navigate to Project Settings > API. Copy the Project URL.
- Return to FlutterFlow, navigate to Settings and Integrations > Integrations > Supabase. Tap Connect to Supabase and log in to Supabase.
- Select an existing Supabase project to connect to.
- Click on the Get Schema button. This will show the list of all tables with their schema (structure) created in Supabase.
Step 2: Inserting rows
Go to your project page on FlutterFlow and follow the steps below to define the Action to any widget.
- Select the Widget (e.g.,
Button) on which you want to define the action. - Select Actions from the Properties panel (the right menu), and click Open. This will open an Action flow Editor in a new popup window.
- Click on + Add Action.
- On the right side, search and select the Supabase > Insert Row action.
- Set the Table to your table name (e.g., assignments).
- Under the Set Fields section, click on the + Add Field button.
- Click on the Field name and scroll down to find the Value Source dropdown and change it to From Variable.
- Click on UNSET and select Widget State > Name of the TextField.
- Similarly, add the field for the other UI elements.
Step 3: Selecting and displaying rows
To query a Supabase table on a ListView or Column:
- Select the
ListView/Columnwidget. - Select Backend Query from the properties panel (the right menu), and click Add Backend Query.
- Set the Query Type to Supabase Query.
- Select your Table from the dropdown list
- Set the Query Type to List of Rows.
- Optional: If you want to display the limited result, say, for example, you have thousands of entries, but you want to display only 100, you can specify the limit.
- Confirm in the ‘Create Backend Query’ dialog
- Populate the list item data.
Step 4: Updating rows
Go to your project page on FlutterFlow and follow the steps below to define the Action to any widget.
- Select the Widget (e.g., Button) on which you want to define the action.
- Select Actions from the Properties panel (the right menu), and click Open. This will open an Action flow Editor in a new popup window.
- Click on + Add Action.
- On the right side, search and select the Supabase > Update Row action.
- Set the Table to your table name (e.g., assignments).
- Optional: If you want to get the rows after the update is finished, enable the Return Matching Rows option.
- Now, you must set the row you want to update. Usually, this is done by finding a row in a table that matches the current row ID. To do so, click + Add Filter button inside the Matching Rows section.
- Set the Field Name to the field that contains the IDs. Typically, this is the id column.
- Set the Relation to Equal To because you want to find a row with the exact id.
- Into the Value Source, you can select the From Variable and provide the id of the row for which you just updated values in the UI.
- Under the Set Fields section, click on the + Add Field button.
- Click on the field name.
- Scroll down to find the Value Source dropdown and change it to From Variable.
- Click on UNSET and select Widget State > Name of the TextField.
- Similarly, add the field for the other UI elements.
Step 5: Deleting rows
Go to your project page on FlutterFlow and follow the steps below to define the Action to any widget.
- Select the Widget (e.g., Button) on which you want to define the action.
- Select Actions from the Properties panel (the right menu), and click Open. This will open an Action flow Editor in a new popup window.
- Click on + Add Action.
- On the right side, search and select the Supabase -> Delete Row action.
- Set the Table to your table name (e.g., assignments).
- Optional: Later, if you want to know which rows were deleted from a table, enable the Return Matching Rows option.
- Now, you must set the row you want to delete. Usually, this is done by finding a row in a table that matches the current row ID. To do so, click + Add Filter button inside the Matching Rows section.
- Set the Field Name to the field that contains the IDs. Typically, this is the id column.
- Set the Relation to Equal To because you want to find a row with the exact id.
- Into the Value Source, you can select the From Variable and provide the id of the row you want to delete.
Resources
You can find more detailed guides on FlutterFlow’s docs.
Details
Third-party integrations and docs are managed by Supabase partners.