Forest Admin
Overview
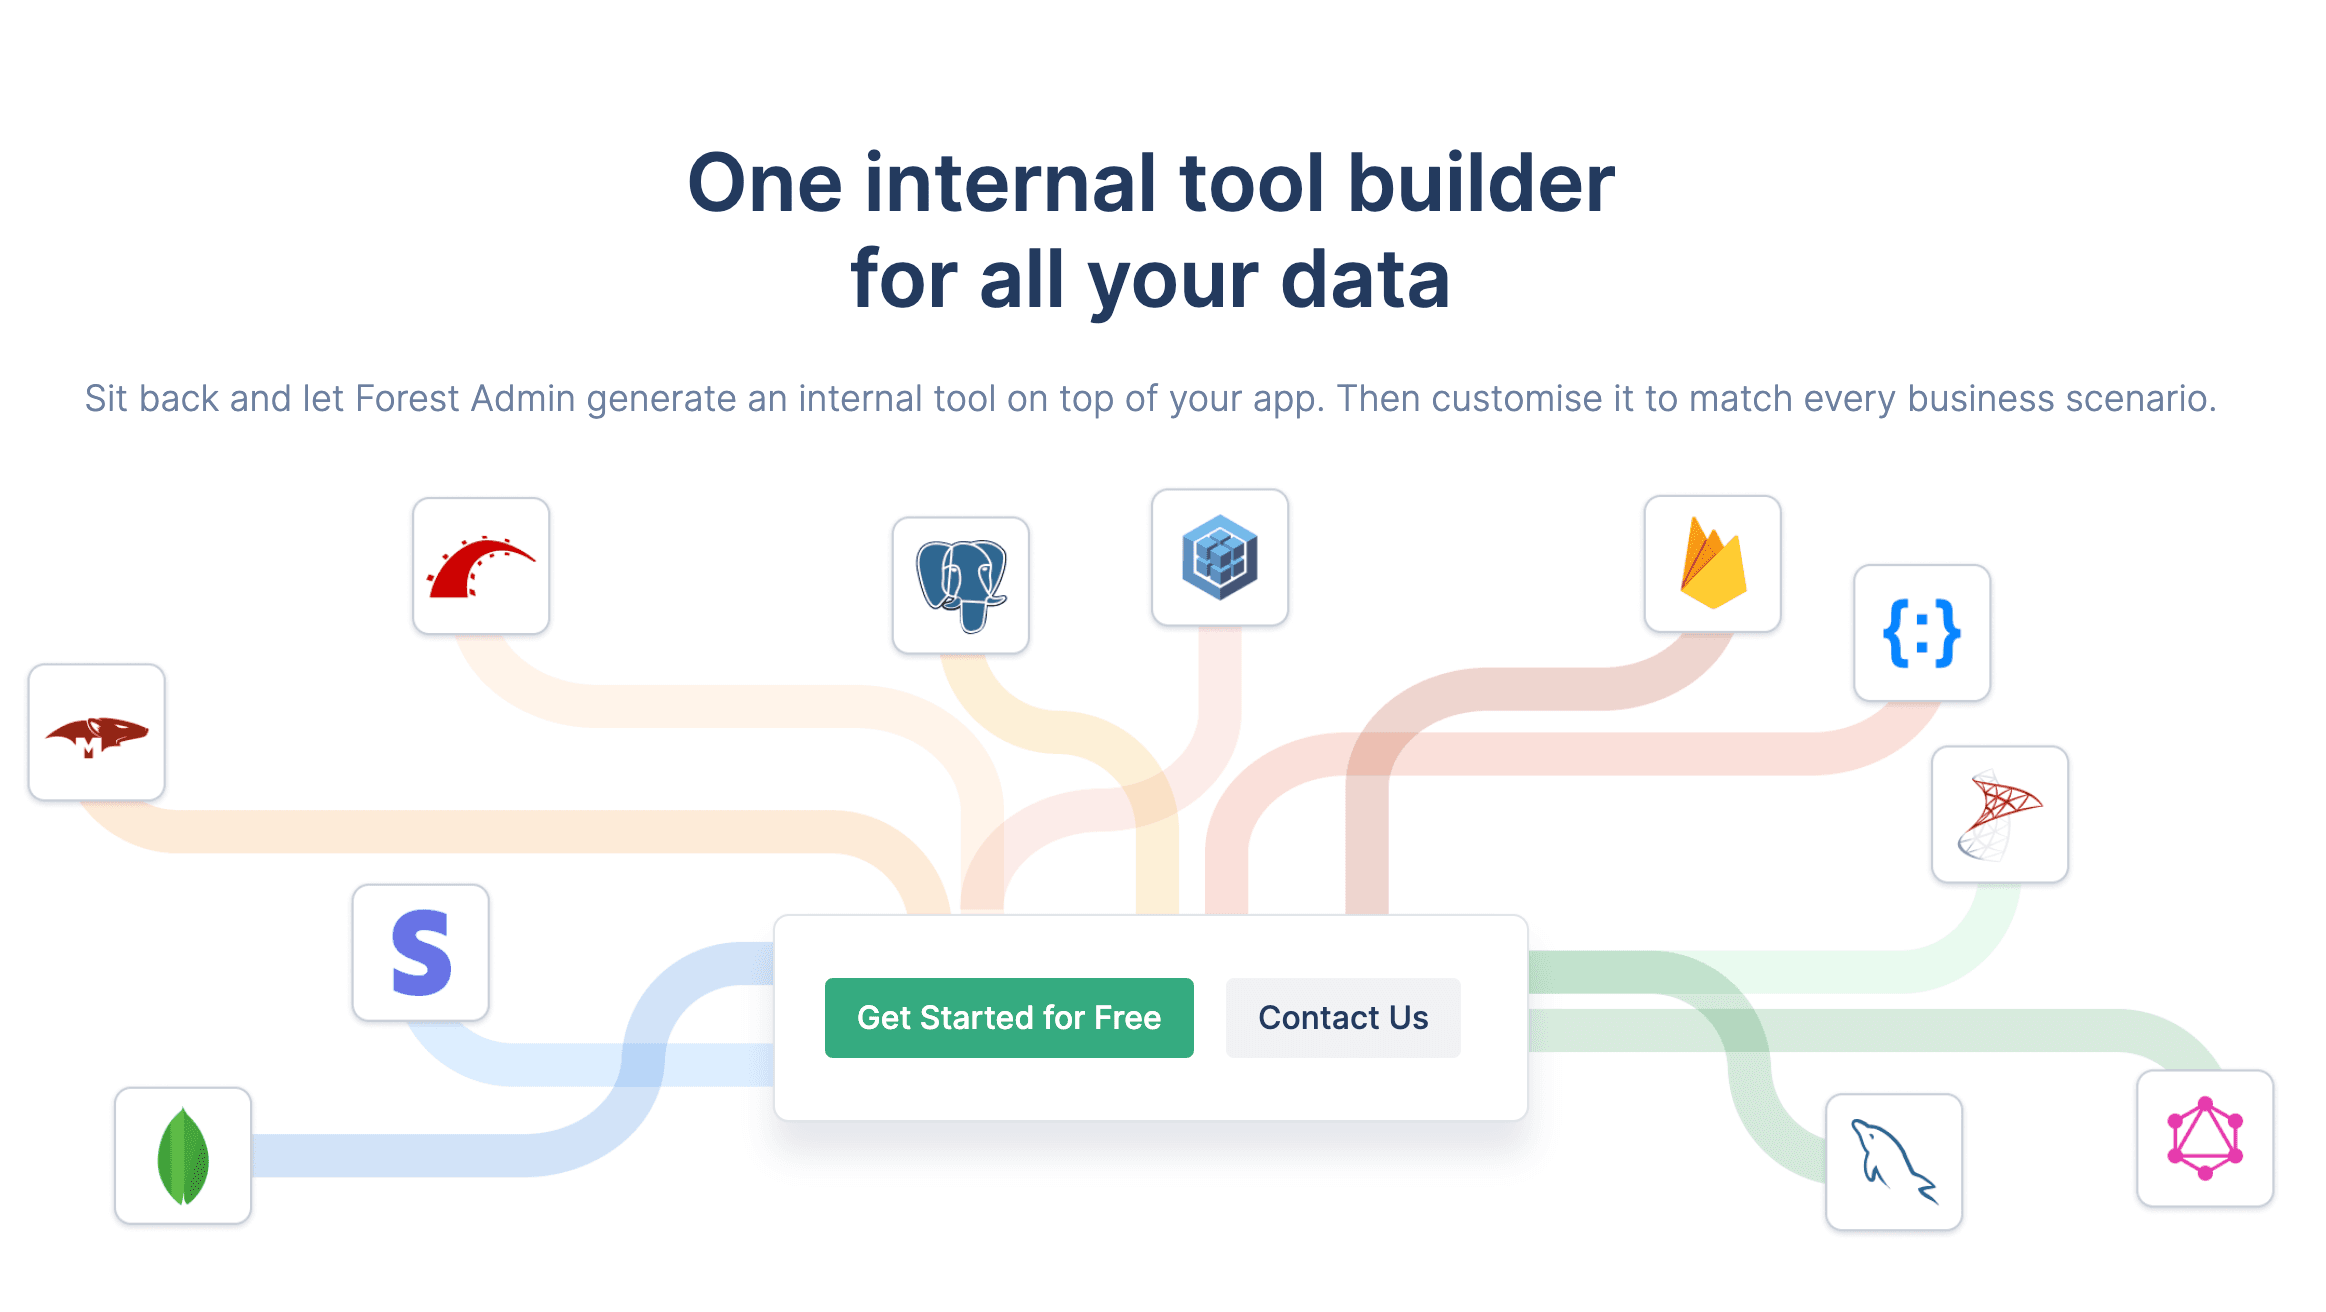
For web companies that need to manage their application's data to support internal operations, Forest Admin provides a SaaS admin panel that is automatically generated on top of their database. Thanks to its user-friendly GUI, both developers and non-dev users can manage data, create custom dashboards, and perform a wide range of administrative tasks for their applications. On top of that, Forest Admin provides a powerful system for managing user permissions and access control, allowing users to create custom roles and assign different levels of access to different users.
Simply provide your Supabase URI, and in just 30 seconds you’ll have a powerful admin panel that goes beyond basic CRUD operations, offering enhanced data handling capabilities through powerful smart actions.
Documentation
This guide outlines how to instantly generate an Admin Panel on top of your Supabase backend.
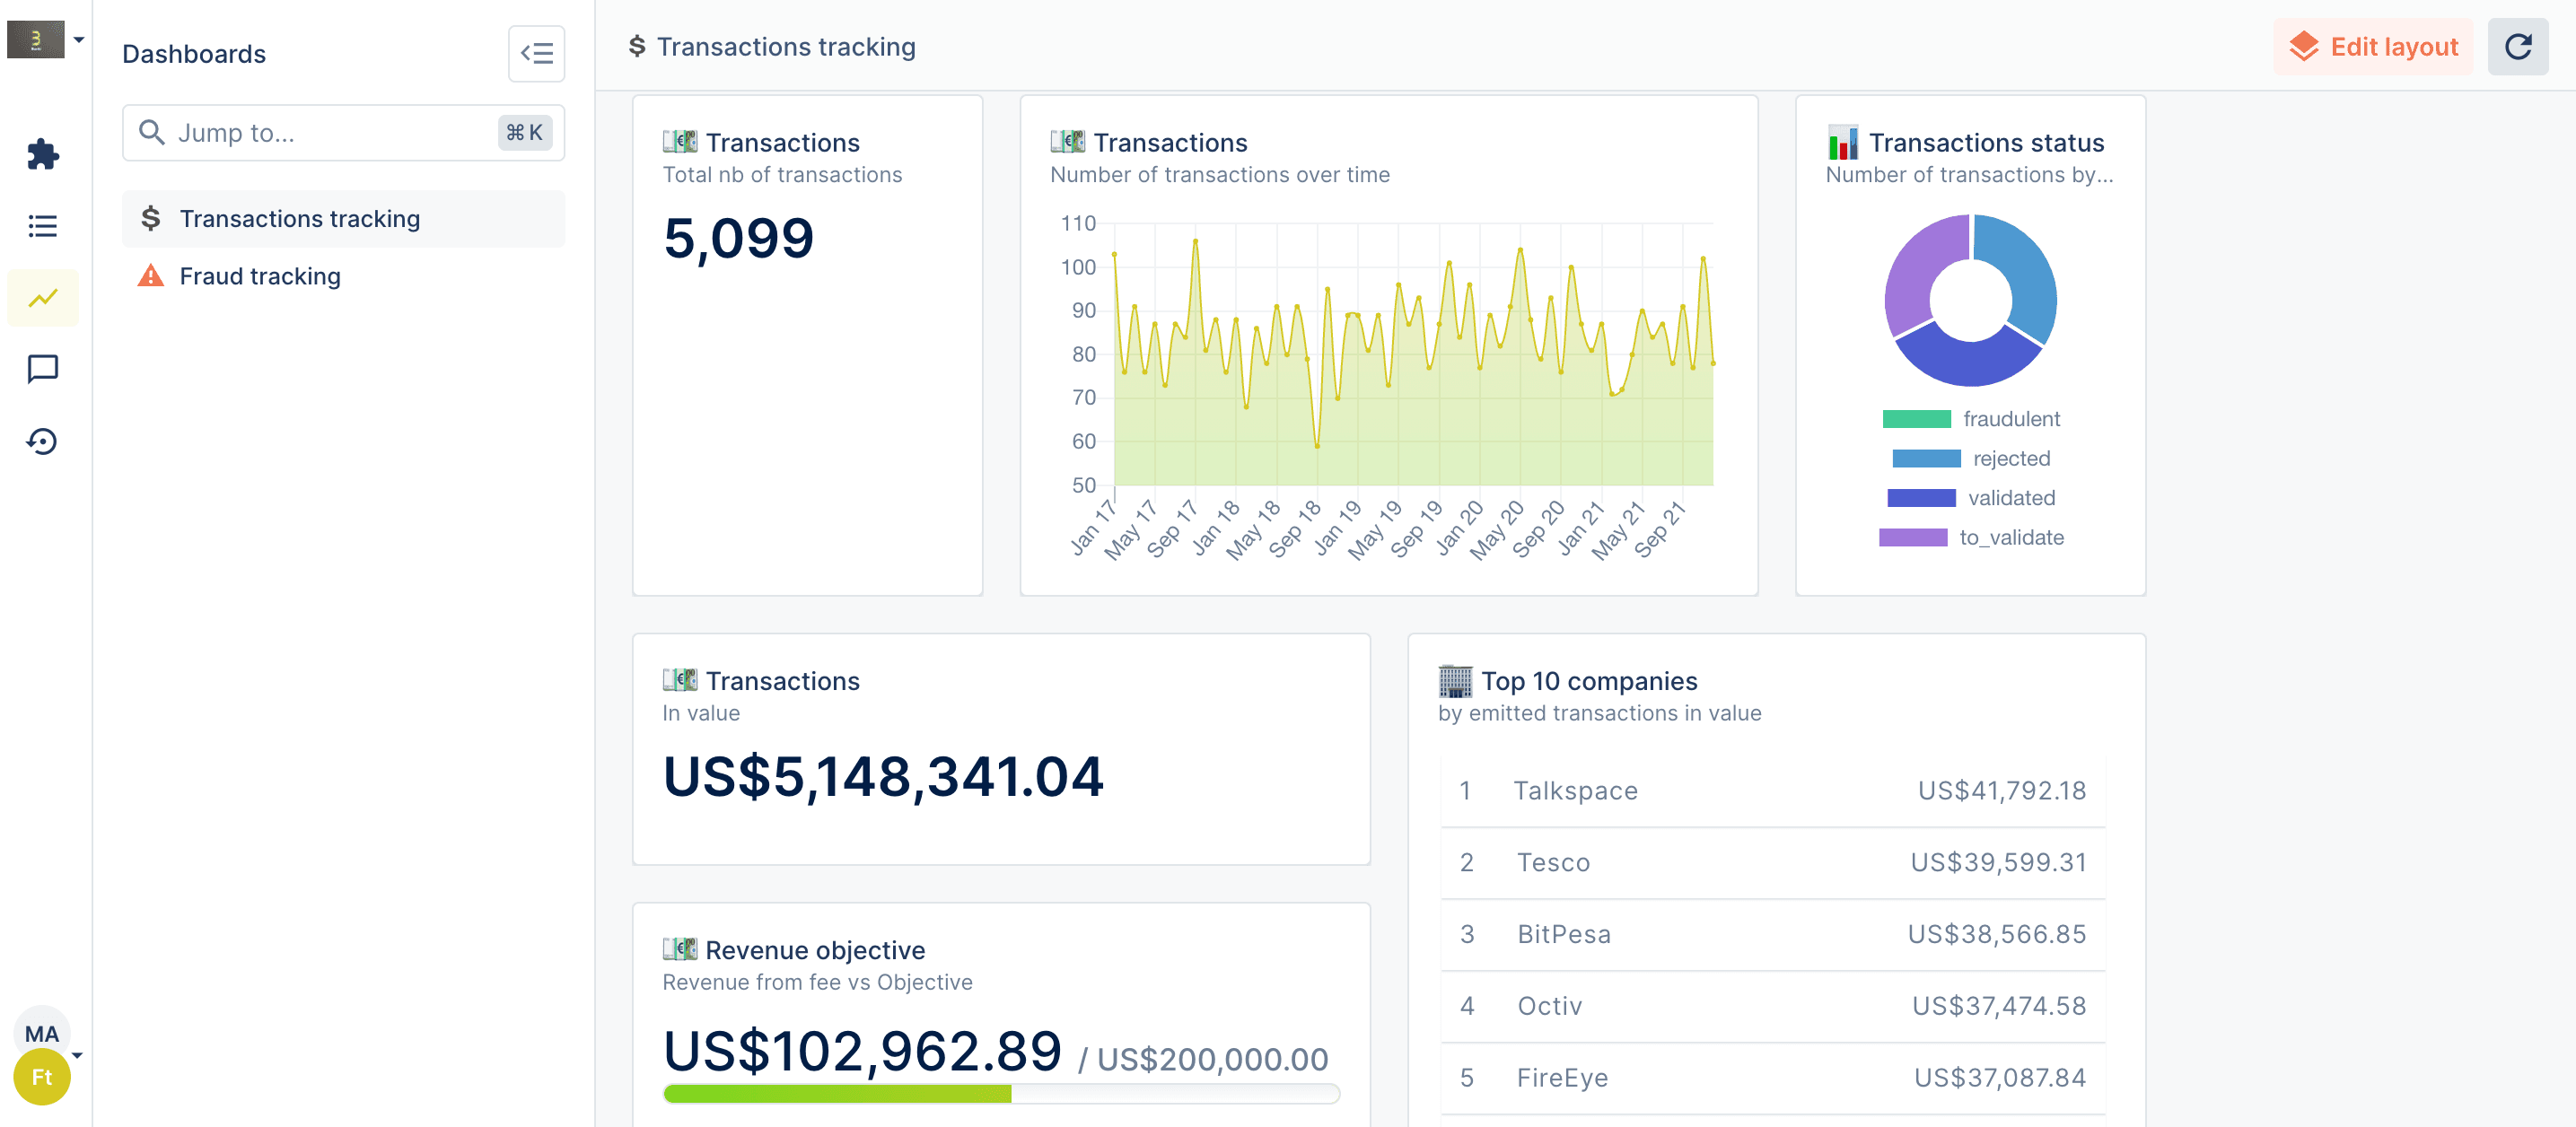
Forest Admin offers an off-the-shelf Admin Panel system that can reduce the amount of time and effort needed to create, maintain, and manage internal tools. It automatically builds a backend API and provides a user-friendly interface to Create, Read, Update and Delete, Search, Segment your data, trigger custom actions, control permissions, and set up workflows on top of your app's data.
If you don’t have a Forest Admin account, you can create one in a few minutes here.
Let’s get started!
Step 1: Configure your Supabase Backend
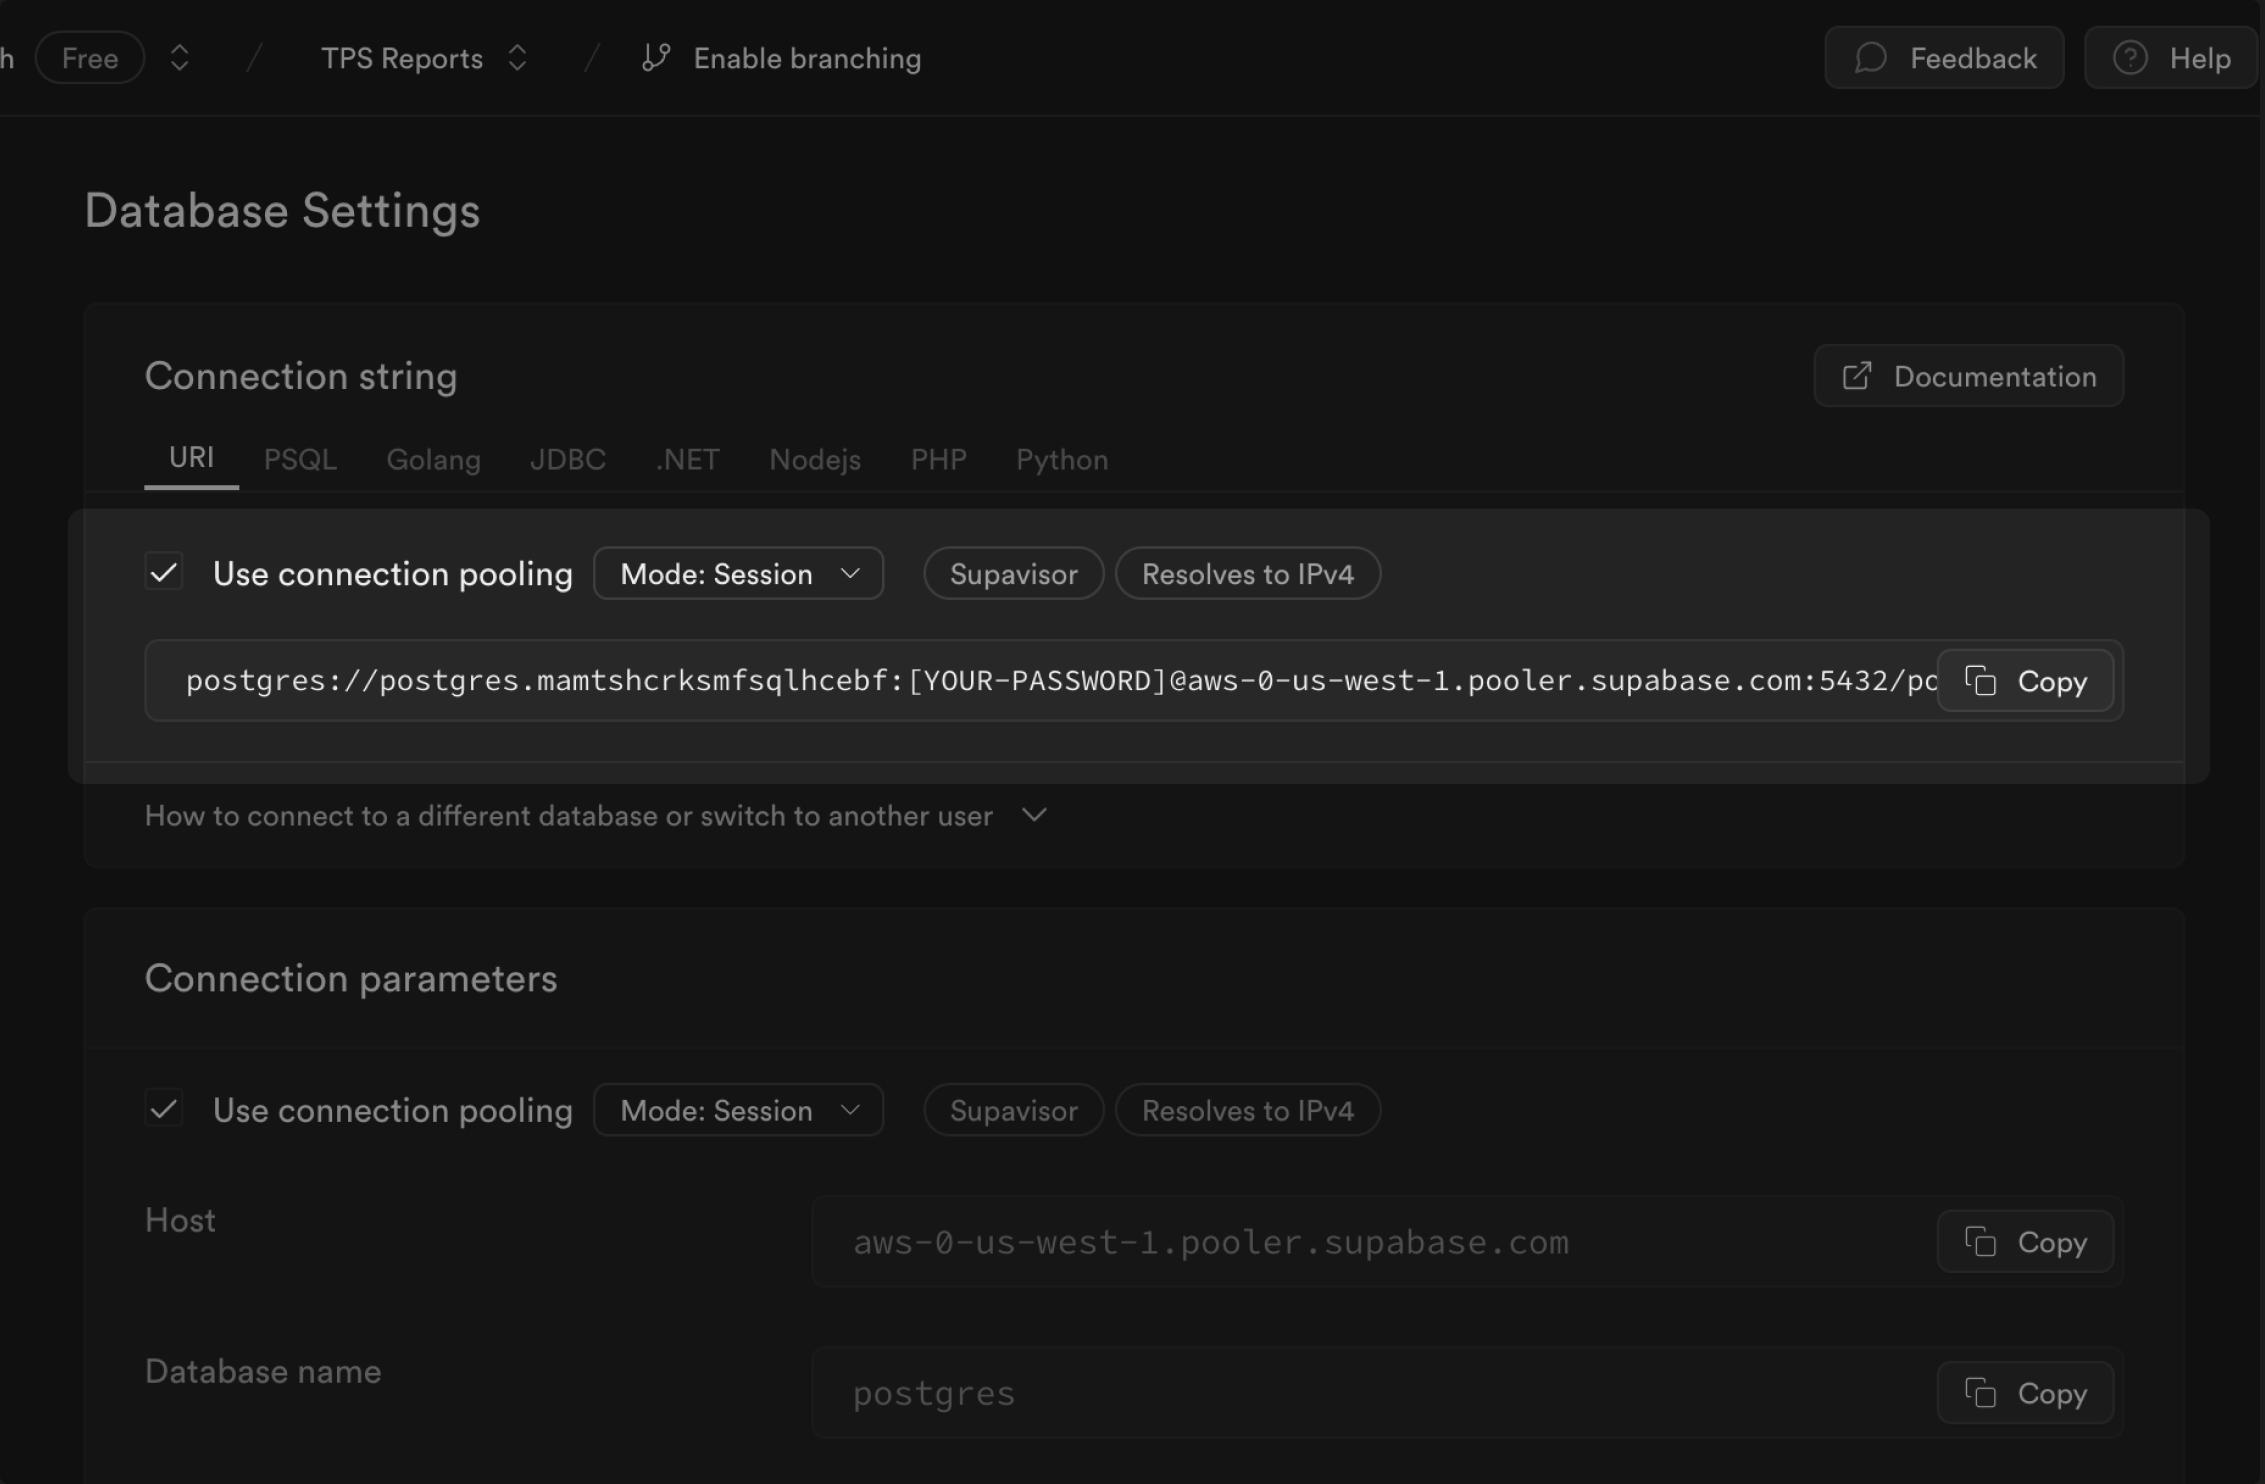
If you already have a Supabase project set up, simply go to the Project Settings / Database tab to access the Database Settings and retrieve the connection string (URI tab). This is the only information you will need to connect your Supabase account to Forest Admin.
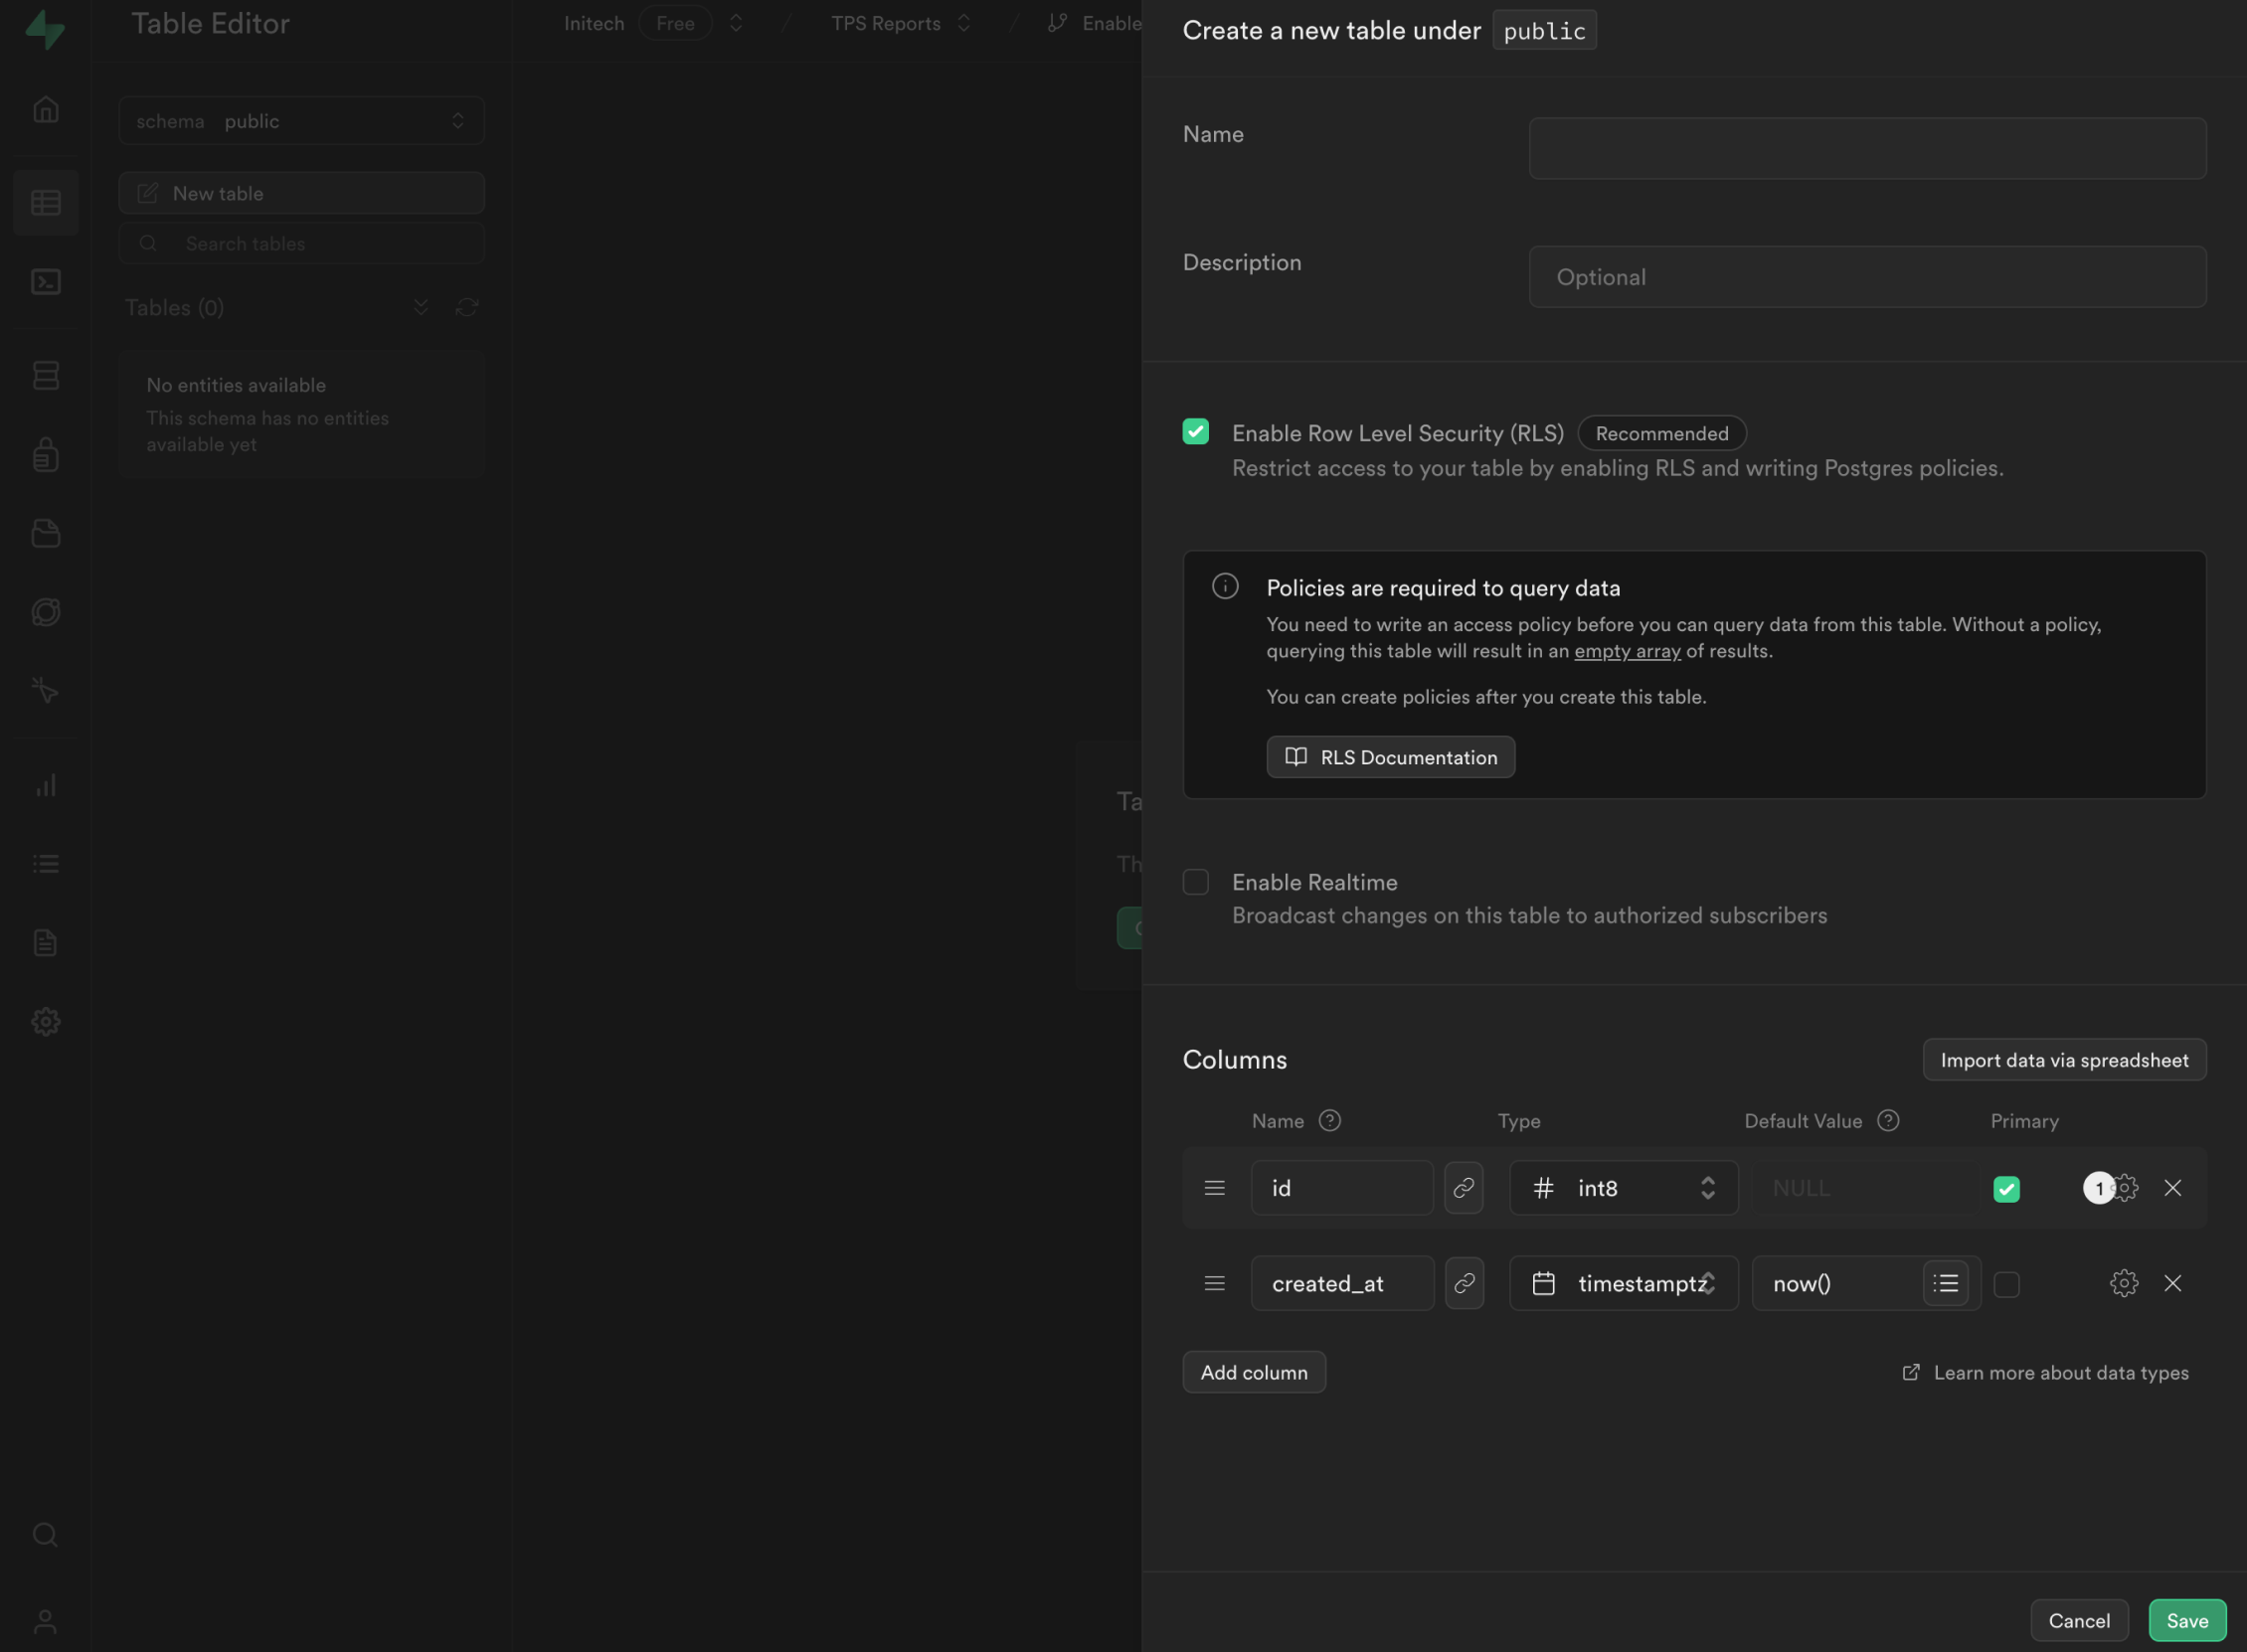
If you don't have anything set up on Supabase yet, you can create a Project in just a few seconds. Once done, just go to the Database tab and create your first table.
Step 2: Connect the database to Forest Admin
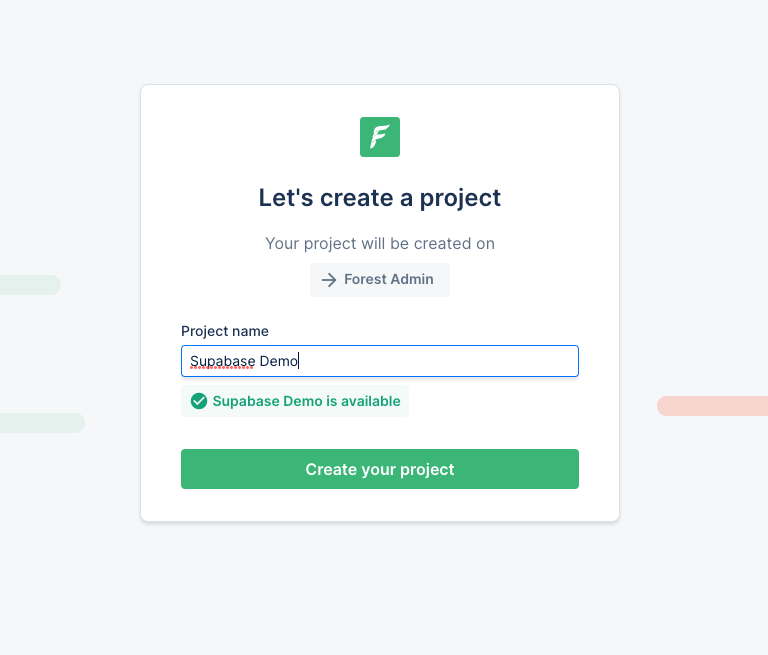
First, you have to create a new project on Forest Admin:
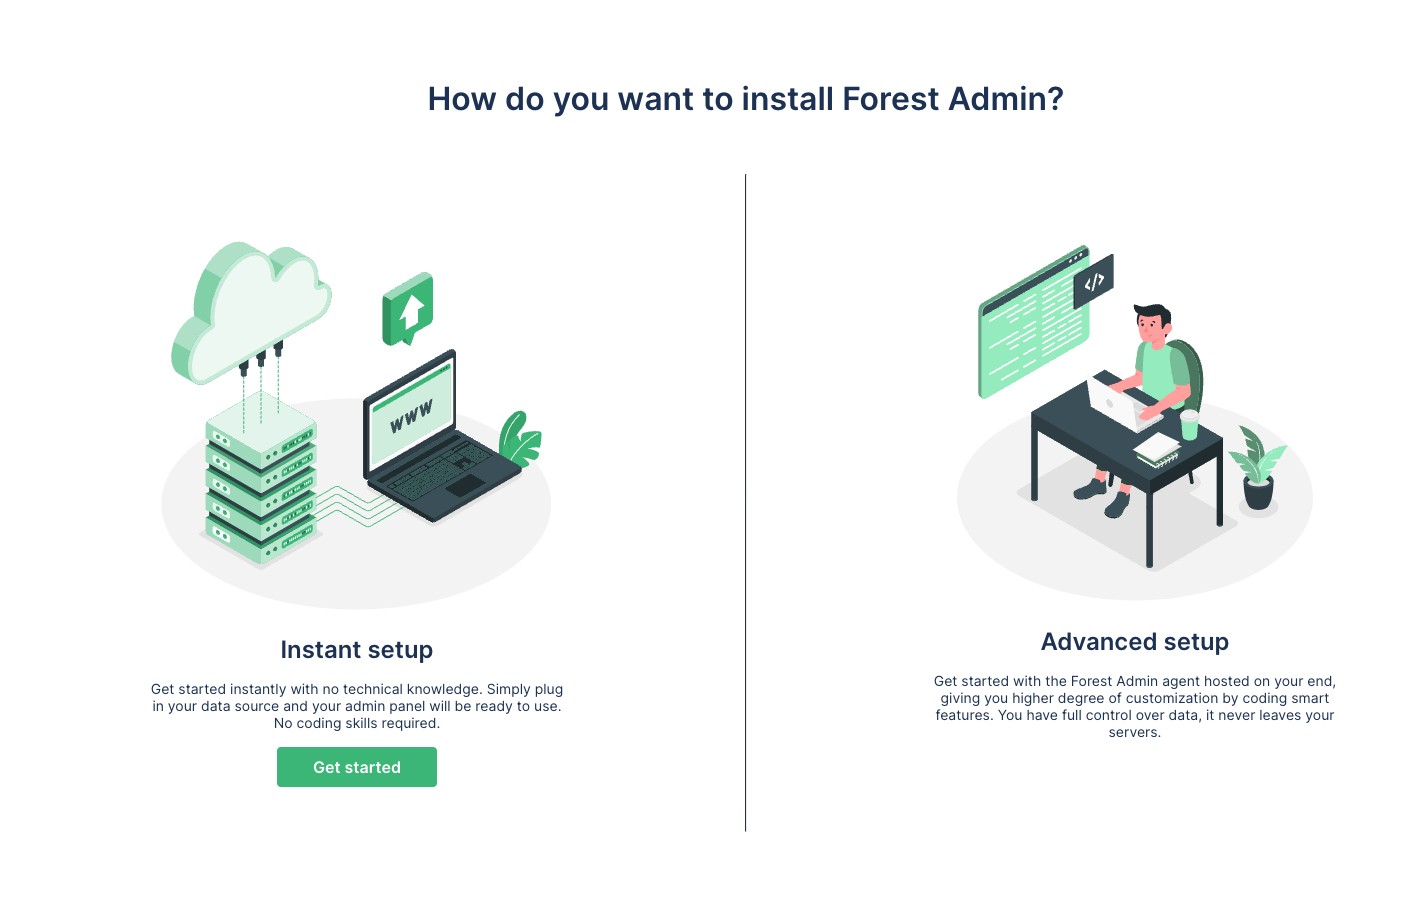
Then, you can use Forest Admin's Instant Setup for the Cloud mode to quickly get started. Alternatively, you can host the generated backend admin API on your own (Advanced setup), giving you full control of the backend code. In this guide, we will use the Cloud mode and the Instant Setup.
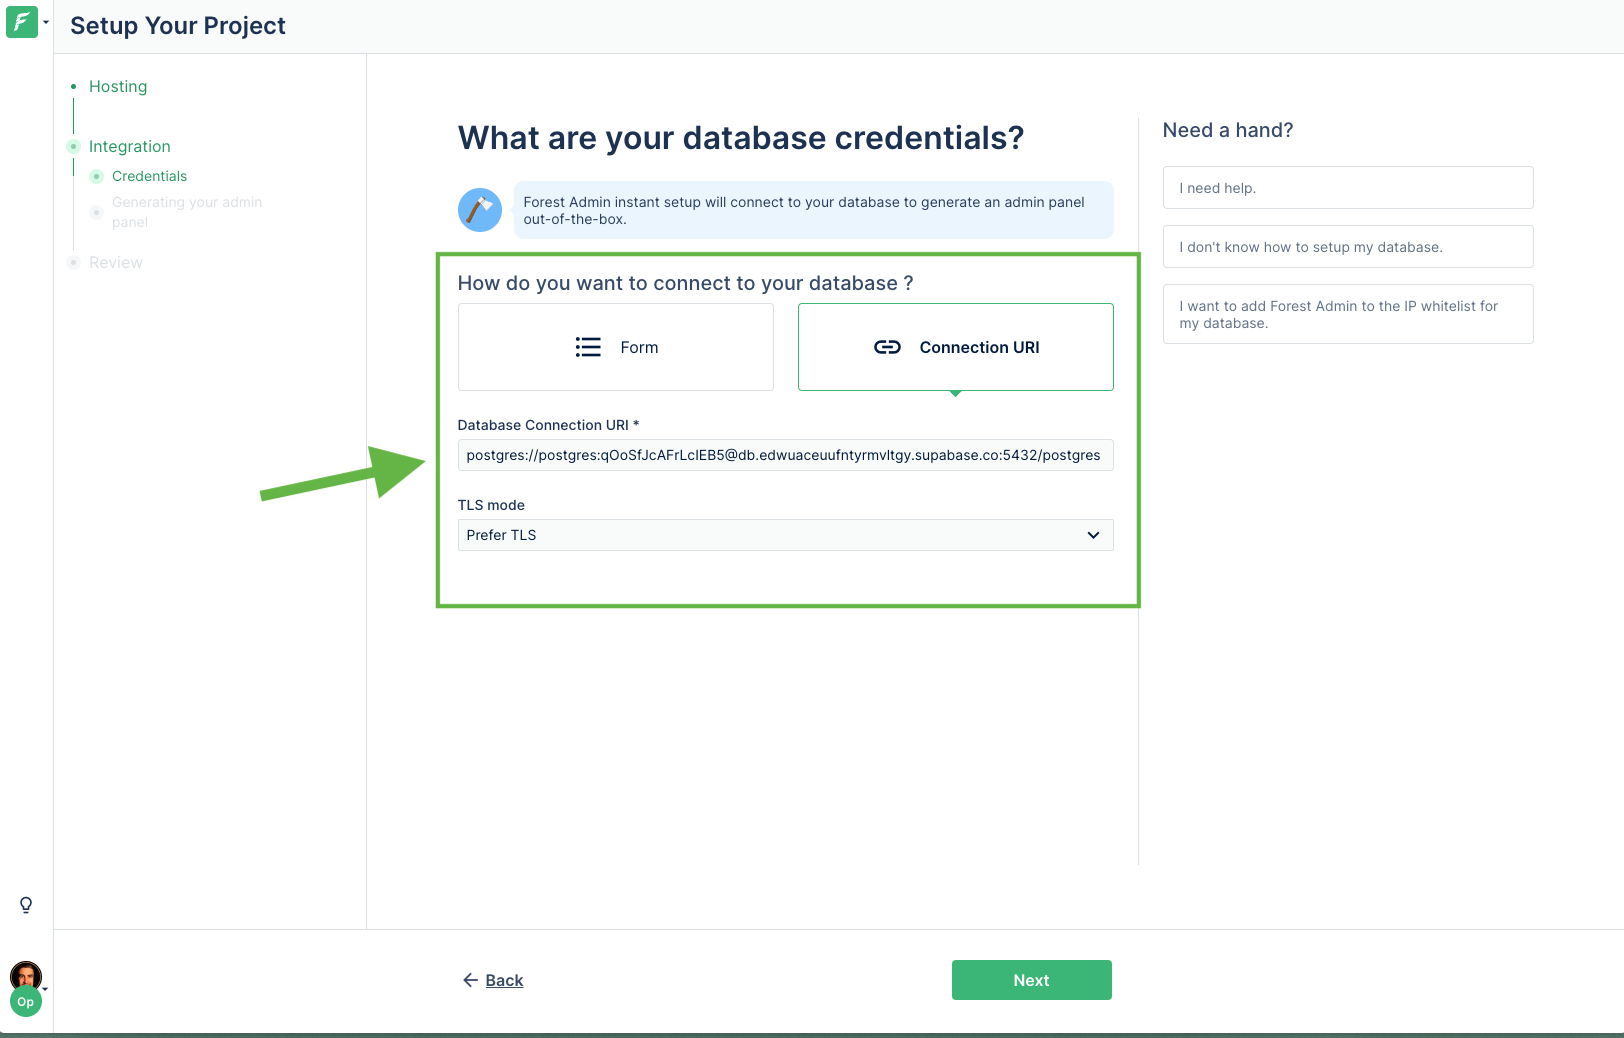
Finally, you can enter the database credentials you obtained in Step 1 and set them in Forest Admin by using the Connection URI mode. Don't forget to replace the password in the connection string with the database password you set in Supabase. Note that if you forget it, you can always go to your Supabase Database settings and reset your database password.
You're all done!
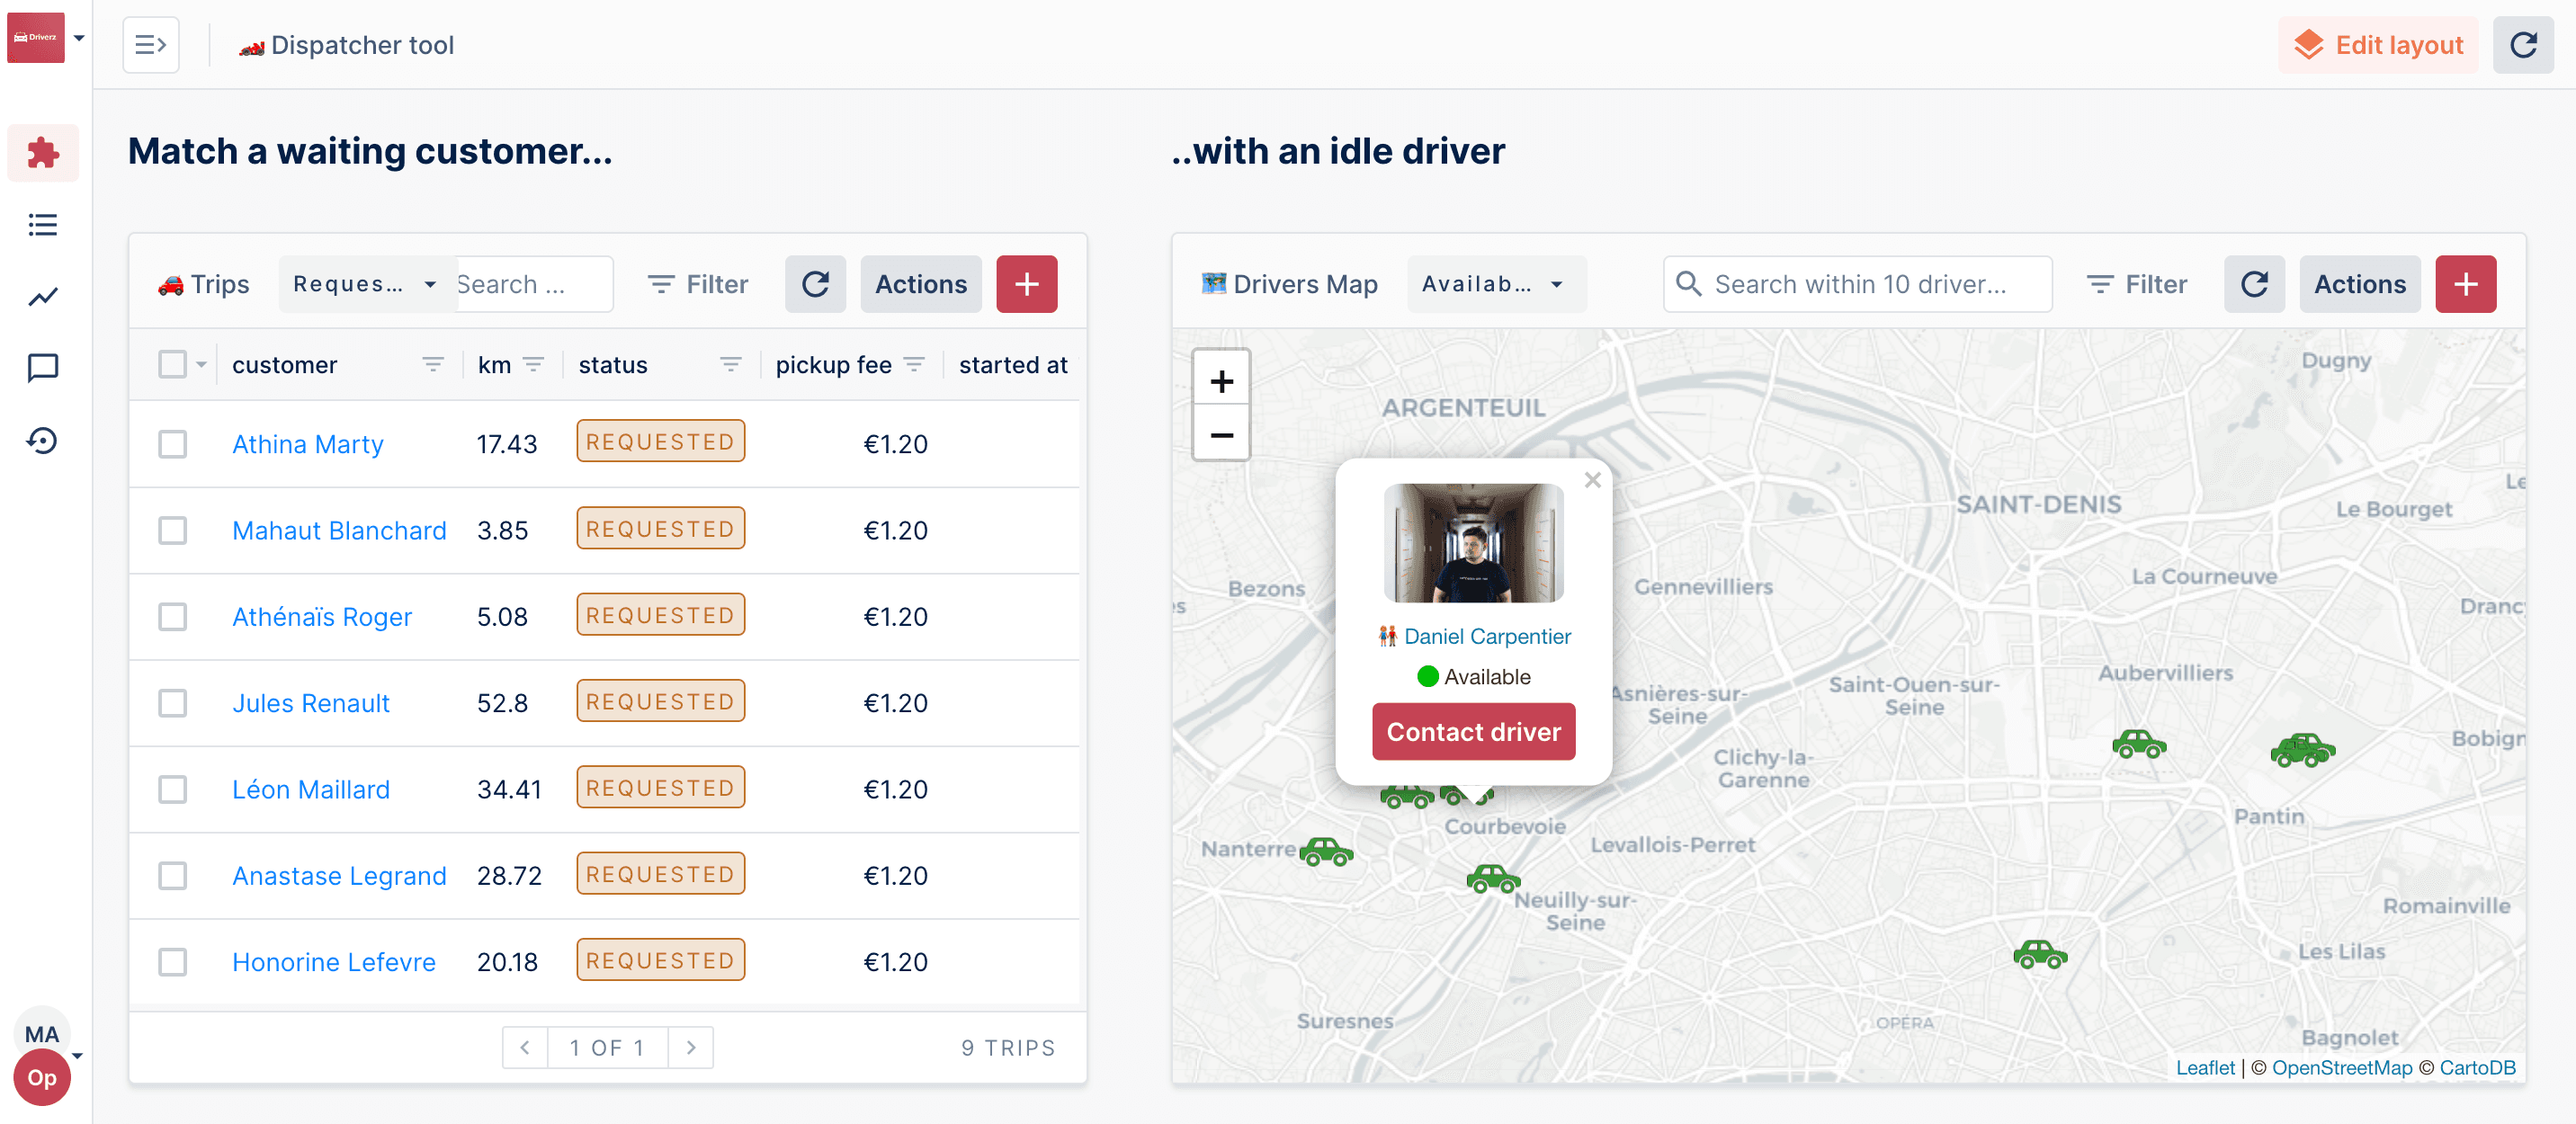
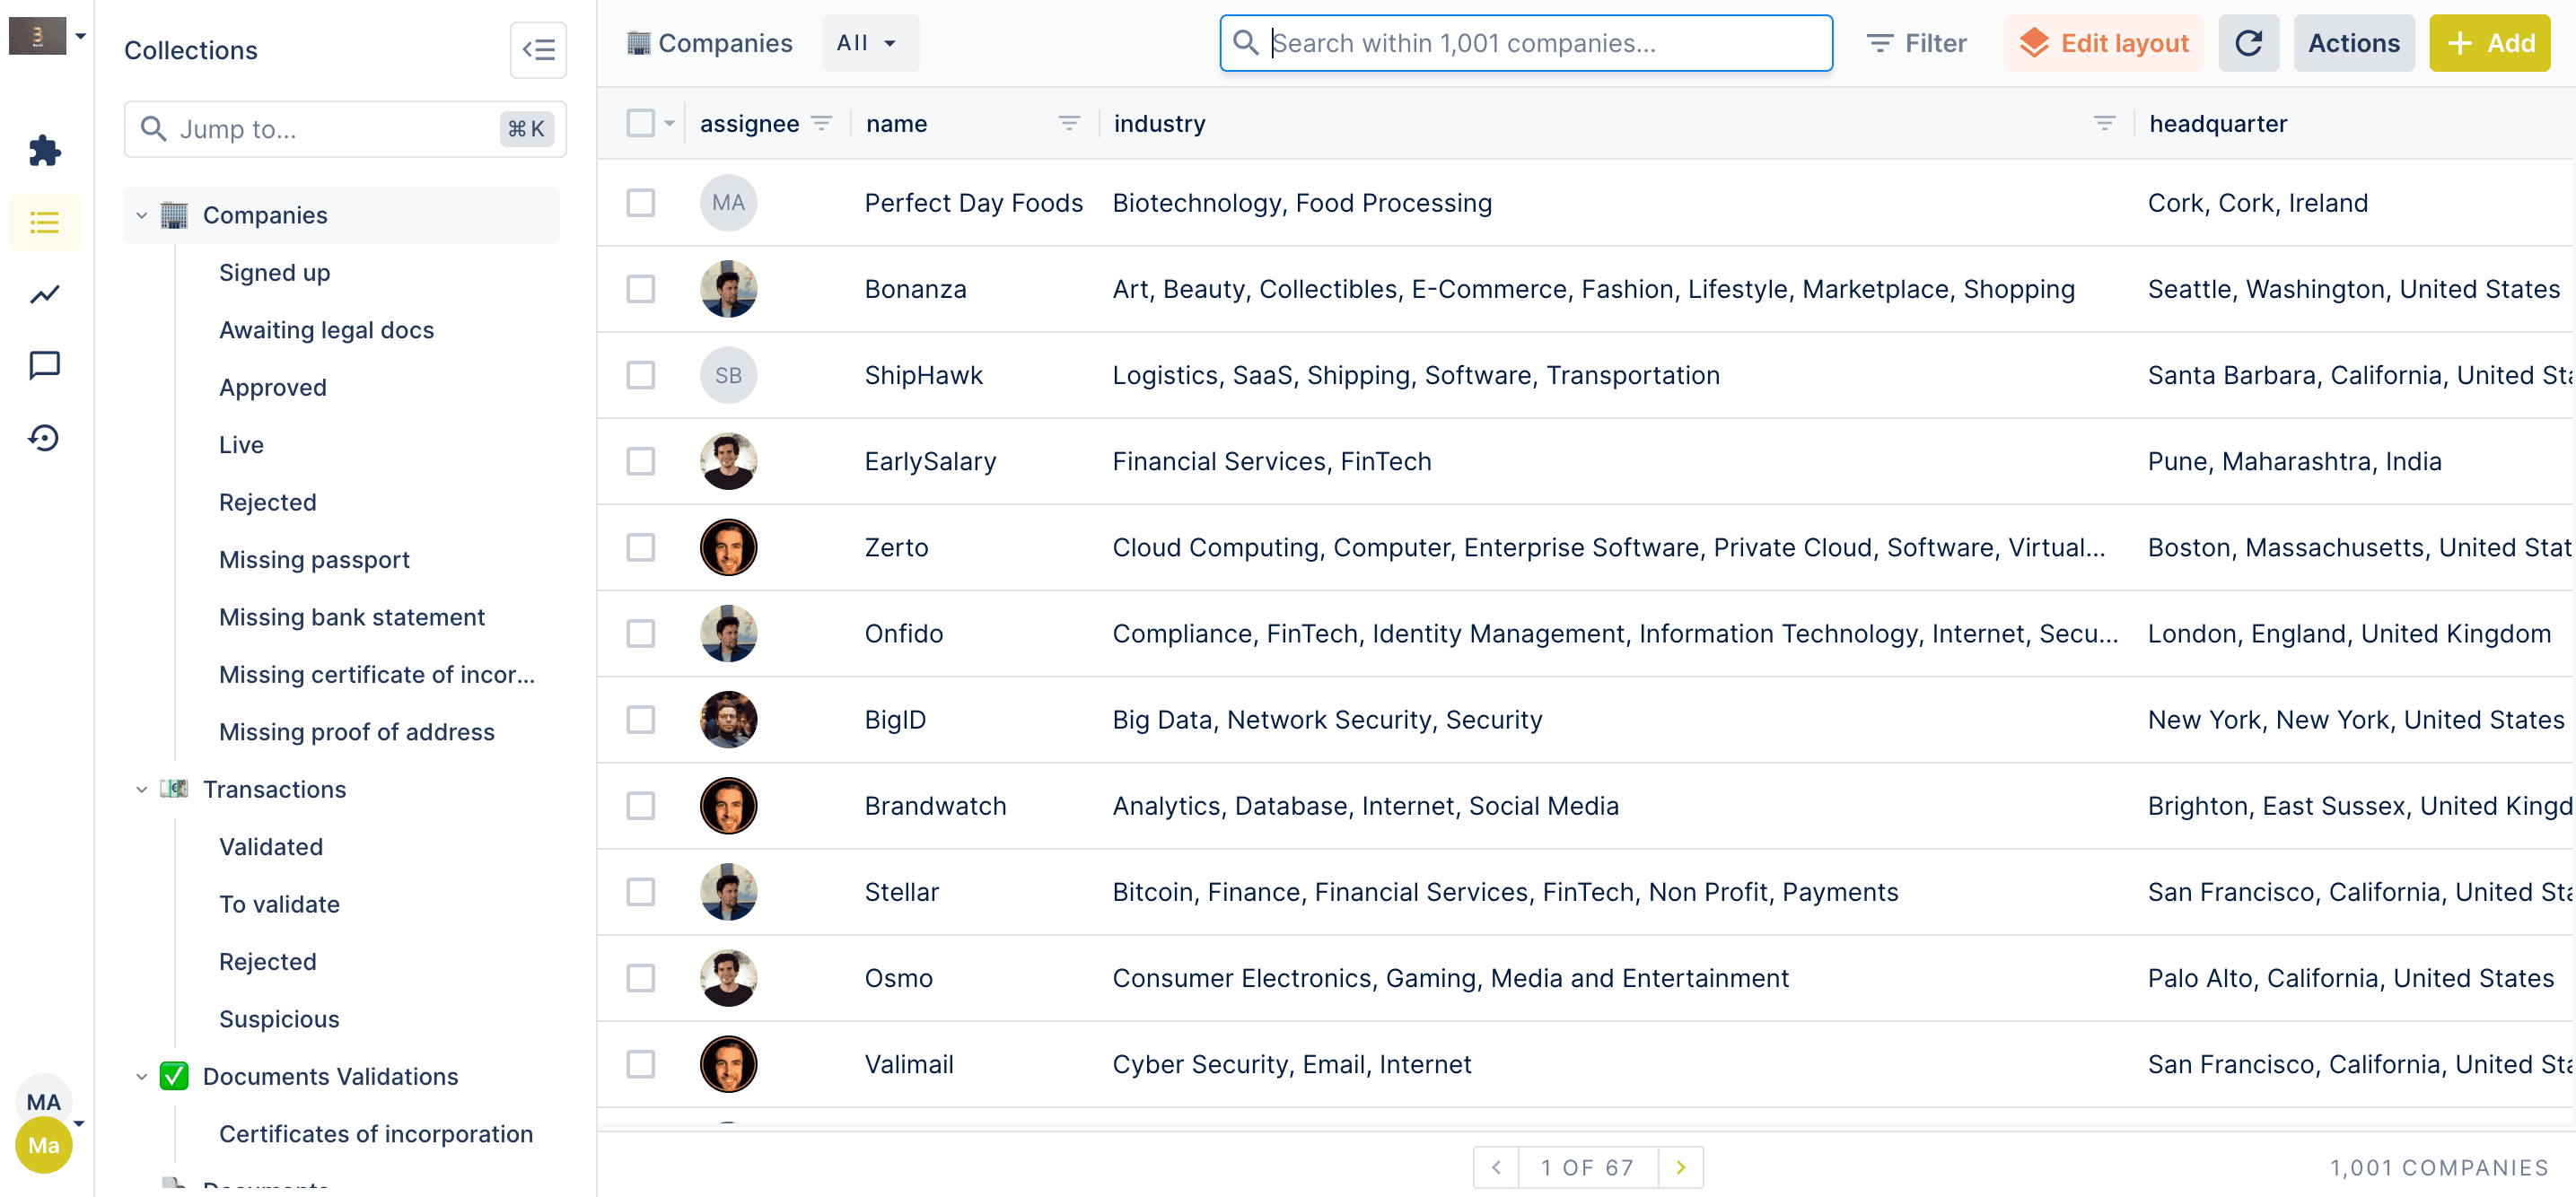
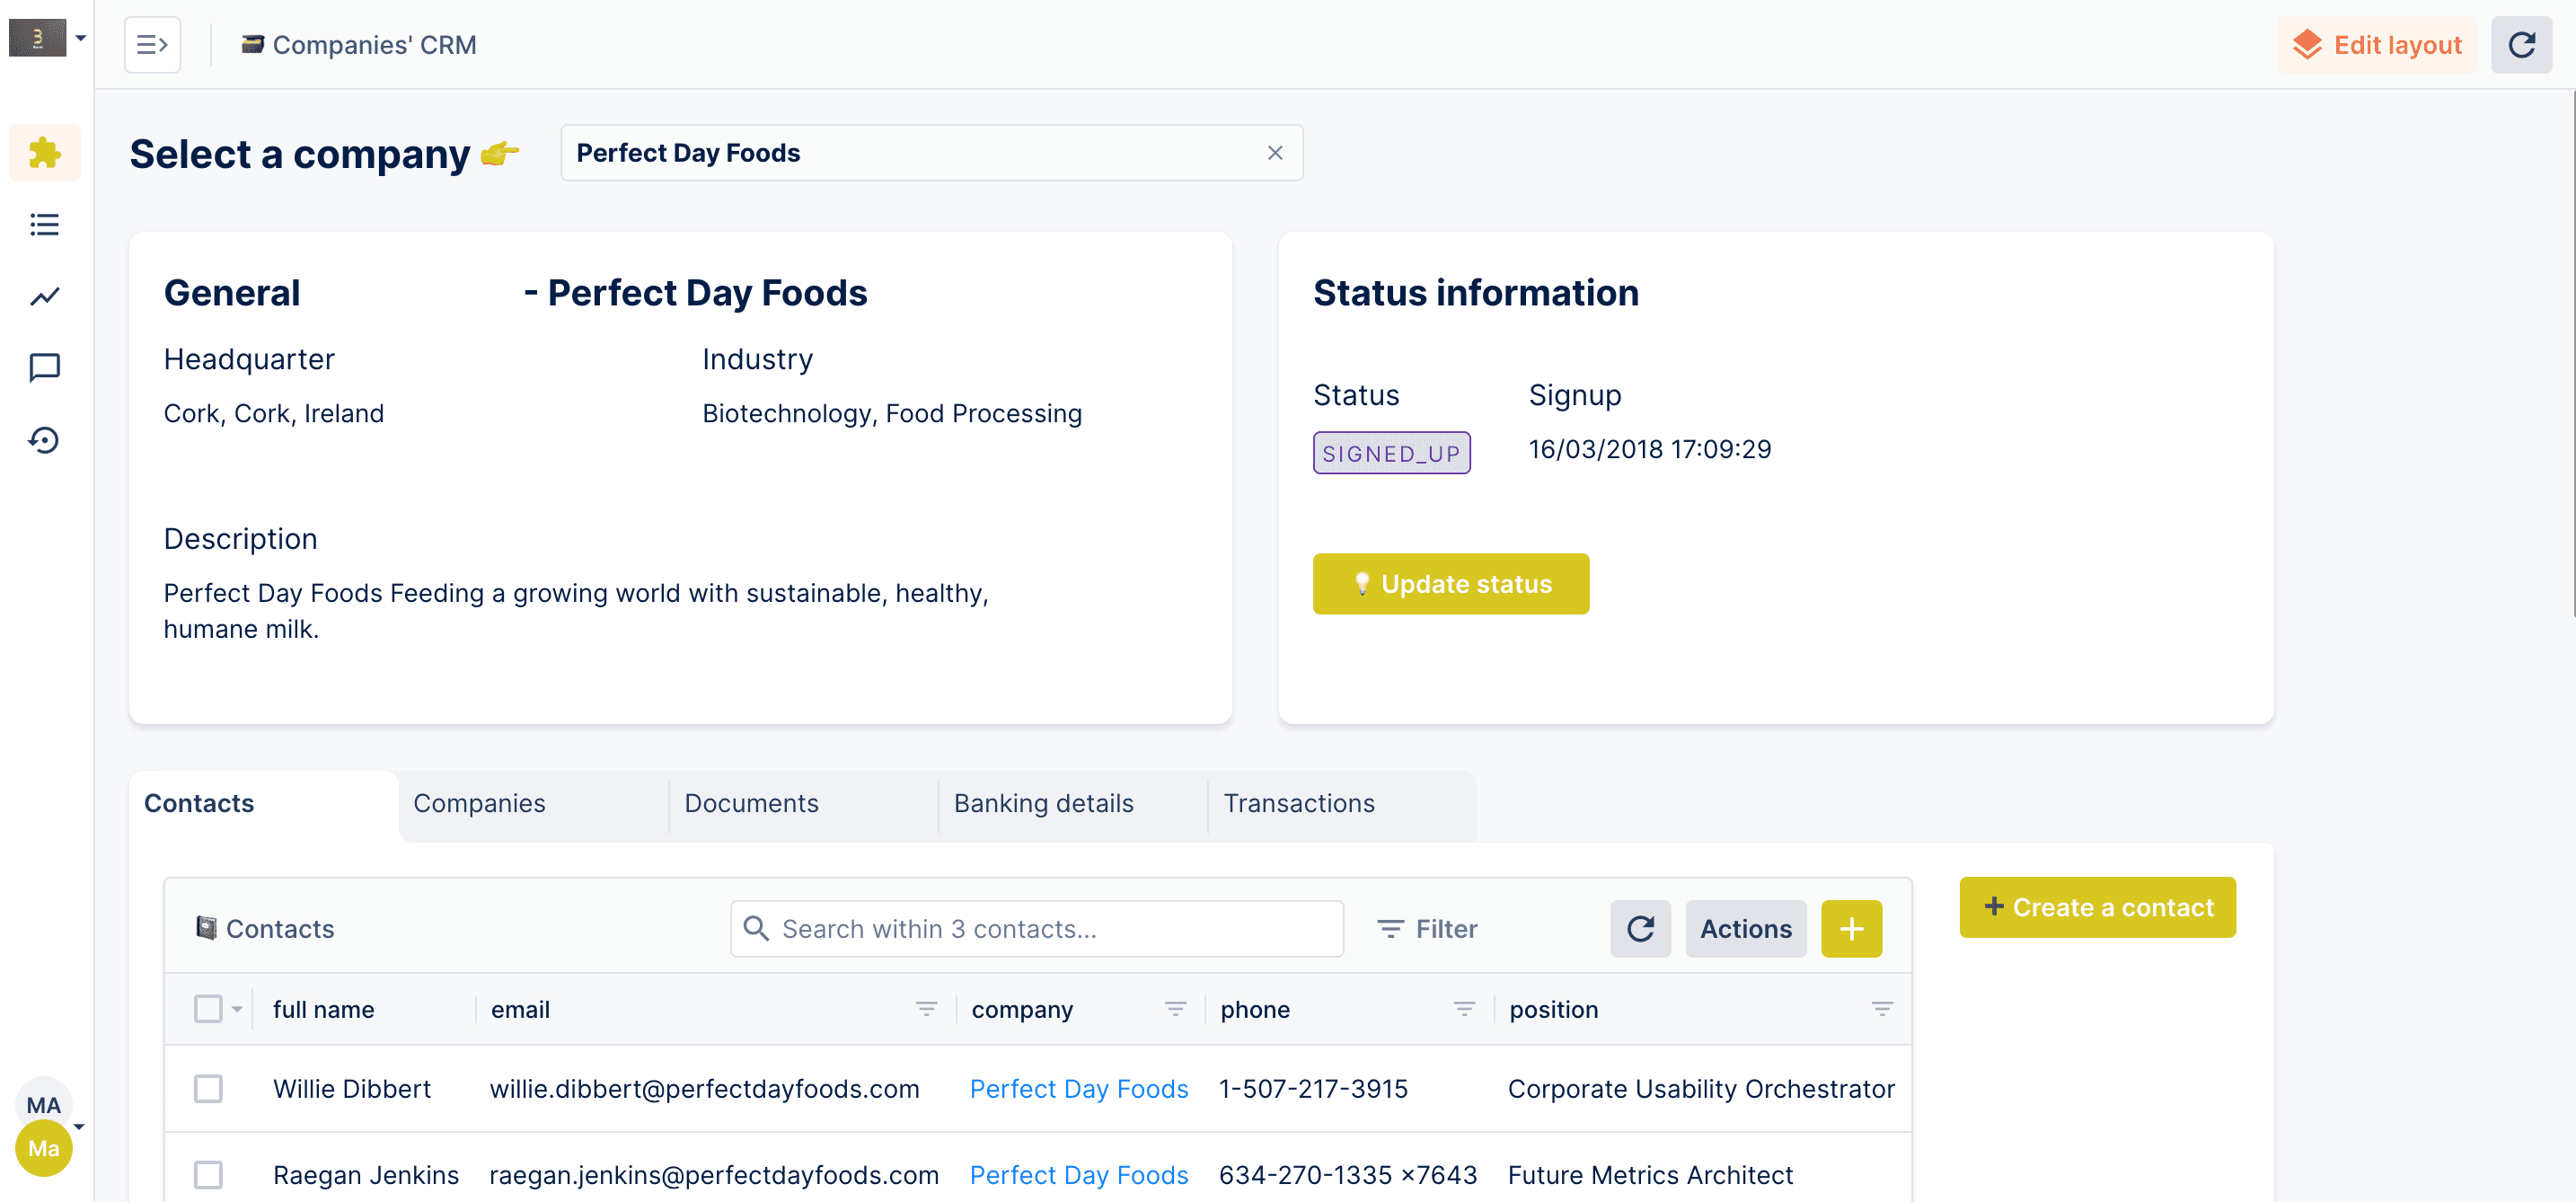
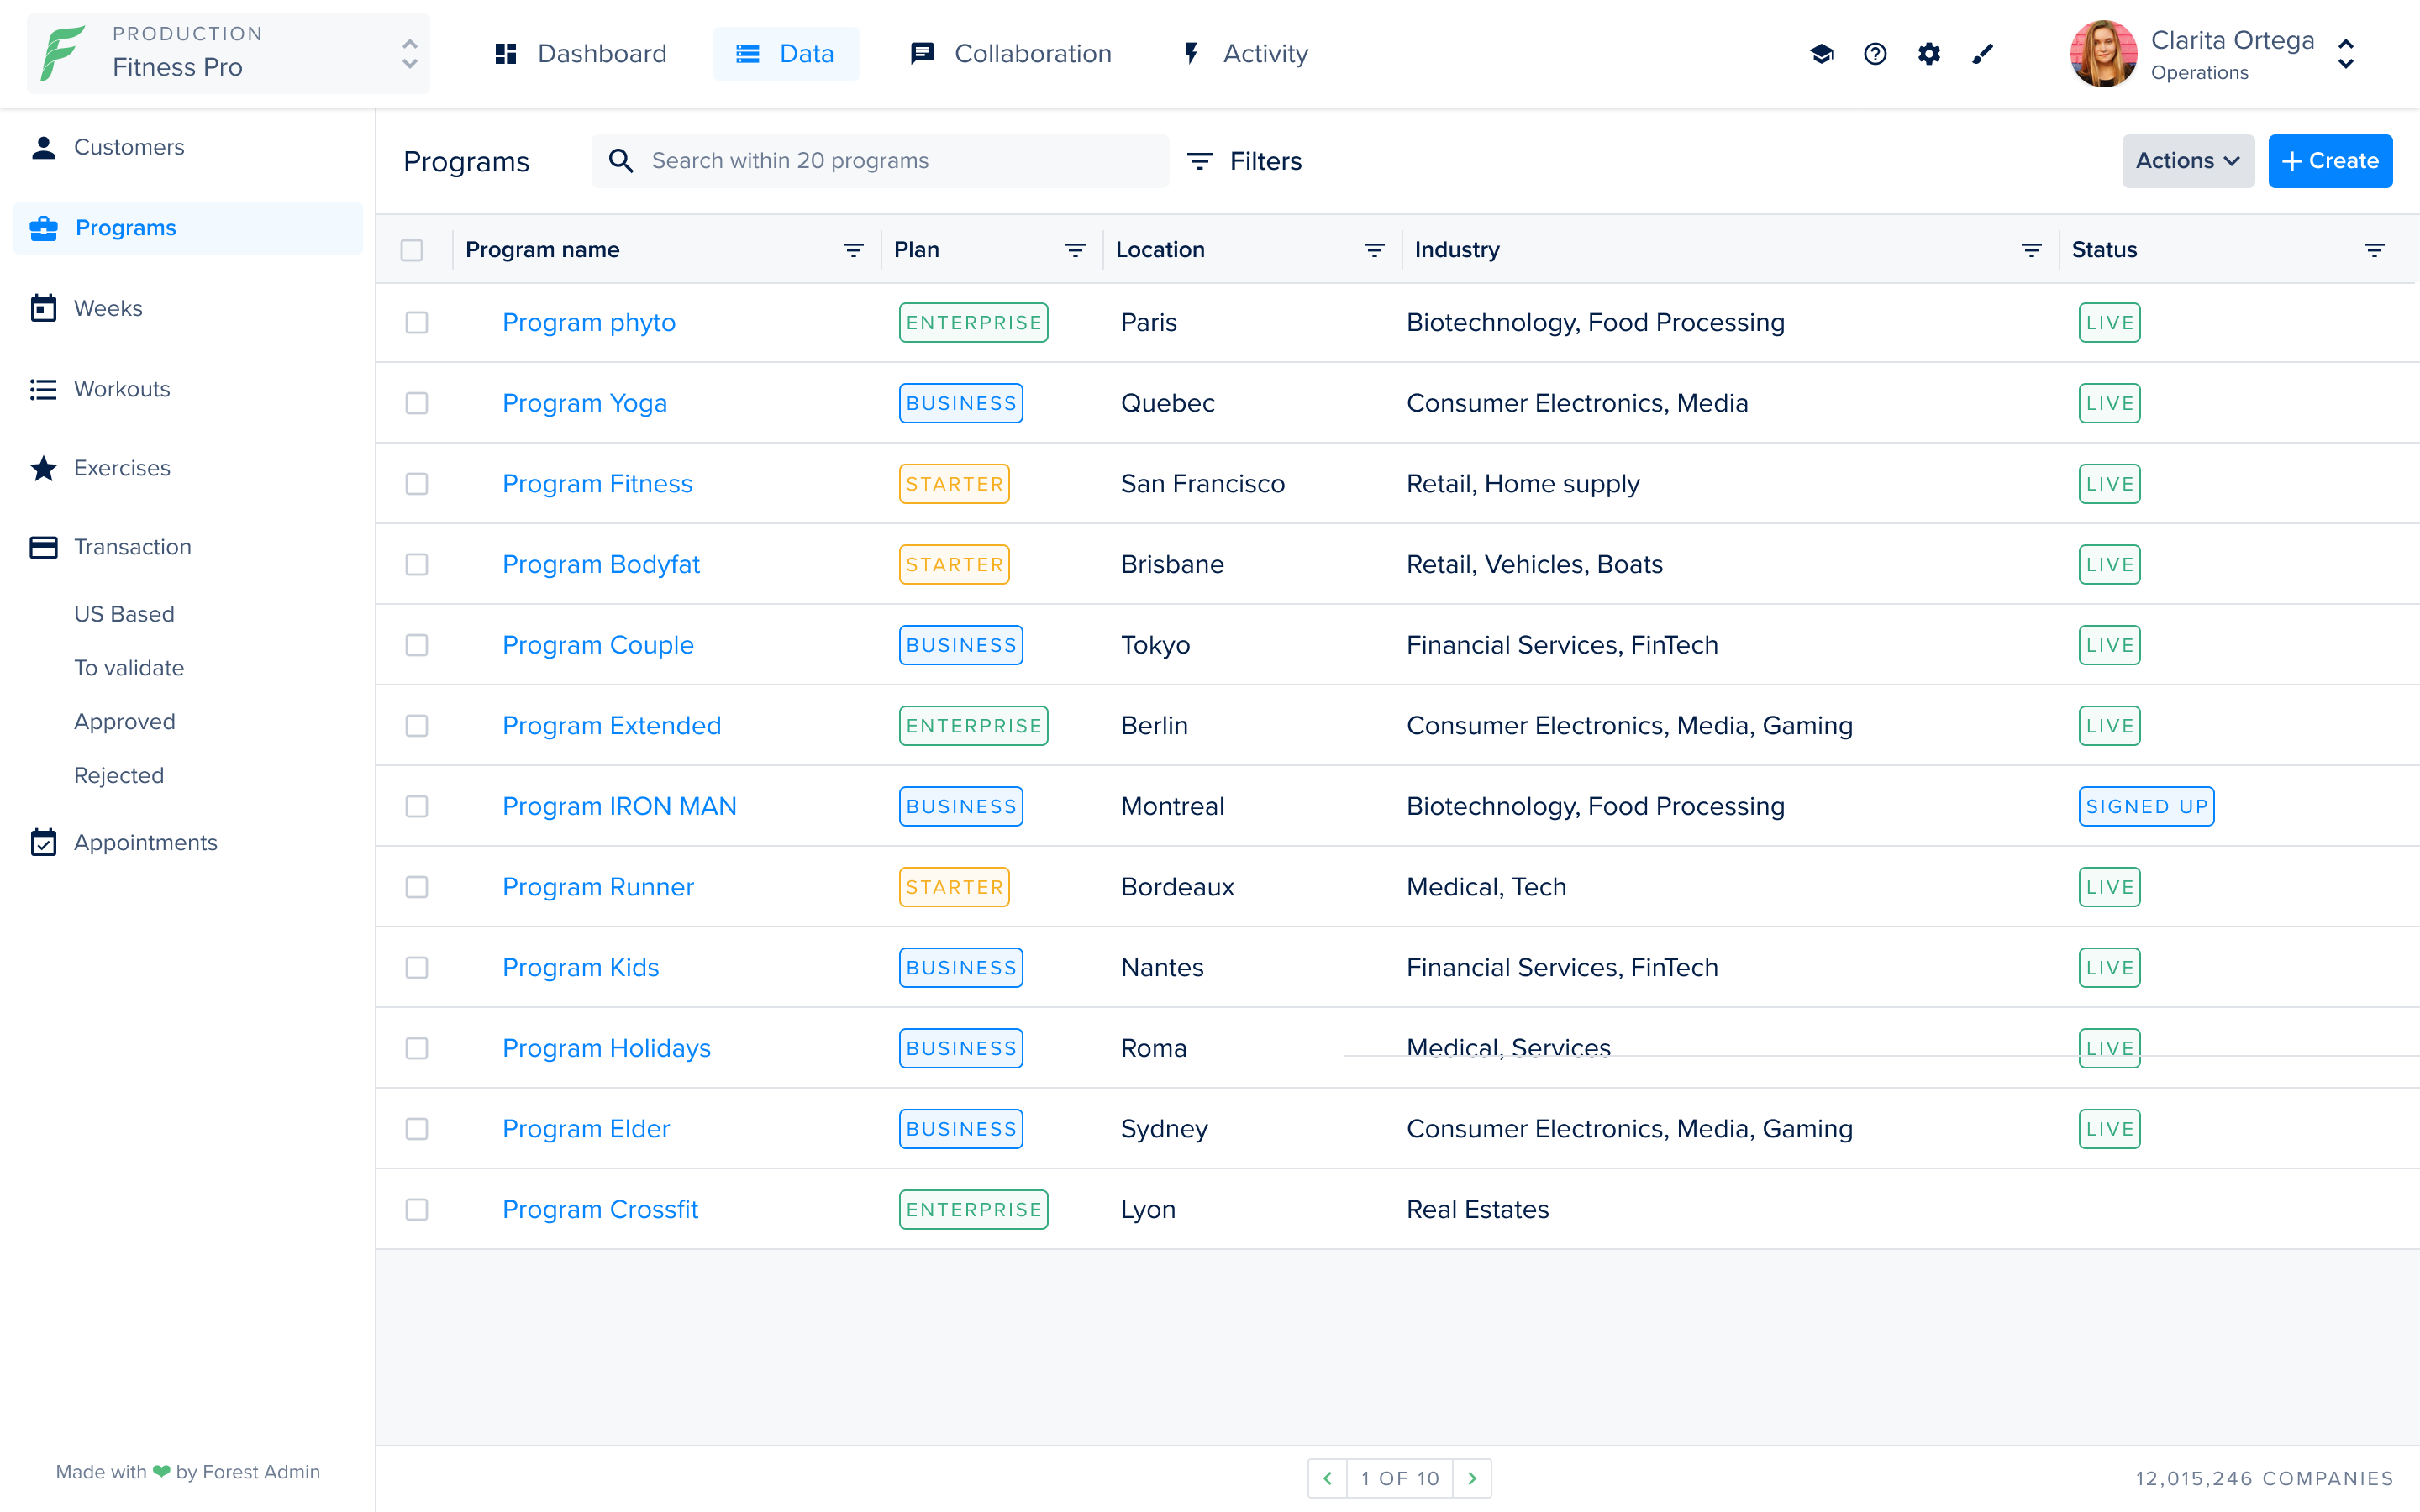
There it is, the configuration of Forest Admin is now complete and your admin panel is now ready-to-use with all the features of an admin panel provided out of the box. You can now browse or manipulate all your data in a structured way, use search with support for complex filters, build dashboards, invite your team mates and start collaborating around your business operations and much more.
Resources
- Forest Admin official website.
- Forest Admin GitHub.
- Forest Admin documentation.
Details
Third-party integrations and docs are managed by Supabase partners.