Keyri

Overview
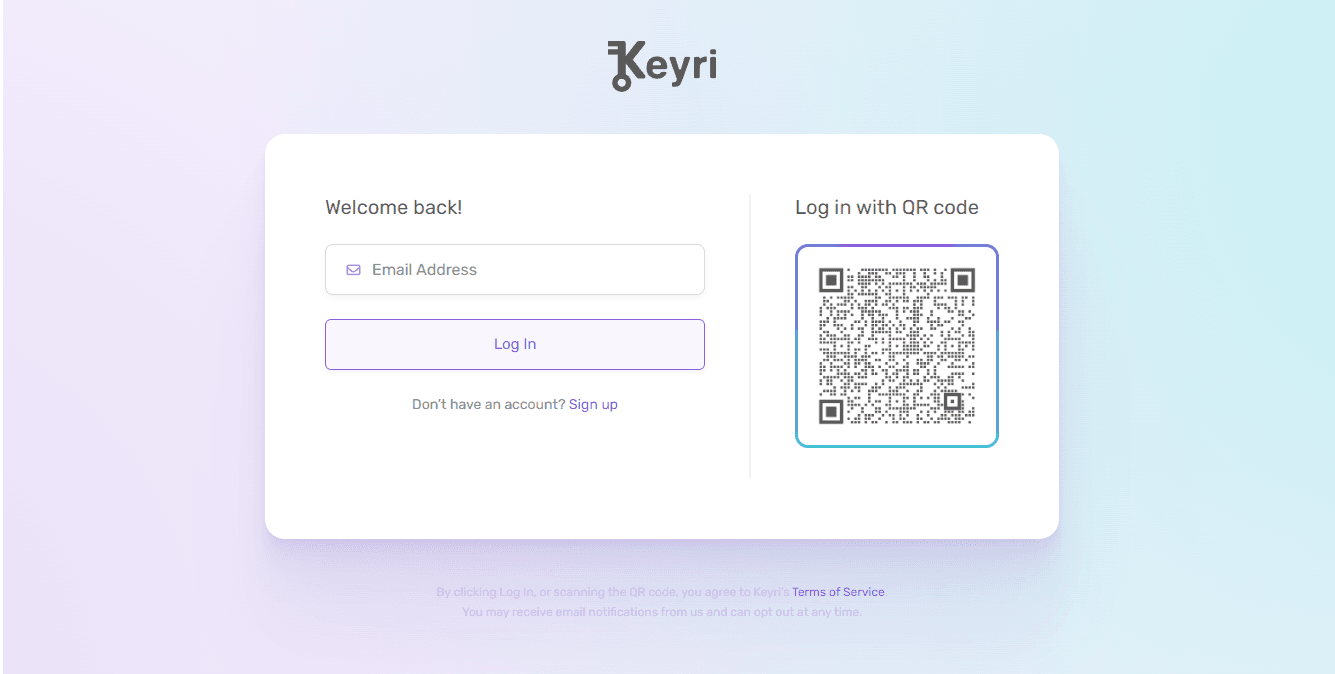
Keyri is an authentication company, providing customers with a simple and secure form of passwordless MFA. Our platform transforms every login into a one-step biometrics-based process that provides a seamless user experience while strengthening account security. Users simply scan a QR code on your login page with their smartphone and pass biometrics in your mobile app to log into your web app.
Incorporating Keyri QR login into your Supabase-based authentication system is a matter of sending the user's refreshToken from your mobile app to your web app via the Keyri mobile SDK and web Widget. On the mobile side, just load the refreshToken string as the payload into the Keyri method you're using in your app. On the web side, extract the refreshToken string from the payload that the Widget outputs and load it into the setSession method provided by the Supabase JS SDK.
Documentation
Keyri can be used to incorporate sign-in-with-QR functionality into your Supabase app, allowing users to scan a QR code on your web app with your mobile app and be instantly logged into the web app without having to input any credentials.
Configuration is split into Web and Mobile components. On web, the Keyri QR Widget needs to be installed along with an event listener, and in your mobile app, install the Keyri SDK and pass into it the user's refresh token when sign-in-with-QR is initiated. When the refresh token lands in your web app, it's passed into Supabase's setSession() method.
Sign up for Keyri
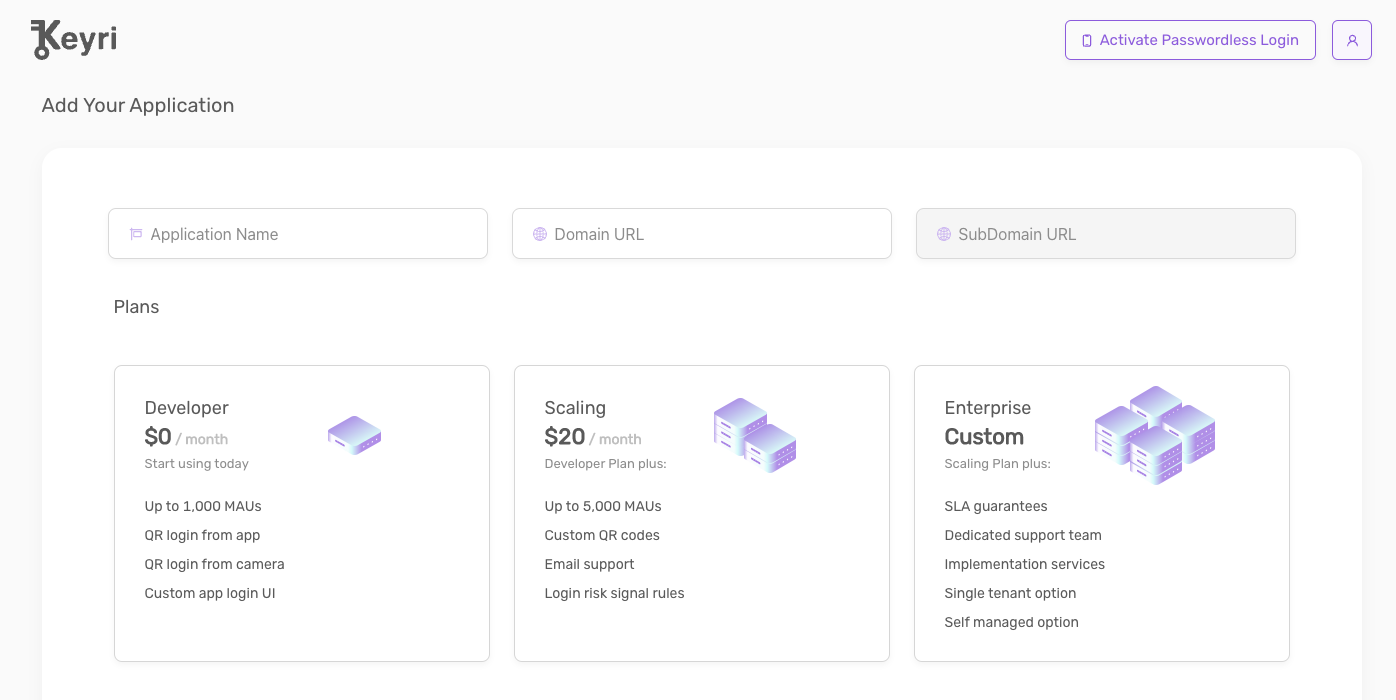
First make a free account on the Keyri dashboard (https://app.keyri.com). On Add Your Application, set a name and input the domain on which your app will eventually be deployed. You can create multiple application in Keyri to account for your development, staging, and production environments
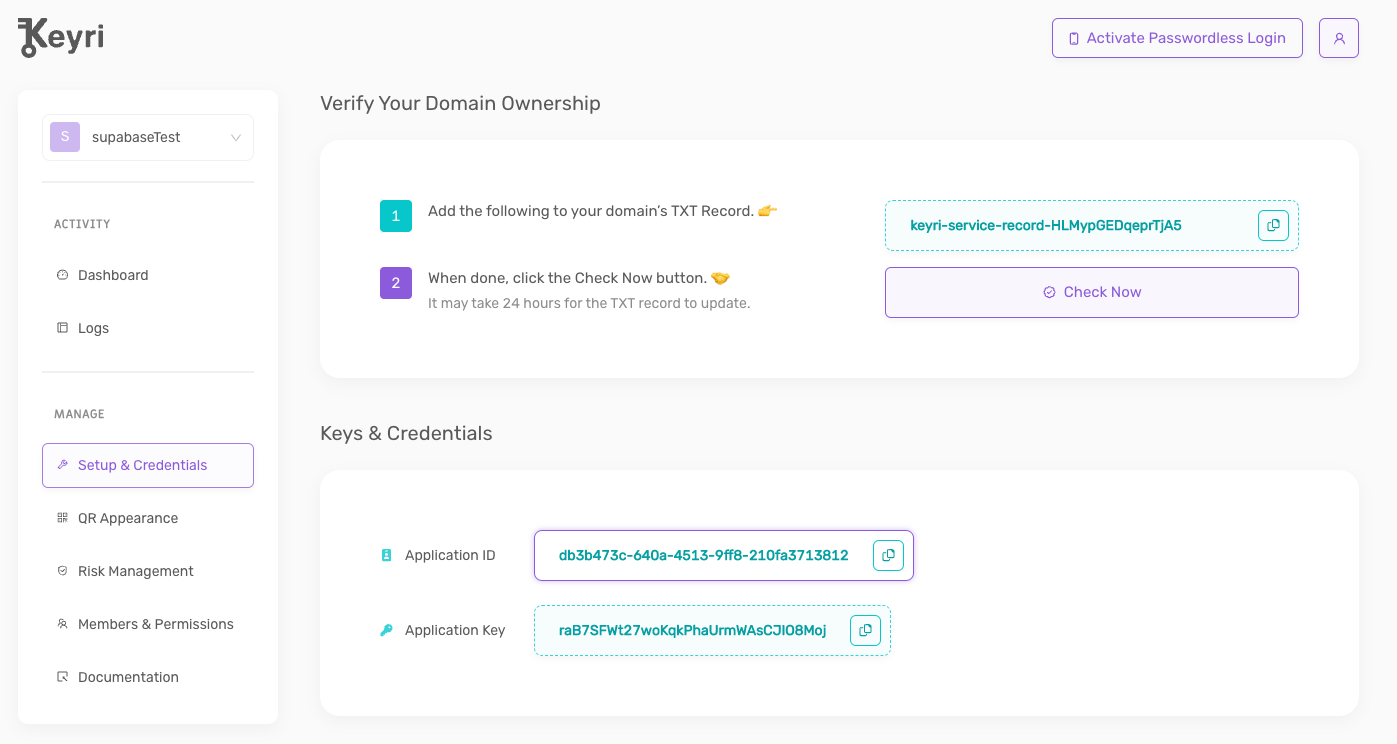
Note your application key from the Keys and Credentials section - this will be used in the Mobile portion of the implementation
Web
For your web app, first download KeyriQR.html (available here) and save it to a public directory.
Next, embed KeyriQR.html in your login page as an iFrame within the desired div. This serves as the widget that displays the dynamic QR code and connects with the Keyri API.
_11<div>_11 <iframe_11 title='KeyriQR'_11 src='/KeyriQR.html'_11 id='qr-frame'_11 height='300'_11 width='300'_11 scrolling='no'_11 style={{ border: 'solid 5px white' }}_11 ></iframe>_11</div>
Next, for the same login view, set up an event listener to pick up the session token that the iFrame emits when the QR code is scanned by your app.
_12useEffect(() => {_12 window.addEventListener('message', async (evt) => {_12 if (evt.data.keyri && evt.data.data && document.location.origin == evt.origin) {_12 const { data } = evt;_12 if (!data.error) {_12 let refresh_token = JSON.parse(data.data).refreshToken;_12 await handleQrLogin(refresh_token);_12 } else if (data.error) {_12 console.log(`Keyri error: ${data.message}`);_12 }_12 }_12});
That's it!
Mobile
Install Flutter
First, install the Flutter SDK, found at flutter.dev
Make sure to add Flutter to your PATH, for example:
_10export PATH="$PATH:`pwd`/flutter/bin"
Apple - initial setup
Download the latest version of Xcode from the Mac App Store. Make sure the Xcode provided simulator is using a 64-bit device (iPhone 5s or later). You can check the device by viewing the settings in the simulator’s Hardware > Device or File > Open Simulator menus.
Android - initial setup
Download the latest version of Android Studio. Install Android SDK and needed emulator(s).
Create Project
Run this command in your terminal/shell at the desired location for your new project
_10$ flutter create my_app
You can then CD into the new directory, and run the test app with
_10flutter run
This is a good test - if things are configured correctly so far you should see the default Flutter test app deployed.
Add dependencies (Keyri and Supabase)
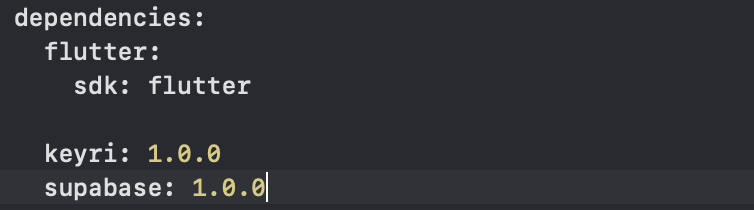
Open your Pubspec.yaml file, which should be at the top level directory in your new project
Add Keyri and Supabase under dependencies
One can now access Supabase and Keyri sdks in their Flutter code
Utilize the two together
- Make a request to Supabase to authenticate the user
- Parse the response to extract the token
- Authenticate using Keyri
- Below, we show how to utilize the EasyKeyriAuth function, which takes the user through scanning the code, creating the session, displaying the confirmation screen, and finalizing the payload transmission
- Note - you can find your App Key in the Keyri Developer Portal
- Alternatively, intermediate functions in the Keyri SDK, discussed in the mobile docs, can provide control over displaying a custom QR Scanner and/or Confirmation screen
- Below, we show how to utilize the EasyKeyriAuth function, which takes the user through scanning the code, creating the session, displaying the confirmation screen, and finalizing the payload transmission
_20// Sign in user with email and password_20// Alternatively one can utilize the Supabase API to accomplish the same thing_20final response = await client.auth.signIn(email: 'email', password: 'password');_20if (response.error != null) {_20 // Error_20 print('Error: ${response.error?.message}');_20} else {_20 // Success_20 final session = response.data;_20 // This is the payload that needs to be send through Keyri_20 final refreshToken = session.refreshToken_20 // EasyKeyriAuth guides the user through scanning and parsing the QR, confirming the session, and configuring the payload_20 // One can also use the initiateQRSession method to use the Keyri Scanner with a custom Confirmation screen_20 // Or the ProcessLink method if you have your own scanner or are using deep linking_20 await keyri_20 .easyKeyriAuth([App Key],_20 '{"refreshToken":"$refreshToken"}', [email])_20 .then((authResult) => _onAuthResult(authResult))_20 .catchError((error, stackTrace) => _onError(error));_20}