Prisma
This guide explains how to quickly connect the Postgres database provided by Supabase to a Prisma project.
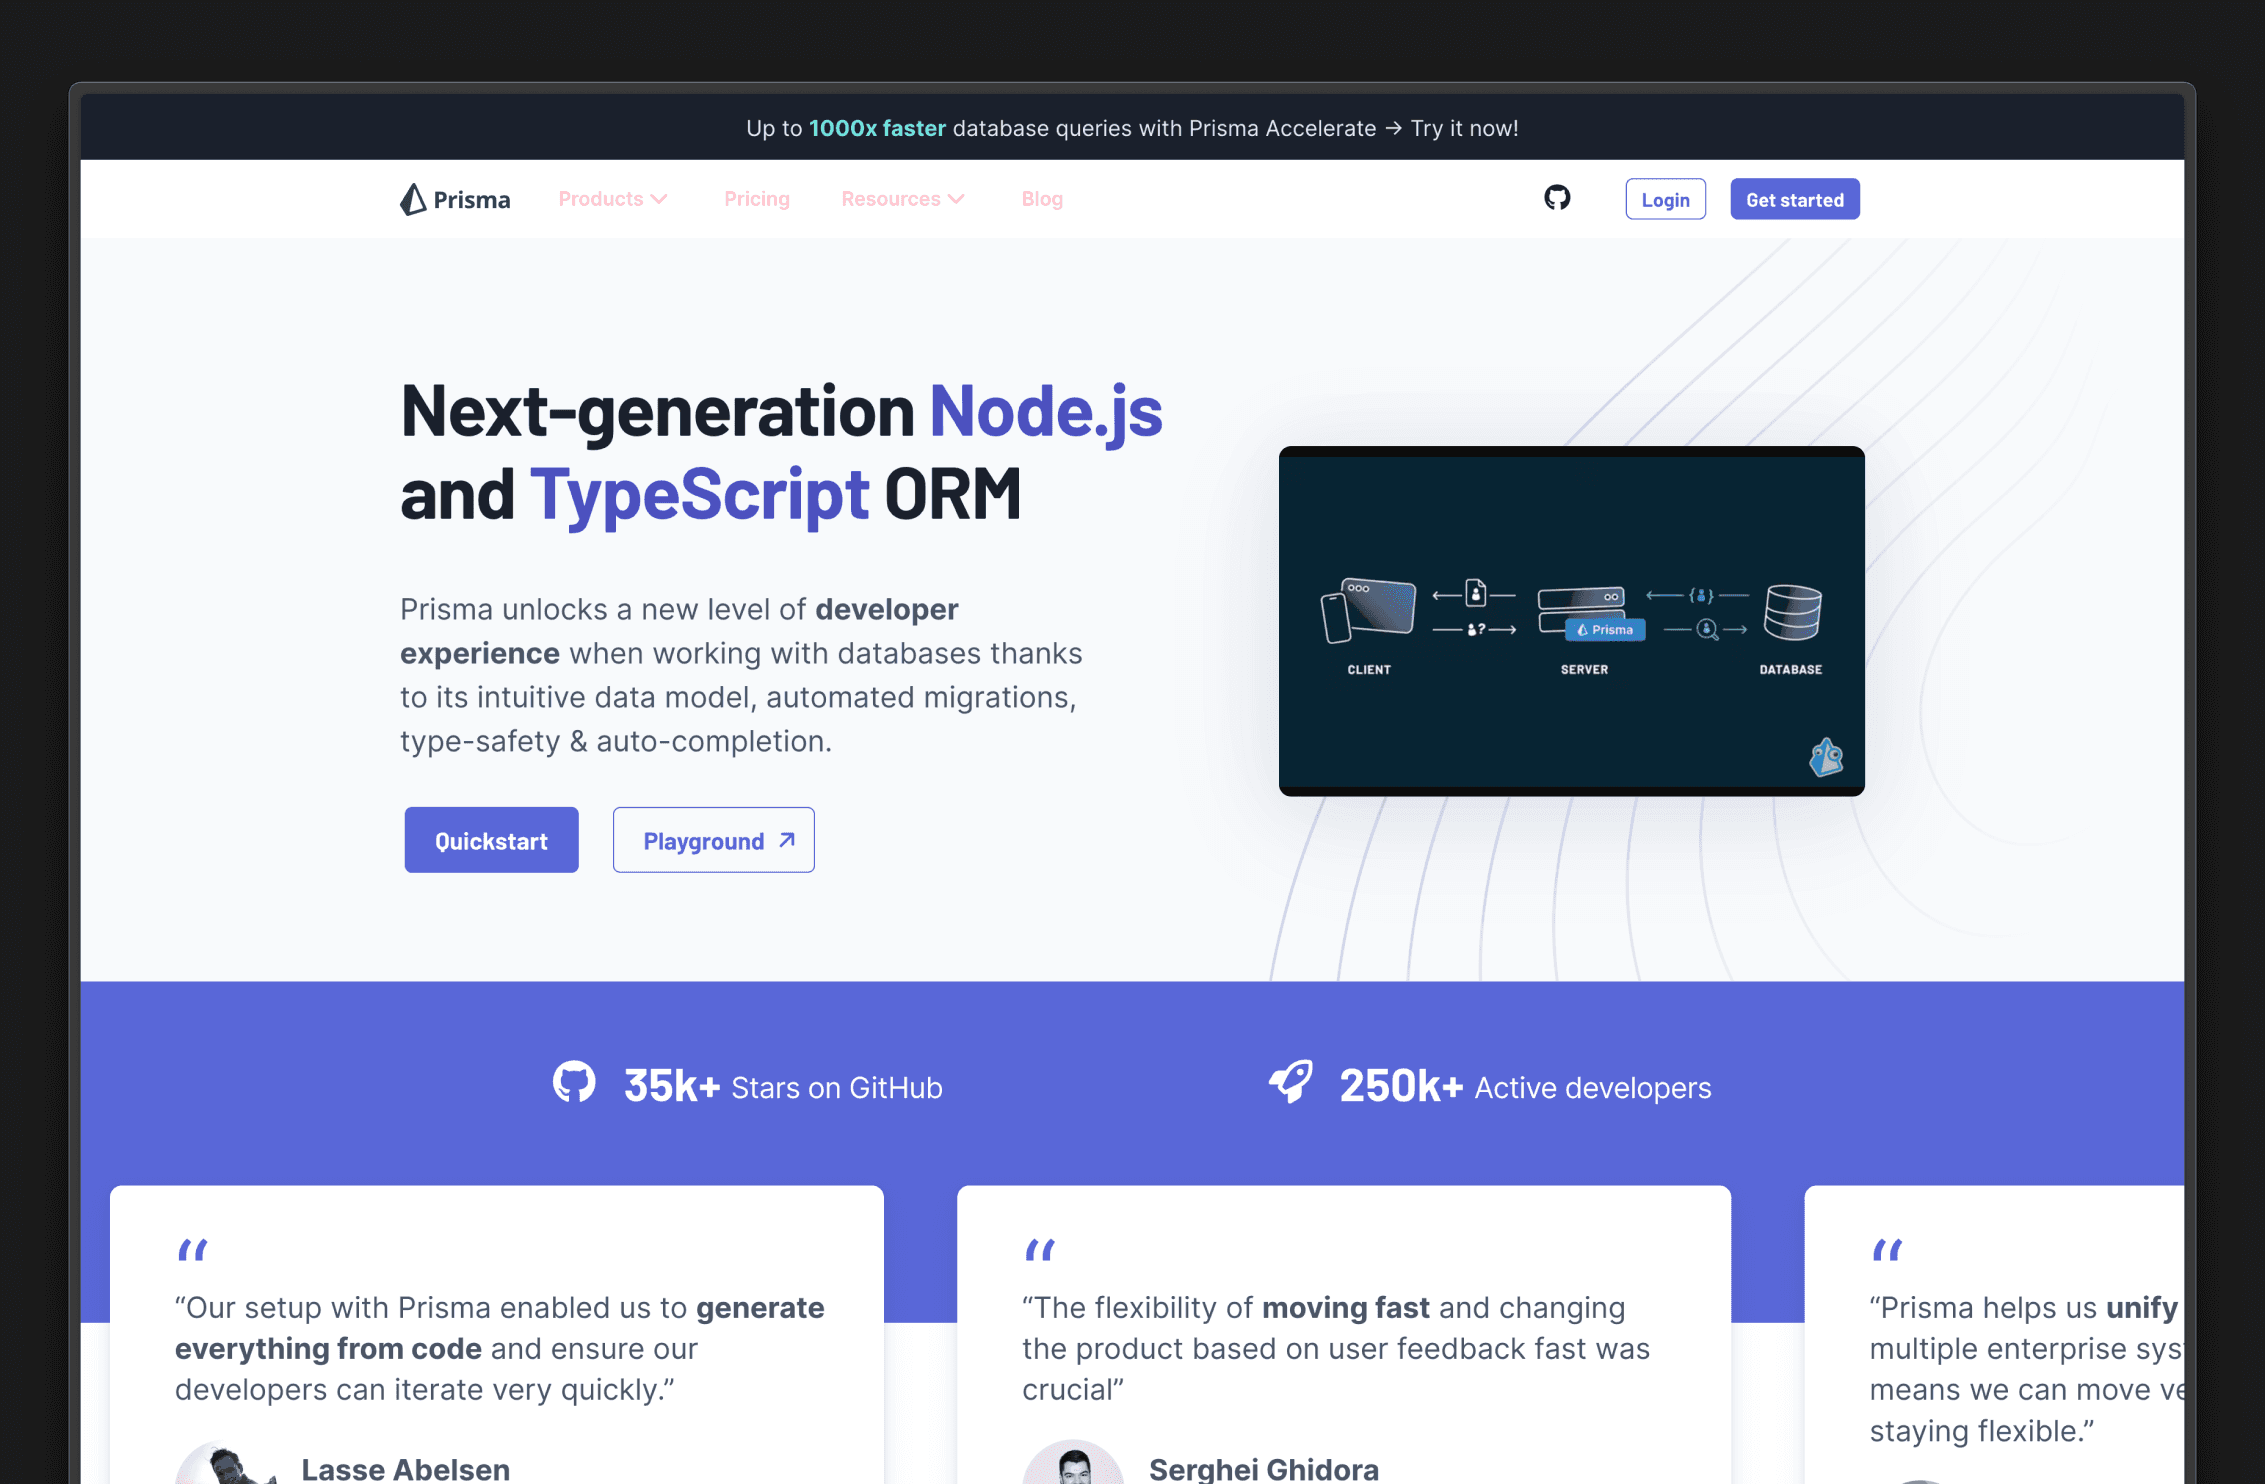
Prisma is an open source next-generation ORM. It consists of the following parts:
- Prisma Client: Auto-generated and type-safe query builder for Node.js & TypeScript.
- Prisma Migrate: Migration system.
- Prisma Studio: GUI to view and edit data in your database.
Step 1: Get the connection string from Supabase project settings#
Go to the settings page from the sidebar and navigate to the Database tab. You’ll find the database’s connection string with a placeholder for the password you provided when you created the project.
Step 2: Testing the connection#
To make sure that everything works correctly, let’s try the connection string in a Prisma project.
If you already have one, all you need to do is set the DATABASE_URL
to the connection string (including the password) in your .env
file, and you’re good to go.
In case you don’t have a Prisma project or this is your first time working with Prisma, you’re going to use the repo from the quickstart guide.
Cloning the starter project#
Navigate into a directory of your choice and run the following command in your terminal if you’re on a Windows machine:
1curl https://pris.ly/quickstart -L -o quickstart-main.tar.gz && tar -zxvf quickstart-main.tar.gz quickstart-main/typescript/starter && move quickstart-main\typescript\starter starter && rmdir /S /Q quickstart-main && del /Q quickstart-main.tar.gz
And if you’re using Mac OS or Linux, run the following command:
1curl -L https://pris.ly/quickstart | tar -xz --strip=2 quickstart-main/typescript/starter
You can now navigate into the directory and install the project’s dependencies:
1cd starter && npm install
A look at the project’s structure#
This project comes with TypeScript configured and has the following structure.
- A
prisma
directory which contains:- A
dev.db
file: This is a SQLite database. - A
schema.prisma
file: Where we define the different database models and relations between them.
- A
- A
.env
file: Contains theDATABASE_URL
variable, which Prisma will use. - A
script.ts
file: where we will run some queries using Prisma Client. This starter also comes with the following packages installed: @prisma/client
: An auto-generated and type-safe query builder that’s tailored to your data.prisma
: Prisma’s command-line interface (CLI). It allows you to initialize new project assets, generate Prisma Client, and analyze existing database structures through introspection to automatically create your application models.Note: Prisma works with both JavaScript and TypeScript. However, to get the best possible development experience, using TypeScript is highly recommended.
Configuring the project to use PostgreSQL#
By default, Prisma migrations will try to drop the postgres
database, which can lead to conflicts with Supabase databases. For this scenario, use Prisma Shadow Databases.
Create a shadow database in your PostgreSQL server within the same Supabase project using the psql
CLI and the DATABASE_URL
from the previous steps (or use the local database).
1psql postgresql://postgres:[YOUR-PASSWORD]@db.[YOUR-PROJECT-REF].supabase.co:5432
After you connect to your project's PostgreSQL instance, create another database (e.g., postgres_shadow
):
1postgres=> CREATE DATABASE postgres_shadow; 2postgres=> exit
Go ahead and delete the prisma/dev.db
file because we will be switching to PostgreSQL.
In the .env
file, update DATABASE_URL
and SHADOW_DATABASE_URL
to the connection string from step 1. The .env
file should look like:
# .env
DATABASE_URL="postgres://postgres:[YOUR-PASSWORD]@db.[YOUR-PROJECT-REF].supabase.co:5432/postgres"
SHADOW_DATABASE_URL="postgres://postgres:[YOUR-PASSWORD]@db.[YOUR-PROJECT-REF].supabase.co:5432/postgres_shadow"
In the schema.prisma
file, change the provider
from "sqlite" to "postgresql"
and add the shadowDatabaseUrl
property.
This is what your schema.prisma
file should look like:
datasource db { provider = "postgresql" url = env("DATABASE_URL") shadowDatabaseUrl = env("SHADOW_DATABASE_URL") } generator client { provider = "prisma-client-js" } model Post { id Int @id @default(autoincrement()) title String content String? published Boolean @default(false) author User? @relation(fields: [authorId], references: [id]) authorId Int? } model User { id Int @id @default(autoincrement()) email String @unique name String? posts Post[] }
To test that everything works correctly, run the following command to create a migration:
1prisma migrate dev --name init
You can optionally give your migration a name, depending on the changes you made. Since this is the project’s first migration, you’re setting the --name
flag to “init”.
If everything works correctly, you should get the following message in your terminal:
Your database is now in sync with your schema. :heavy_check_mark: Generated Prisma Client (2.x.x) to ./node_modules/@prisma/client in 111ms
This will create a prisma/migrations
folder inside your prisma
directory and synchronize your Prisma schema with your database schema.
Note: if you want to skip the process of creating a migration history, you can use the
db push
command instead ofmigrate dev
. If you go to your Supabase project, in the table editor, you should see that two tables have been created, aPost
and aUser
table. That’s it! You have now successfully connected a Prisma project to a PostgreSQL database hosted on Supabase and ran your first migration.
Connection pooling with Supabase#
If you’re working in a serverless environment (for example Node.js functions hosted on AWS Lambda, Vercel or Netlify Functions), you need to set up connection pooling using a tool like PgBouncer. That’s because every function invocation may result in a new connection to the database. Supabase supports connection management using PgBouncer and are enabled by default.
Go to the Database page from the sidebar in the Supabase dashboard and navigate to connection pool settings
When migrating, you need to use the non-pooled connection URL (like the one used in step 1). However, when deploying your app, use the pooled connection URL and add the ?pgbouncer=true
flag to the PostgreSQL connection URL. It's also recommended to minimize the number of concurrent connections by setting the connection_limit
to 1
. The .env
file should look like:
# .env
DATABASE_URL="postgres://postgres:[YOUR-PASSWORD]@db.[YOUR-PROJECT-REF].supabase.co:6543/postgres?pgbouncer=true&connection_limit=1"
SHADOW_DATABASE_URL="postgres://postgres:[YOUR-PASSWORD]@db.[YOUR-PROJECT-REF].supabase.co:5432/postgres_shadow"
Prisma Migrate uses database transactions to check out the current state of the database and the migrations table. However, the Migration Engine is designed to use a single connection to the database, and does not support connection pooling with PgBouncer. If you attempt to run Prisma Migrate commands in any environment that uses PgBouncer for connection pooling, you might see the following error:
1Error: undefined: Database error 2Error querying the database: db error: ERROR: prepared statement “s0” already exists
This is a known issue and it is being worked on, you can follow the progress on this GitHub issue. If you want to learn more about Prisma, check out the docs. Also in case you have any questions or run into any issue, feel free to start a discussion in the repo’s discussions section.
Troubleshooting#
If you run prisma migrate dev --name init
multiple times, it sometimes asks if you want to recreate the whole schema. If you chose yes, it will delete the public schema and recreate it. The default grants are missing after this. If you run into this problem, add a helper SQL for fixing the grants:
grant usage on schema public to postgres, anon, authenticated, service_role; grant all privileges on all tables in schema public to postgres, anon, authenticated, service_role; grant all privileges on all functions in schema public to postgres, anon, authenticated, service_role; grant all privileges on all sequences in schema public to postgres, anon, authenticated, service_role; alter default privileges in schema public grant all on tables to postgres, anon, authenticated, service_role; alter default privileges in schema public grant all on functions to postgres, anon, authenticated, service_role; alter default privileges in schema public grant all on sequences to postgres, anon, authenticated, service_role;
Resources#
- Prisma official website.
- Prisma GitHub.
- Prisma documentation.