Stacksync
Overview
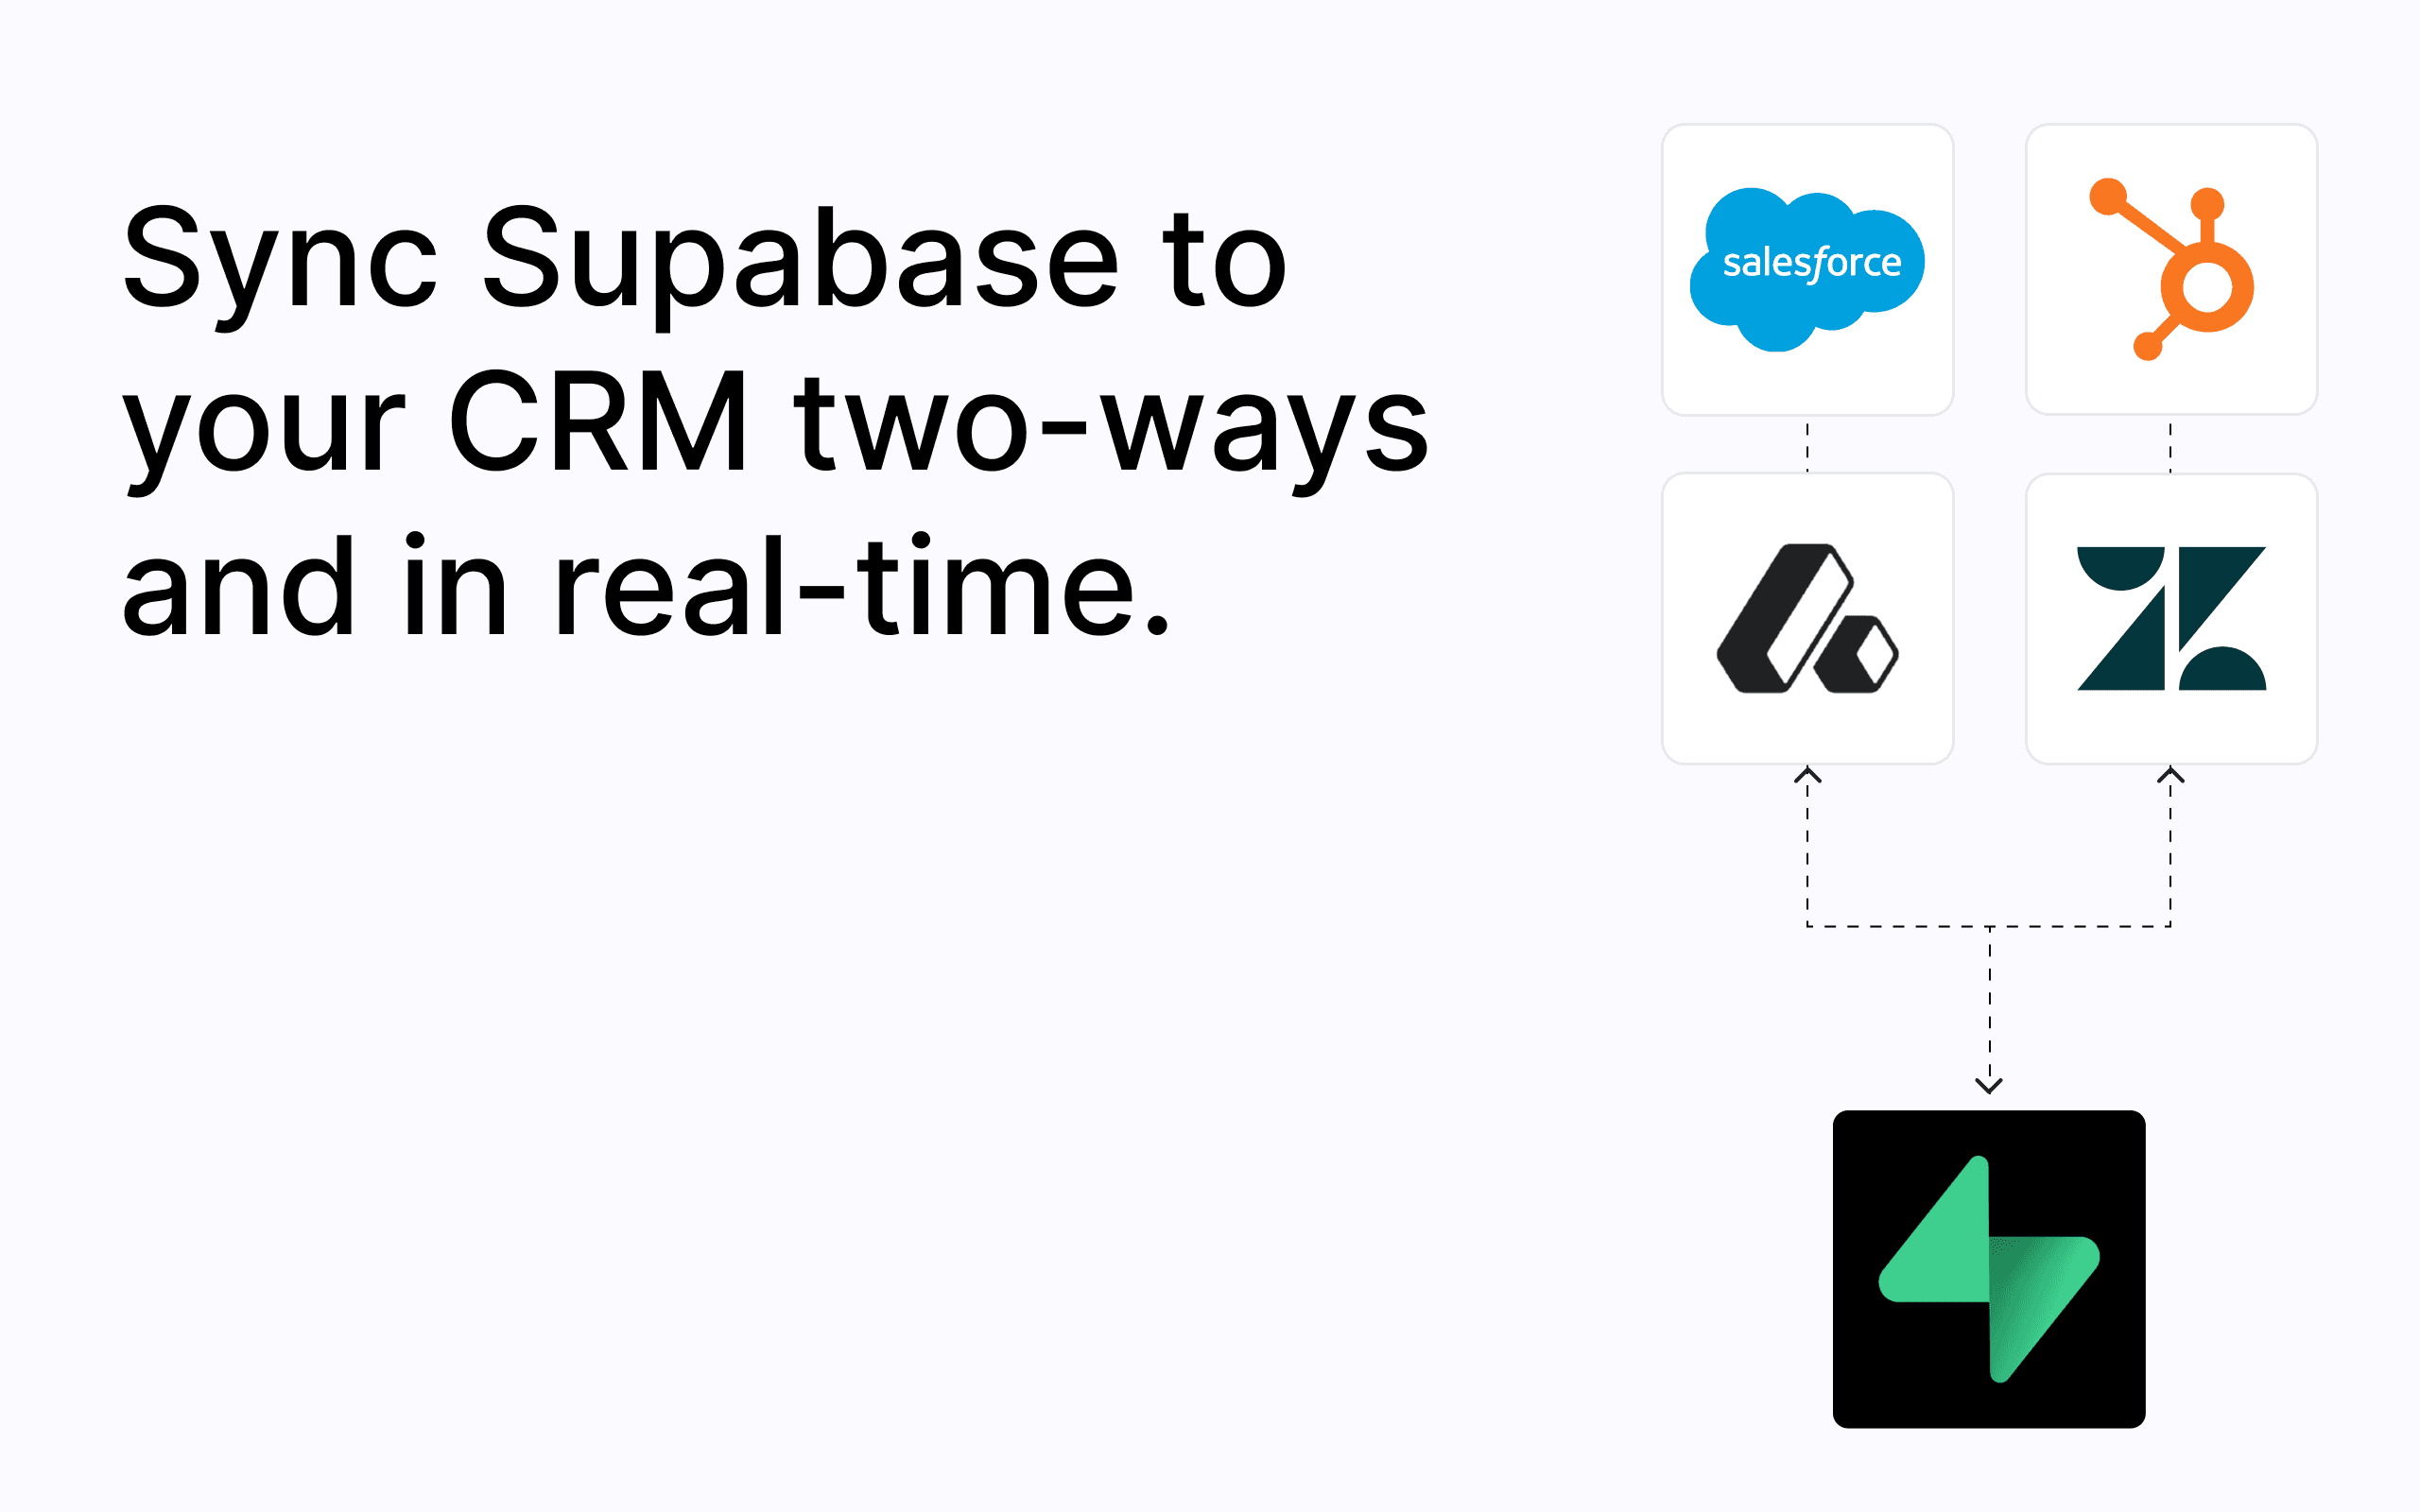
Stacksync gives you bi-directional, real-time syncs between Supabase and your business apps. It turns your Supabase instance into a read-write interface for your CRM data, so you can manipulate it directly with SQL queries instead of API calls.
Stacksync handles API rate limits, security token rotation, and data type discrepancies so you don’t have to. While other solutions might let syncs fail silently, Stacksync keeps you in the loop, ensuring your data pipelines run smoothly.
Update data in Supabase and watch it sync instantly to your CRM, and vice versa. It’s the easiest way to set up ETL/reverse ETL pipelines.
Businesses use Stacksync to:
- Backbone CRM integration (e.g creating users in a CRM on signup, syncing subscriptions)
- Enrich CRM contact data with product usage
- Automate support and sales ops workflows
- Build internal tools on real-time CRM data (e.g. partner portals or invoicing systems)
- Save money on API credits
Supported integrations include Salesforce, Hubspot, Attio, Zoho CRM, BigQuery, Zendesk and more. Connect your Supabase to any system with no-code.
Features you’ll love
- Two-way, real-time syncing: Propagate
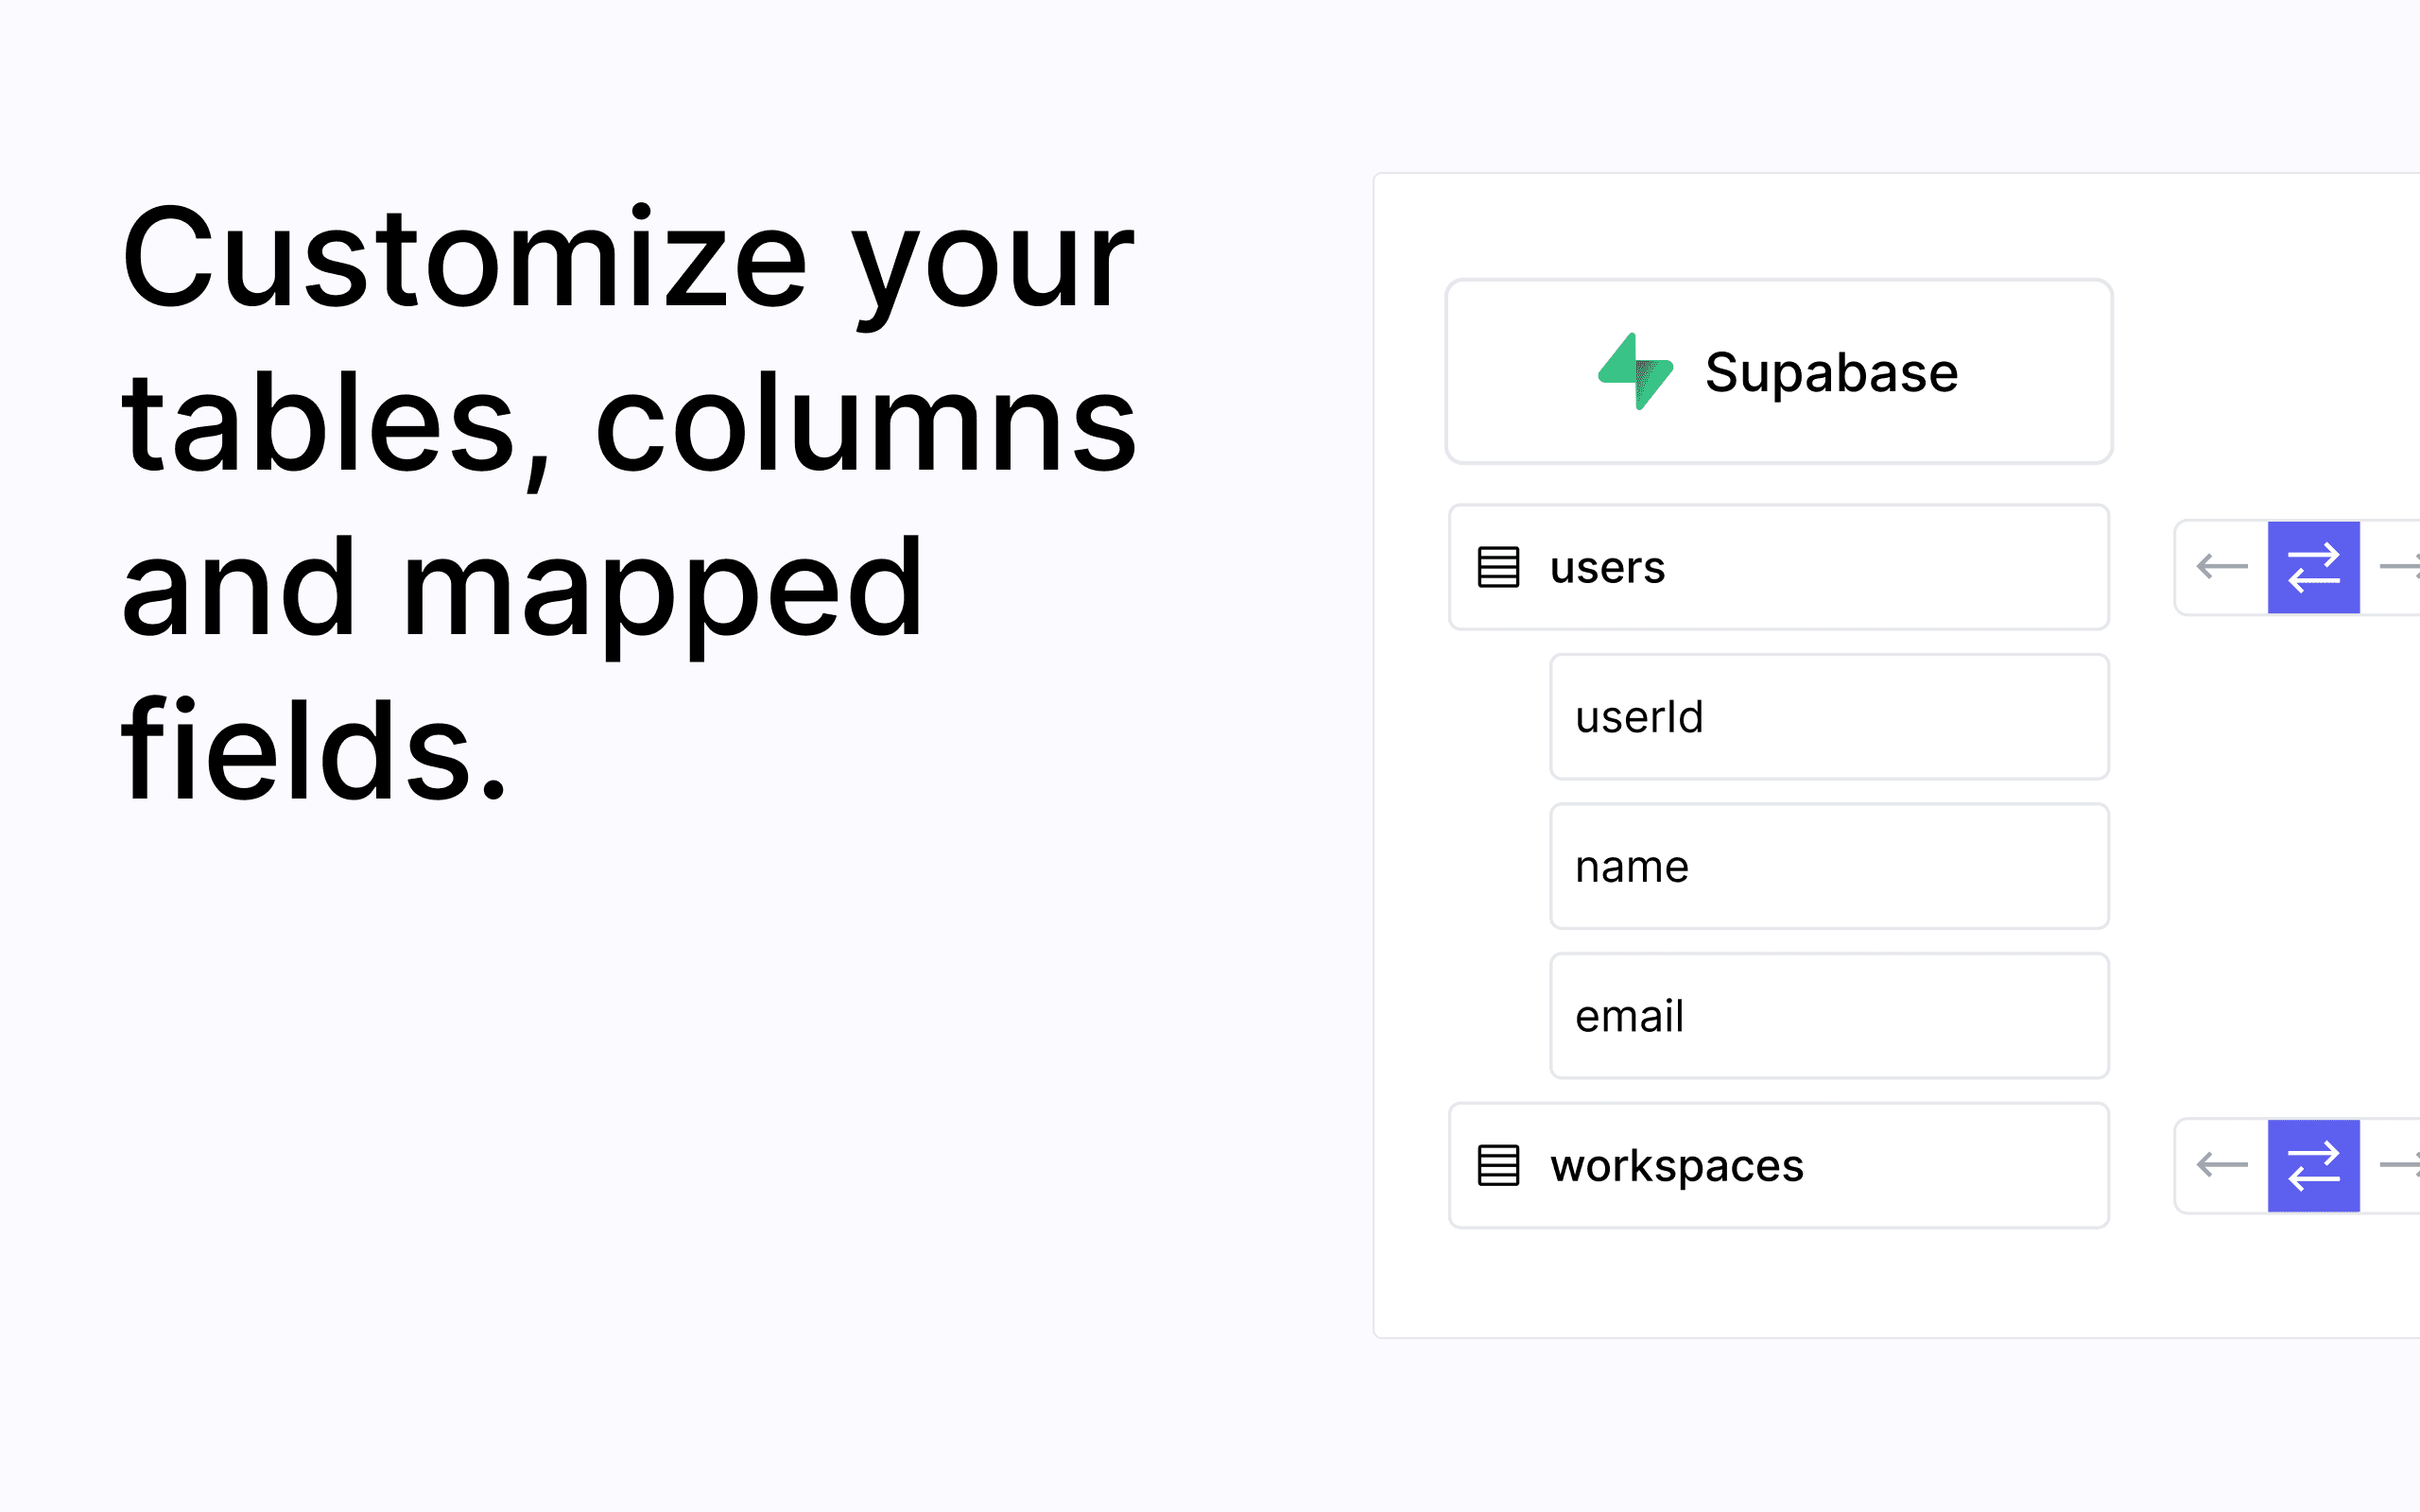
insert,update, anddeletebetween Supabase and CRMs with sub-100ms latency. - Schema mapping: Easily map Supabase tables, columns, and fields to CRM objects.
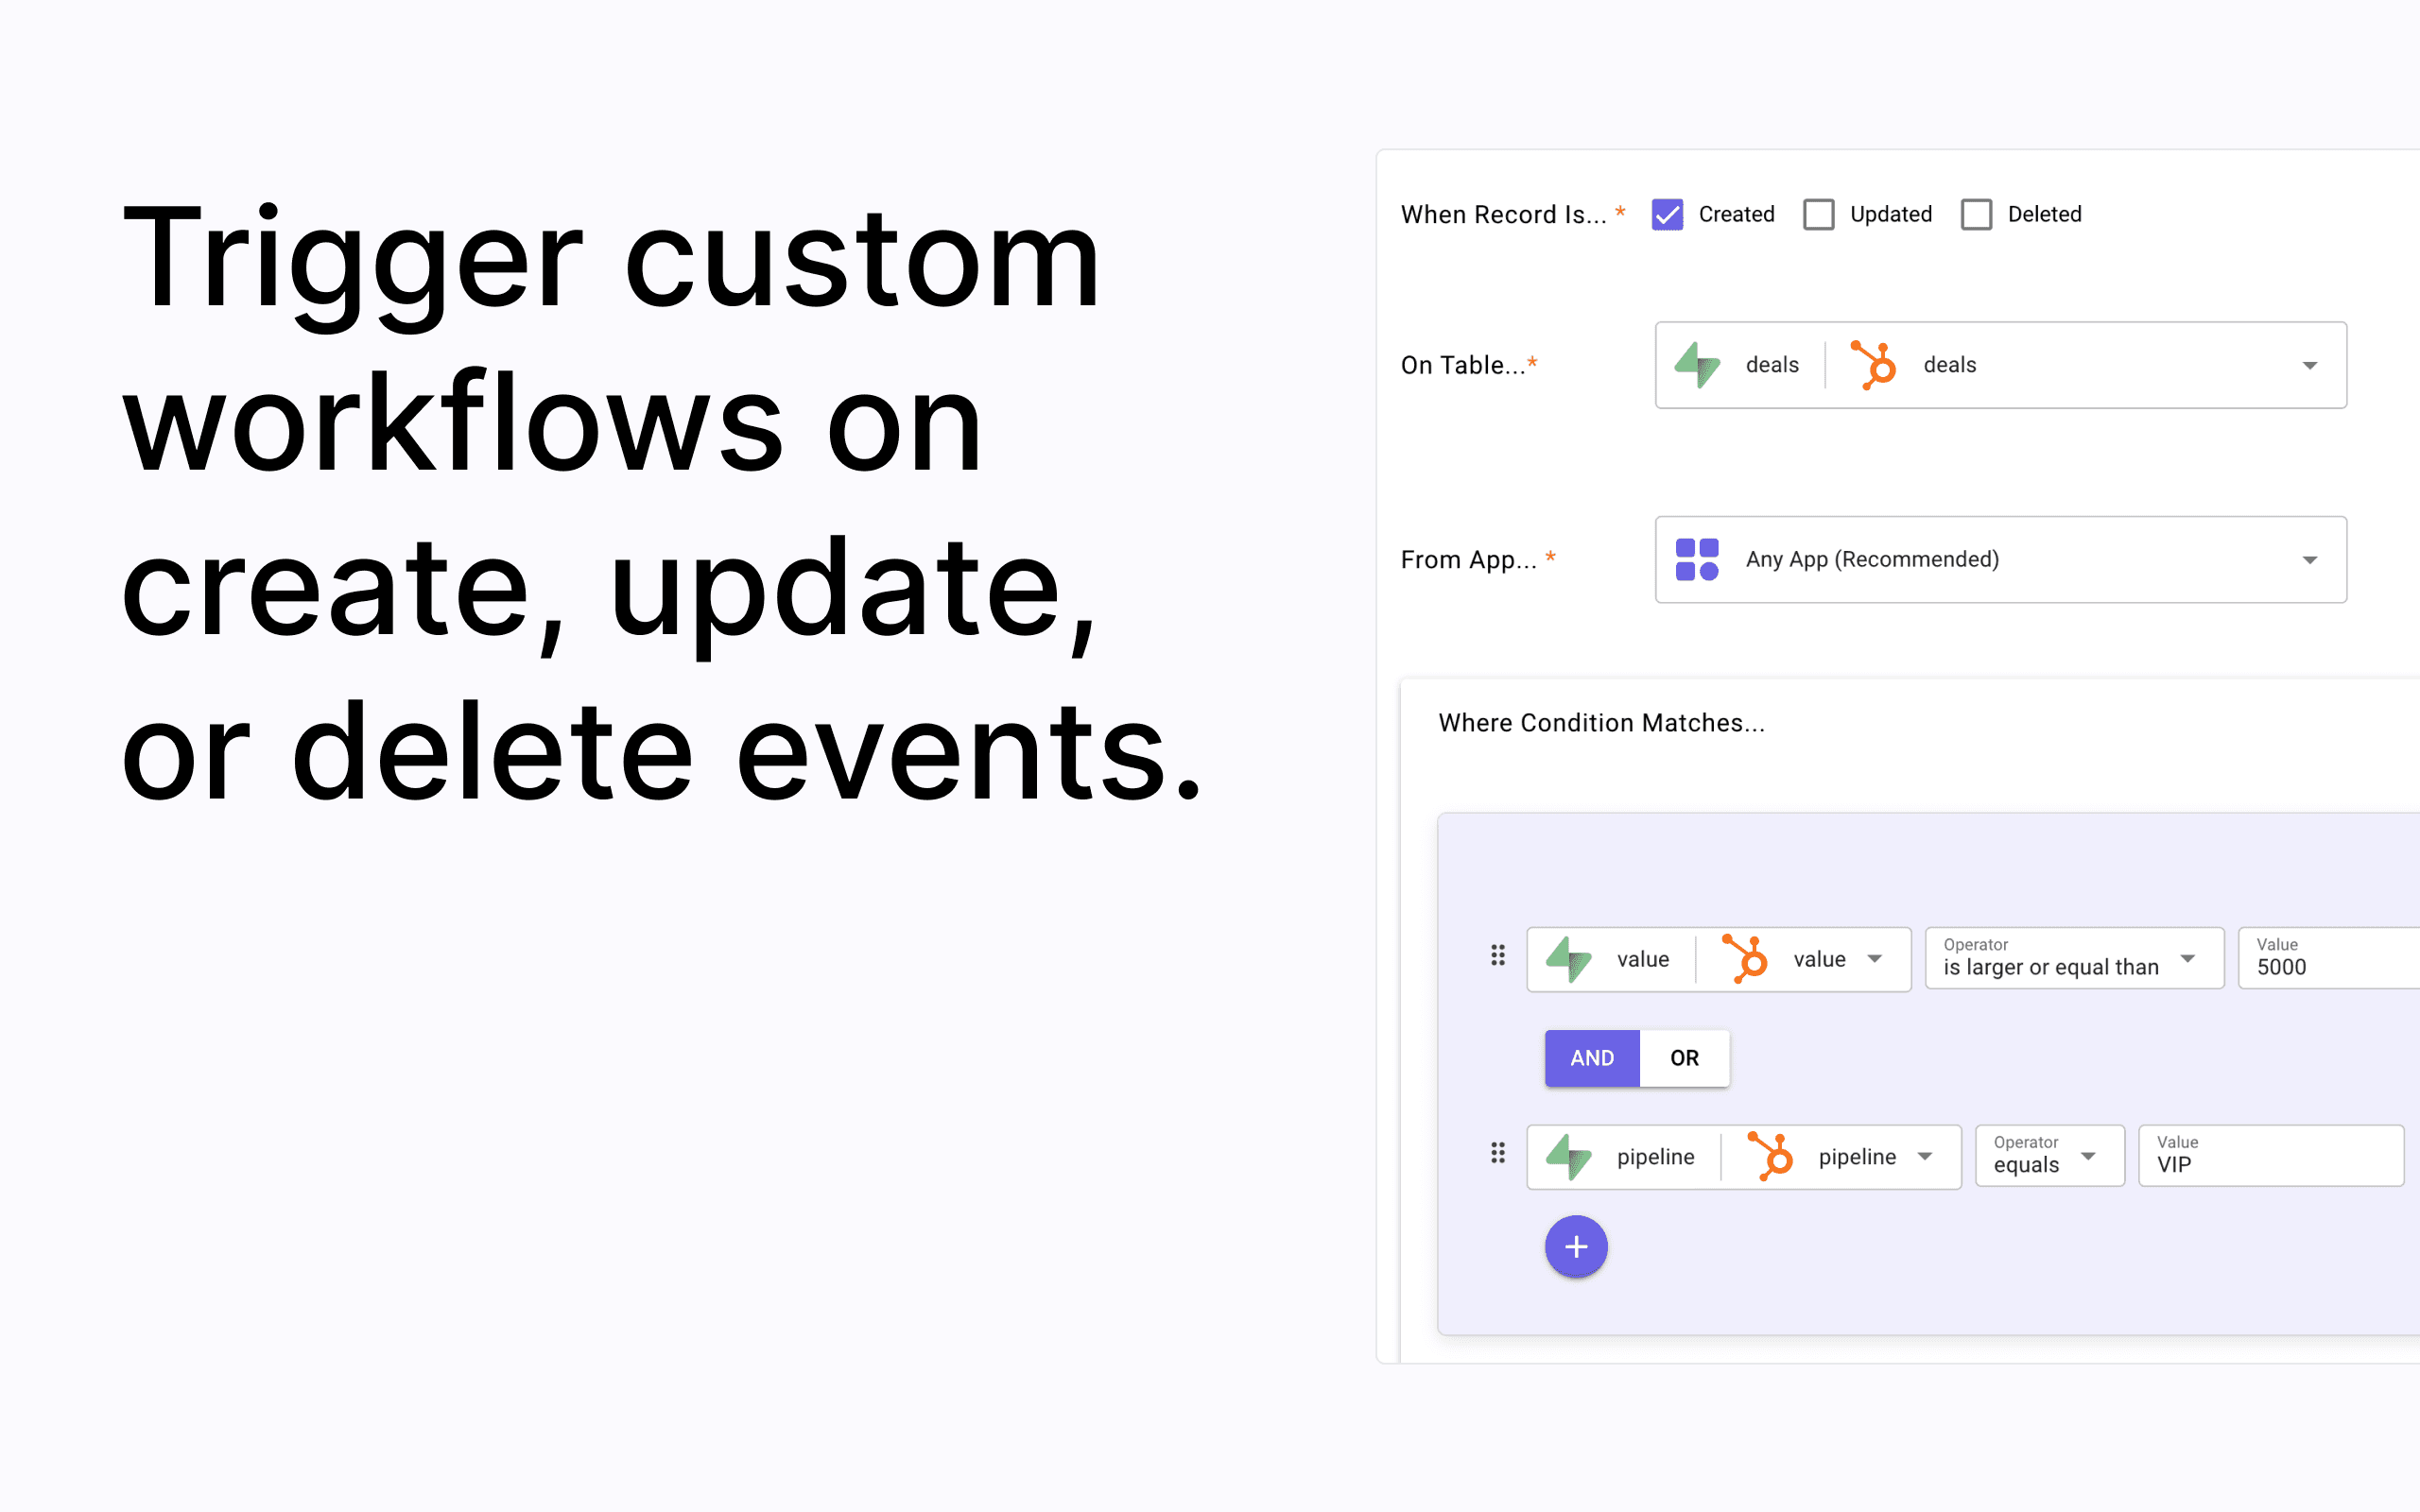
- Event-based triggers: Define business logic and trigger a HTTP request or database query when an event matches your rules. Read more here.
- Automate any workflow: Create workflows and data pipelines in a visual designer.
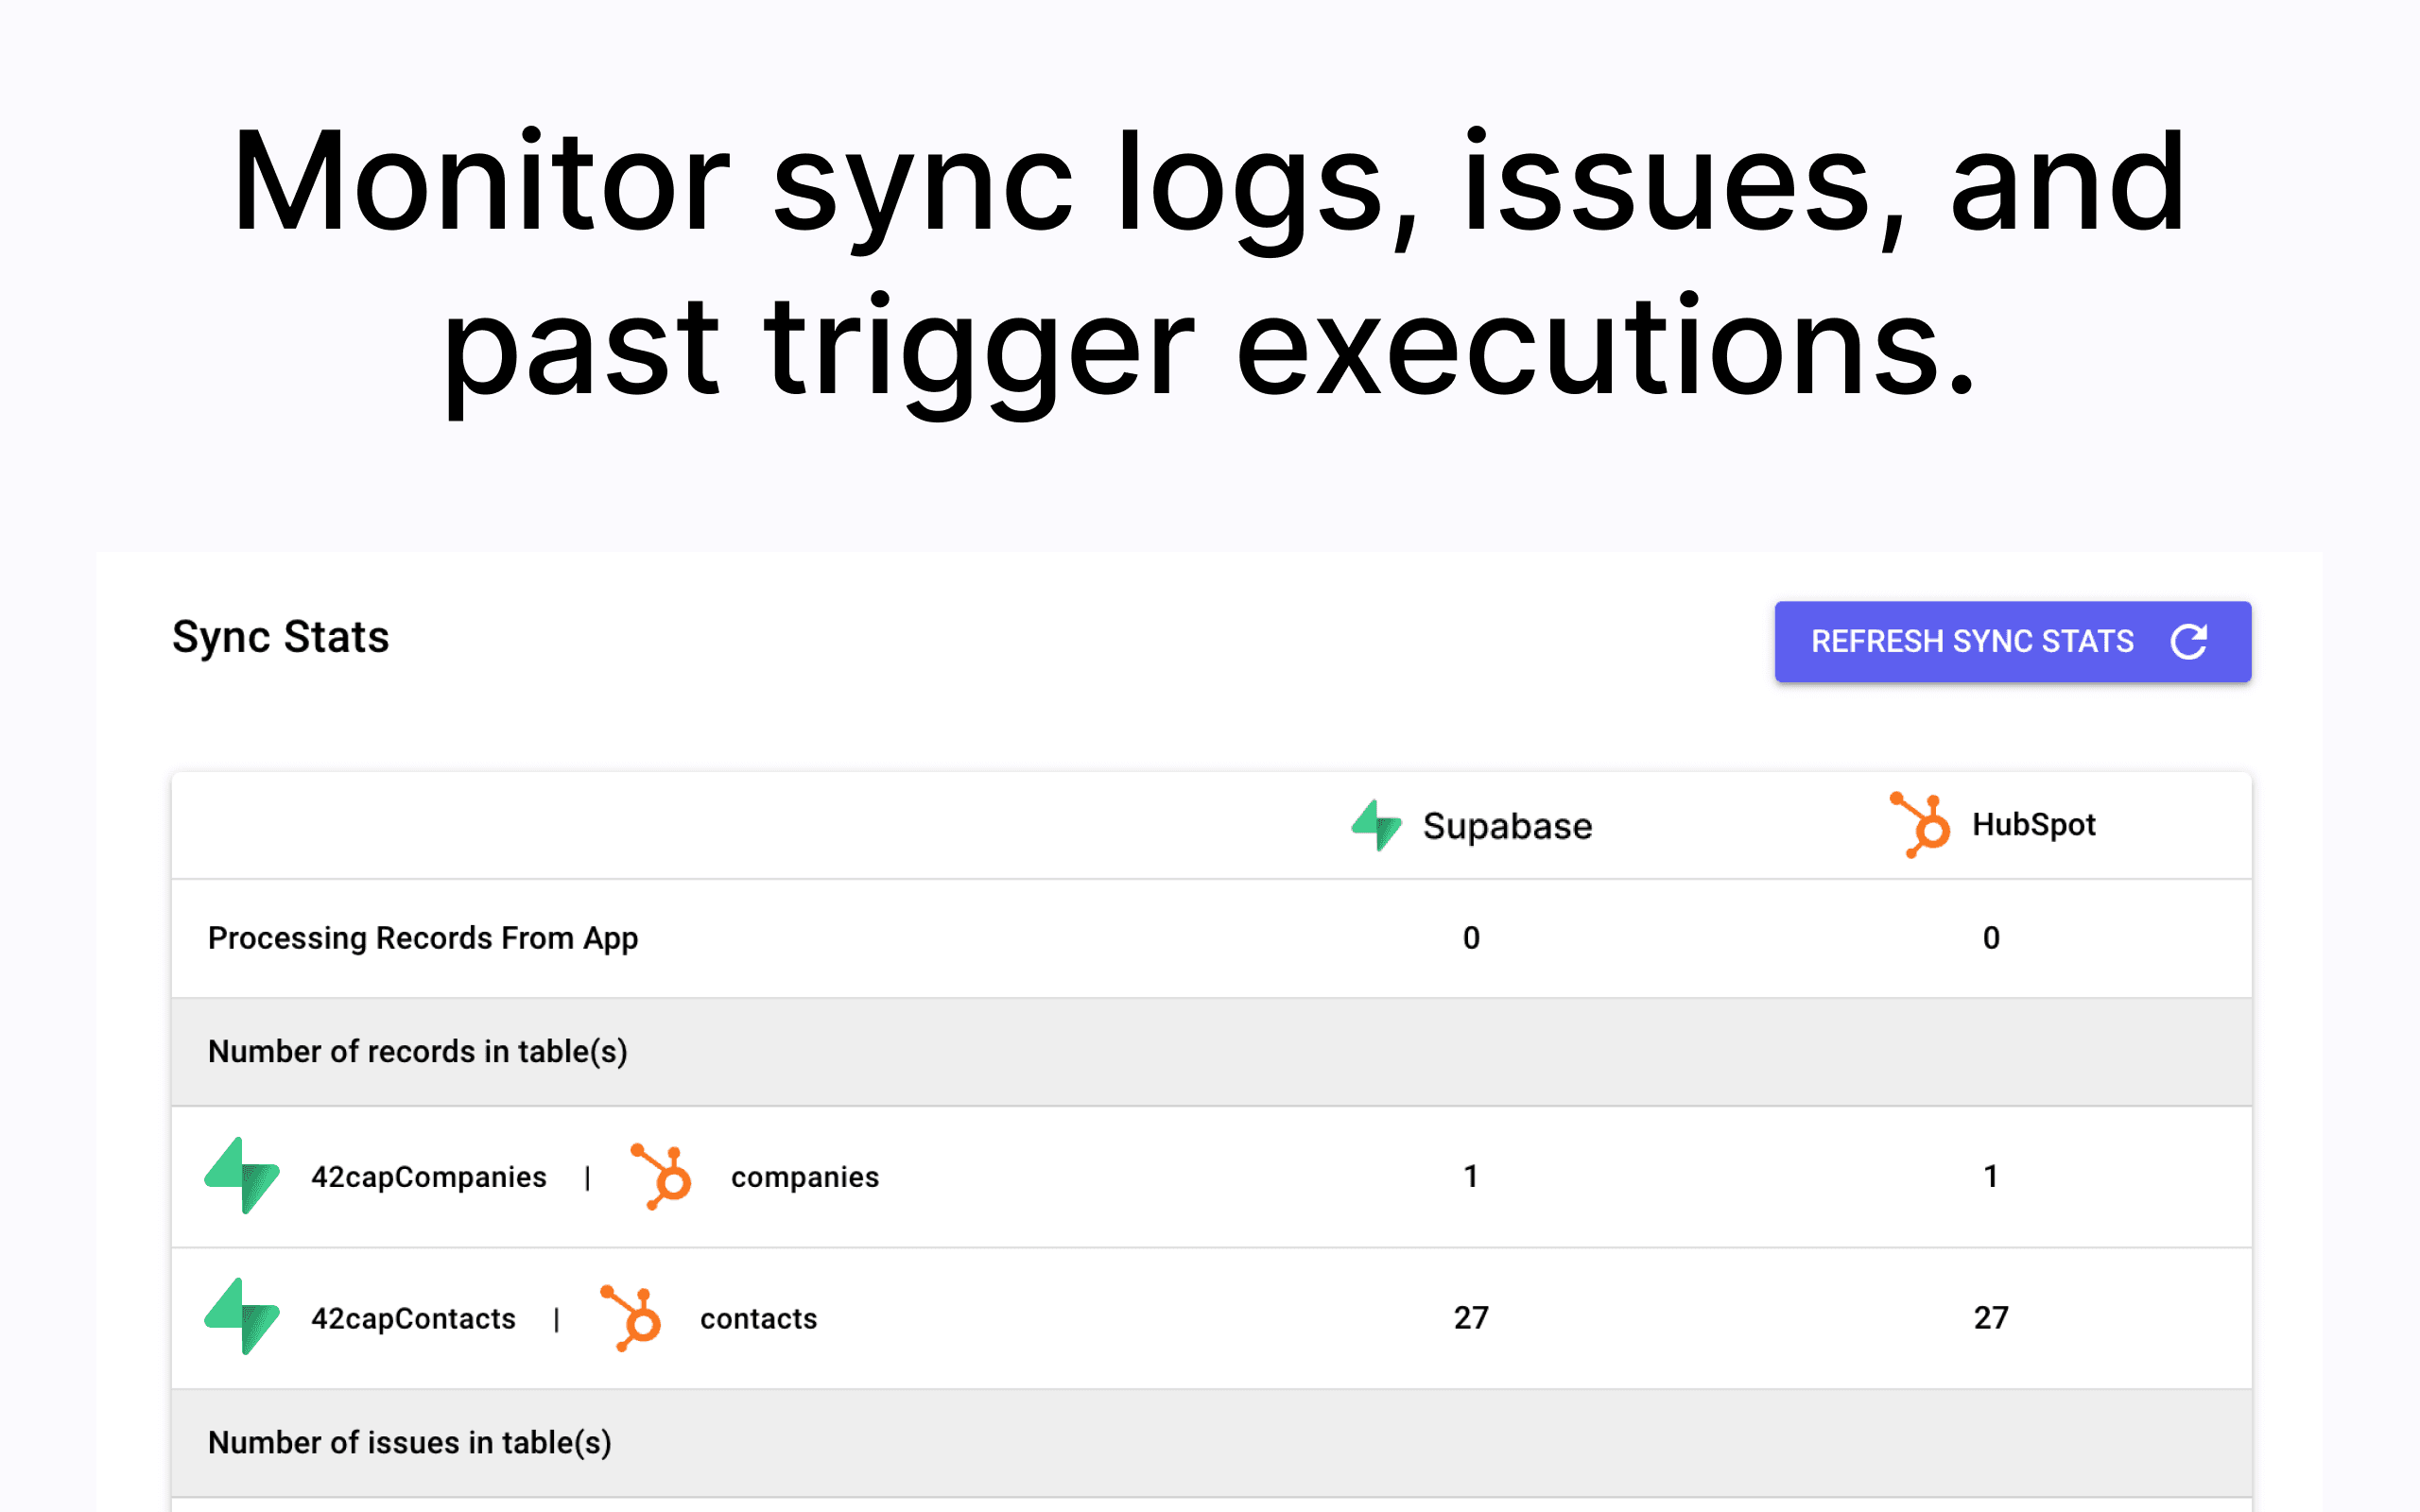
- Observability and debugging: Monitor syncs and receive alerts when there’s an issue.
- Sync issue resolution: View all sync issues and resolve them with one click to retry or revert the data update.
How to start syncing Supabase to your CRM
Step 1: Sign up for Stacksync
Sign up for a Stacksync account on our website. A free trial is available for new users.
Step 2: Connect Supabase
Once you’ve logged into Stacksync, click on “Create new sync”. Scroll down and select Supabase from the list of connectors. Stacksync will prompt you for direct connection details.
- In your Supabase project, go to Database settings (Project Settings > Database).
- Copy the connection string URI.
- Paste the connection string into Stacksync. Remember to update the password!
- Optionally, add an SSL root certificate or SSH tunneling.
- Click “Authorize app”.
Step 3: Connect another app
Choose the second app you want to connect and authorize it.
Step 4: Map tables and fields
Follow the configuration guide to continue setting up your sync. You can choose which tables, columns, and fields to sync. If a table doesn’t currently exist in Supabase, Stacksync will generate one for you.
Step 5: Activate sync
Turn on the toggle to activate your sync, and you’re ready to go!
Additional resources
Details
Third-party integrations and docs are managed by Supabase partners.


