UPDATE 15/08/2022: Supabase CLI V1 is Generally Available and we also released a Management API (in beta).
Today is Day 3 of Launch Week, and as promised - we're releasing our CLI.
This is the first step in a long journey of features we plan to deliver:
- Running Supabase locally
- Managing database migrations
- Generating types directly from your database schema
- Generating API and validation schemas from your database
- Managing your Supabase projects
- Pushing your local changes to production
Here are some of the items we have completed so far.
Running Supabase Locally#
You can now run Supabase on your local machine, using Docker Compose. This Docker setup is 100% compatible with every project on Supabase - the tools used for local development are exactly the same as production.
We have released a full set of documentation here. In this post we thought it would be useful to highlight how easy it is to get started.
A lot of Supabase developers are familiar with React, so here are the steps you would use to create a new React project which uses Supabase as a backend.
Install the CLI:
_10npm install -g supabase
Set up your React app:
_10# create a fresh React app_10npx create-react-app react-demo --use-npm_10_10# move into the new folder_10cd react-demo_10_10# Save the install supabase-js library_10npm install --save @supabase/supabase-js
Set up Supabase:
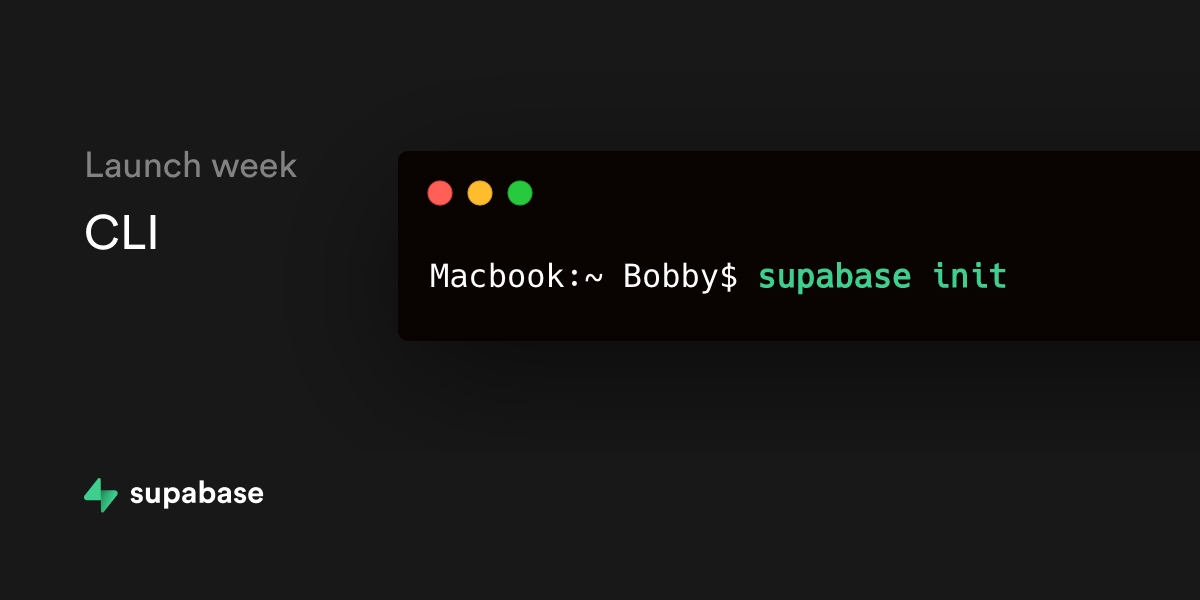
_10supabase init_10_10# ✔ Port for Supabase URL: · 8000_10# ✔ Port for PostgreSQL database: · 5432_10# ✔ Project initialized._10# Supabase URL: http://localhost:8000_10# Supabase Key (anon, public): eyJ0eXAiOiJKV1QiLCJhbGciOiJIUzI1NiJ9.eyJpc3MiOiJzdXBhYmFzZSIsImlhdCI6MTYwMzk2ODgzNCwiZXhwIjoyNTUwNjUzNjM0LCJyb2xlIjoiYW5vbiJ9.36fUebxgx1mcBo4s19v0SzqmzunP--hm_hep0uLX0ew_10# Supabase Key (service_role, private): eyJ0eXAiOiJKV1QiLCJhbGciOiJIUzI1NiJ9.eyJpc3MiOiJzdXBhYmFzZSIsImlhdCI6MTYwMzk2ODgzNCwiZXhwIjoyNTUwNjUzNjM0LCJyb2xlIjoiYW5vbiJ9.36fUebxgx1mcBo4s19v0SzqmzunP--hm_hep0uLX0ew_10# Database URL: postgres://postgres:postgres@localhost:5432/postgres
Now that your application is now prepared, you can use Supabase anywhere in your application (for example, App.js):
_10import { createClient } from '@supabase/supabase-js'_10_10const SUPABASE_URL = 'http://localhost:8000'_10const SUPABASE_ANON_KEY =_10 'eyJ0eXAiOiJKV1QiLCJhbGciOiJIUzI1NiJ9.eyJpc3MiOiJzdXBhYmFzZSIsImlhdCI6MTYwMzk2ODgzNCwiZXhwIjoyNTUwNjUzNjM0LCJyb2xlIjoiYW5vbiJ9.36fUebxgx1mcBo4s19v0SzqmzunP--hm_hep0uLX0ew'_10const supabase = createClient(SUPABASE_URL, SUPABASE_ANON_KEY)
Then start the backend and the frontend:
_10supabase start # Start Supabase_10npm start # Start the React app
If everything is working you should have a React app running on http://localhost:3000 and Supabase services running on http://localhost:8000!
Next steps:#
Soon we will give you the ability to push your changes from your local machine to your Production project. How will we do that? Migrations!
Migrations#
Database Migrations are a process to "change" your database schema. In a NoSQL database you don't need migrations, because you can insert any JSON data without validation. However with Relational databases you define your schema upfront, and the database will reject data which doesn't "fit" the schema. This is one of the reasons Relational databases are so scalable - schemas ensure data integrity.
Just like an application though, a database schema needs to be constantly updated. And that's where migrations fit! Migrations are simply a set of SQL scripts which change your database schema.
There is one problem however: there is no "right" way to do migrations.
Diffs#
At Supabase, we do have one strong preference. We like schema "diffing" over "manual migrations".
Manual migrations work like this:
- A developer thinks about all the changes they want to make to their database
- They create a SQL script which will cause those changes
- They run that script on their database
After a while though, these scripts pile up - the migrations folder can contain hundreds of migration scripts. This method is also "version control" on top of another version control system (i.e. git).
A "diff" tool works like this:
- a developer makes all the changes they desire to a local database
- they use a tool to compare their local database to the production database
- the tool then generates all the SQL scripts that are required, and runs them on the target database
In this case, the tool does all the hard work. This is obviously an ideal state. Databases schemas are declarative, and when you check them into git, you can see their evolution over time. The hard part is finding a tool which can handle all the edge-cases of database diff'ing.
Choosing the best diff tool#
After evaluating these OSS tools:
We found that the most complete one was the pgAdmin Schema Diff, migra came a close second.
The deciding factor was if the tool could track an owner change for a VIEW.
_10ALTER VIEW my_view OWNER TO authenticated;
This is critical for Row Level Security to work with views. For policies to kick in on views, the owner must not have superuser or bypassrls privileges. Currently migra doesn't track this change (issue), while the pgAdmin Schema Diff does.
There was a problem in using the pgAdmin Schema Diff though, it's a GUI-only tool.
So we did what we always strive to do - improve existing open source software. We created a CLI mode for the Schema Diff on our repo. We've also released a docker image for a quick start.
The CLI offers the same functionality as the GUI version. You can diff two databases by specifying the connection strings like shown below.
_24docker run supabase/pgadmin-schema-diff \_24 'postgres://user:pass@local:5432/diff_source' \_24 'postgres://user:pass@production:5432/diff_target' \_24 > diff_demo.sql_24_24Starting schema diff..._24Comparison started......0%_24Comparing Event Triggers...2%_24Comparing Extensions...4%_24Comparing Languages...8%_24Comparing Foreign Servers...14%_24Comparing Foreign Tables of schema 'public'...28%_24Comparing Tables of schema 'public'...50%_24Comparing Domains of schema 'test_schema_diff'...66%_24Comparing Foreign Tables of schema 'test_schema_diff'...68%_24Comparing FTS Templates of schema 'test_schema_diff'...76%_24Comparing Functions of schema 'test_schema_diff'...78%_24Comparing Procedures of schema 'test_schema_diff'...80%_24Comparing Tables of schema 'test_schema_diff'...90%_24Comparing Types of schema 'test_schema_diff'...92%_24Comparing Materialized Views of schema 'test_schema_diff'...96%_24Done._24_24## the diff is written to diff_demo.sql
A sample diff can be seen on this gist. This was generated by diffing these two databases.
On these lines, you can see how it tracks the view's owner change (note: the ALTER TABLE statement is interchangeable with ALTER VIEW in this case). Additionally, you can see that it handles domains just fine, this is an edge-case that other diff tools don't handle.
Also, similarly to the pgAdmin GUI:
- You can include and exclude database objects from the diff with
--include-objectsor--exclude-objects - You can choose a single schema to diff with the
--schemaargument or you can pick different schemas to compare with the --source-schema and --target-schema arguments. We recommend you do this for Supabase databases. Diffing the whole database can take a while because of theextensionsschema (especially if you enable PostGIS, which adds many functions).
Next steps#
Once we have added logins to the CLI, we will be able to use Migrations to create a seamless workflow between local development and your production database.
Also, the pgAdmin team has showed interest in including our Schema Diff CLI in the official pgAdmin. We'll be working with them to include this change upstream to benefit the whole community.
Self Hosting#
Finally, we are adding one critical command to our CLI for everybody who wants to self-host:
_10supabase eject
This gives you everything you need to run the Supabase stack.
After running the command inside the terminal, you will see three items:
docker-compose.yml(file)kong(directory)postgres(directory)
If you have an existing Postgres database running elsewhere you can easily drop the Postgres directory but first make sure you do these three things:
- run the .sql files from the Postgres directory on your existing database
- update all references to the DB URI in
docker-compose.ymlto your existing database - run these steps to enable replication inside the database, so that the realtime engine can stream changes from your database
You may also want to play with the environment variables for each application inside docker-compose.yml. PostgREST has many additional configuration options, as does GoTrue. In the hosted version of Supabase we connect our own SMTP service to GoTrue for sending auth emails, so you may also want to add these settings here in order to enable this.
Also check kong.yml inside the kong directory where you'll see how all the services are routed to, and with what rules, down the bottom you'll find the JWTs capable of accessing services that require API Key access.
Once you're all set, you can start the stack by running:
_10docker compose up
Head over to the Self Hosting Docs for a more complete walk through, it also includes several one-click deploys, so you can easily deploy into your own cloud hosting provider.
If you require any assistance feel free to reach out in our github discussions or at support@supabase.io.
Check out the CLI VI launched Monday 15th August, 2022, contribute to the CLI repo, or go here for the hosted version.