
Byteline Sync
Overview
Byteline Sync
Introduction to the product
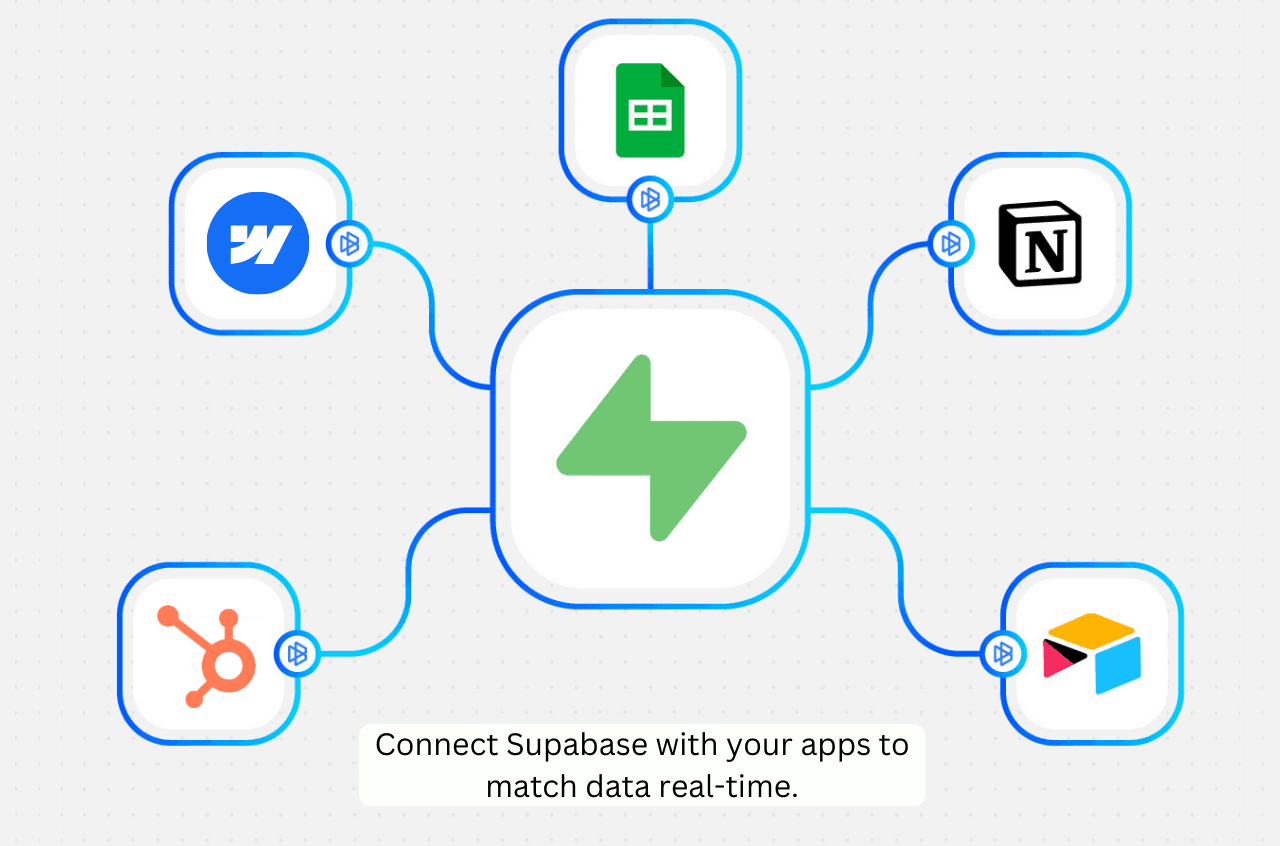
Match data real-time between Supabase and your apps like Google Sheets, Airtable, Notion, Webflow, HubSpot, and more.
Use Cases for Supabase Users
Keep your Supabase tables in sync with business tools. Automatically sync rows from Supabase to Google Sheets, Airtable, Notion, or HubSpot so non-technical teammates always have access to the latest data without querying the database directly.
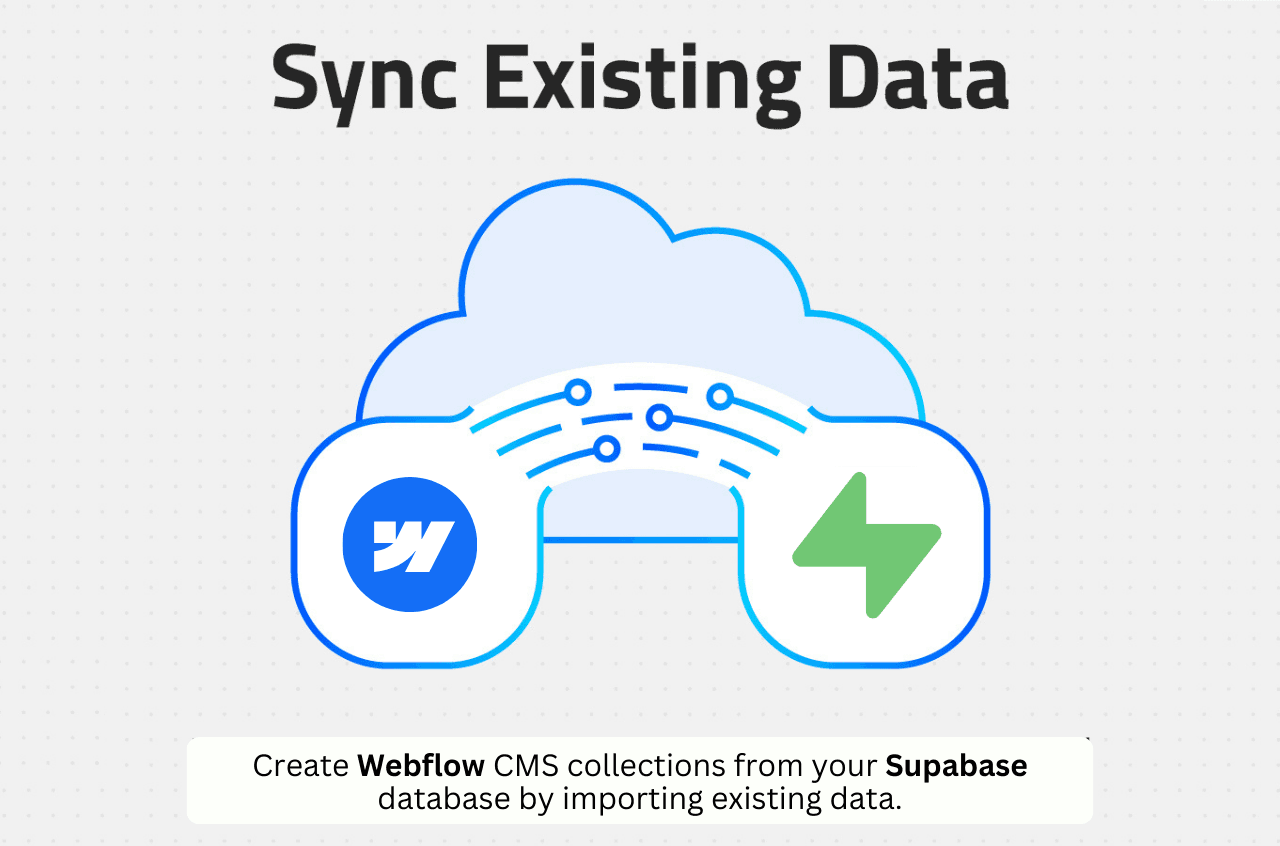
Power a custom frontend with live Supabase data. Sync Supabase tables to Webflow CMS or other content platforms to build branded customer-facing pages, directories, or dashboards that stay up to date automatically.
Centralize data from external apps into Supabase. Pull data from tools like Stripe, Greenhouse, Google Sheets, or ClickUp into your Supabase tables to create a single source of truth for your application's backend.
Automate cross-platform record management. When a record is created, updated, or deleted in Supabase, Byteline reflects that change in your connected apps instantly — and vice versa — without writing custom API integrations or cron jobs.
Migrate and backfill existing data. Import historical records from other platforms into Supabase, or export your existing Supabase data into connected apps, with a one-time historical sync before enabling ongoing real-time updates.
How to Set Up the Integration
Step 1: Create a new sync
Log in to your Byteline account at console.byteline.io and navigate to the My Syncs page. Click Create Sync to begin.
Step 2: Select Supabase
Choose Supabase as your first app. Then select the second app you want to sync with (e.g., Google Sheets, Airtable, HubSpot, Webflow, etc.).
Step 3: Connect Supabase
Click Connect Supabase to securely link your Supabase account. Byteline will establish a connection to your Supabase database. Byteline adds a few lightweight, read-only helper functions and a change trigger to your database to enable syncing — these do not modify your existing data.
Step 4: Map your tables
Select the tables you want to sync between Supabase and your connected app. Map the fields from Supabase to the corresponding fields in the destination app using drag-and-drop field mapping.
Step 5: Choose your data scope
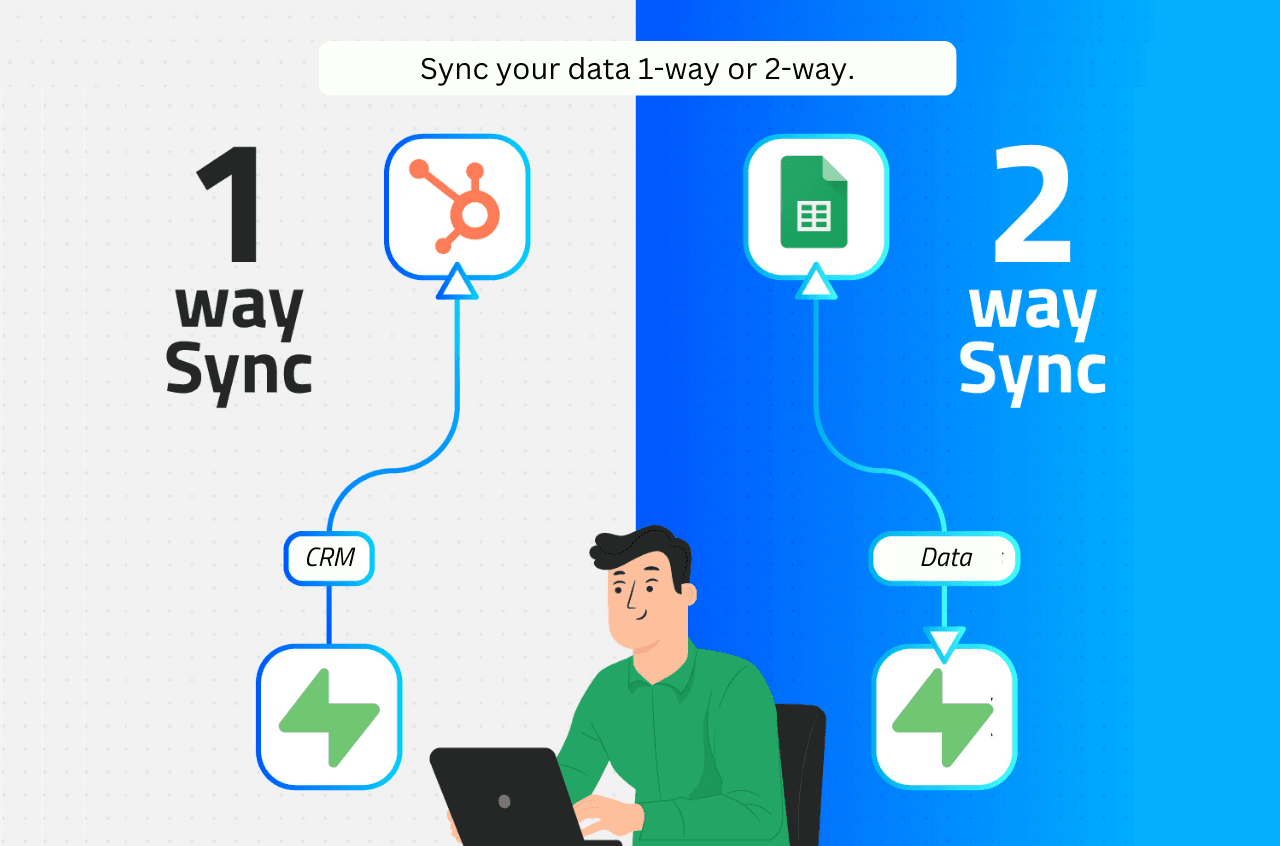
Select whether to sync existing records, future changes, or both. You can also configure the sync direction (one-way or two-way) at the individual field level.
Step 6: Start the sync
Preview your configuration to make sure everything looks correct, then click Start Sync. Byteline will perform an initial sync of your existing data and then keep everything updated automatically in the background.
You can monitor sync progress, view logs, or make changes anytime from the Syncs dashboard.
Documentation
For detailed configuration instructions, visit the Byteline Supabase Data Sync documentation. For general data sync features and tips, see Data Sync - Getting Started.
Details
Third-party integrations and docs are managed by Supabase partners.