Use Supabase with Refine
Learn how to create a Supabase project, add some sample data to your database, and query the data from a Refine app.
Create a Supabase project
Go to database.new and create a new Supabase project.
Alternatively, you can create a project using the Management API:
1# First, get your access token from https://supabase.com/dashboard/account/tokens2export SUPABASE_ACCESS_TOKEN="your-access-token"34# List your organizations to get the organization ID5curl -H "Authorization: Bearer $SUPABASE_ACCESS_TOKEN" \6 https://api.supabase.com/v1/organizations78# Create a new project (replace <org-id> with your organization ID)9curl -X POST https://api.supabase.com/v1/projects \10 -H "Authorization: Bearer $SUPABASE_ACCESS_TOKEN" \11 -H "Content-Type: application/json" \12 -d '{13 "organization_id": "<org-id>",14 "name": "My Project",15 "region": "us-east-1",16 "db_pass": "<your-secure-password>"17 }'When your project is up and running, go to the Table Editor, create a new table and insert some data.
Alternatively, you can run the following snippet in your project's SQL Editor. This will create an instruments table with some sample data.
1-- Create the table2create table instruments (3 id bigint primary key generated always as identity,4 name text not null5);6-- Insert some sample data into the table7insert into instruments (name)8values9 ('violin'),10 ('viola'),11 ('cello');1213alter table instruments enable row level security;Make the data in your table publicly readable by adding an RLS policy:
1create policy "public can read instruments"2on public.instruments3for select to anon4using (true);Create a Refine app
Create a Refine app using the create refine-app.
The refine-supabase preset adds @refinedev/supabase supplementary package that supports Supabase in a Refine app. @refinedev/supabase out-of-the-box includes the Supabase dependency: supabase-js.
Terminal
1npm create refine-app@latest -- --preset refine-supabase my-appOpen your Refine app in VS Code
You will develop your app, connect to the Supabase backend and run the Refine app in VS Code.
Terminal
1cd my-app2code .Start the app
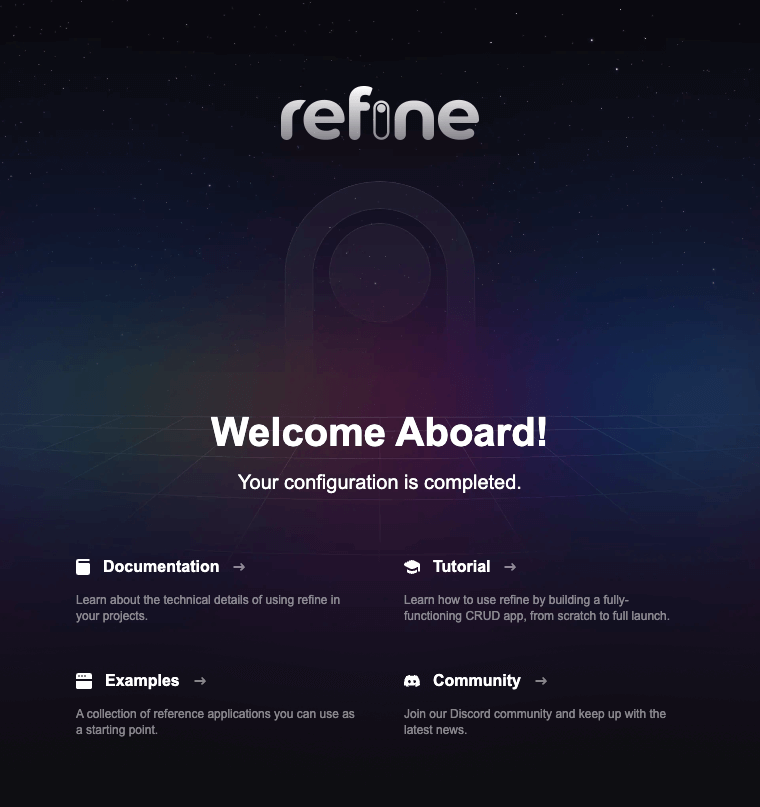
Start the app, go to http://localhost:5173 in a browser, and you should be greeted with the Refine Welcome page.
Terminal
1npm run dev
Update `supabaseClient`
You now have to update the supabaseClient with the SUPABASE_URL and SUPABASE_KEY of your Supabase API. The supabaseClient is used in auth provider and data provider methods that allow the Refine app to connect to your Supabase backend.
Project URL
Publishable key
Anon key
src/utility/supabaseClient.ts
1import { createClient } from "@refinedev/supabase";23const SUPABASE_URL = YOUR_SUPABASE_URL;4const SUPABASE_KEY = YOUR_SUPABASE_KEY56export const supabaseClient = createClient(SUPABASE_URL, SUPABASE_KEY, {7 db: {8 schema: "public",9 },10 auth: {11 persistSession: true,12 },13});You can also get the Project URL and key from the project's Connect dialog.
Changes to API keys
Supabase is changing the way keys work to improve project security and developer experience. You can read the full announcement, but in the transition period, you can use both the current anon and service_role keys and the new publishable key with the form sb_publishable_xxx which will replace the older keys.
In most cases, you can get the correct key from the Project's Connect dialog, but if you want a specific key, you can find all keys in the API Keys section of a Project's Settings page:
- For legacy keys, copy the
anonkey for client-side operations and theservice_rolekey for server-side operations from the Legacy API Keys tab. - For new keys, open the API Keys tab, if you don't have a publishable key already, click Create new API Keys, and copy the value from the Publishable key section.
Read the API keys docs for a full explanation of all key types and their uses.
Add instruments resource and pages
You have to then configure resources and define pages for instruments resource.
Use the following command to automatically add resources and generate code for pages for instruments using Refine Inferencer.
This defines pages for list, create, show and edit actions inside the src/pages/instruments/ directory with <HeadlessInferencer /> component.
The <HeadlessInferencer /> component depends on @refinedev/react-table and @refinedev/react-hook-form packages. In order to avoid errors, you should install them as dependencies with npm install @refinedev/react-table @refinedev/react-hook-form.
The <HeadlessInferencer /> is a Refine Inferencer component that automatically generates necessary code for the list, create, show and edit pages.
More on how the Inferencer works is available in the docs here.
Terminal
1npm run refine create-resource instrumentsAdd routes for instruments pages
Add routes for the list, create, show, and edit pages.
You should remove the index route for the Welcome page presented with the <Welcome /> component.
src/App.tsx
1import { Refine } from "@refinedev/core";2import { RefineKbar, RefineKbarProvider } from "@refinedev/kbar";3import routerProvider, {4 DocumentTitleHandler,5 NavigateToResource,6 UnsavedChangesNotifier,7} from "@refinedev/react-router";8import { dataProvider, liveProvider } from "@refinedev/supabase";9import { BrowserRouter, Route, Routes } from "react-router-dom";1011import "./App.css";12import authProvider from "./authProvider";13import { supabaseClient } from "./utility";14import { InstrumentsCreate, InstrumentsEdit, InstrumentsList, InstrumentsShow } from "./pages/instruments";1516function App() {17 return (18 <BrowserRouter>19 <RefineKbarProvider>20 <Refine21 dataProvider={dataProvider(supabaseClient)}22 liveProvider={liveProvider(supabaseClient)}23 authProvider={authProvider}24 routerProvider={routerProvider}25 options={{26 syncWithLocation: true,27 warnWhenUnsavedChanges: true,28 }}29 resources={[{30 name: "instruments",31 list: "/instruments",32 create: "/instruments/create",33 edit: "/instruments/edit/:id",34 show: "/instruments/show/:id"35 }]}>36 <Routes>37 <Route index38 element={<NavigateToResource resource="instruments" />}39 />40 <Route path="/instruments">41 <Route index element={<InstrumentsList />} />42 <Route path="create" element={<InstrumentsCreate />} />43 <Route path="edit/:id" element={<InstrumentsEdit />} />44 <Route path="show/:id" element={<InstrumentsShow />} />45 </Route>46 </Routes>47 <RefineKbar />48 <UnsavedChangesNotifier />49 <DocumentTitleHandler />50 </Refine>51 </RefineKbarProvider>52 </BrowserRouter>53 );54}5556export default App;View instruments pages
Now you should be able to see the instruments pages along the /instruments routes. You may now edit and add new instruments using the Inferencer generated UI.
The Inferencer auto-generated code gives you a good starting point on which to keep building your list, create, show and edit pages. They can be obtained by clicking the Show the auto-generated code buttons in their respective pages.