Use Supabase with RedwoodJS
Learn how to create a Supabase project, add some sample data to your database using Prisma migration and seeds, and query the data from a RedwoodJS app.
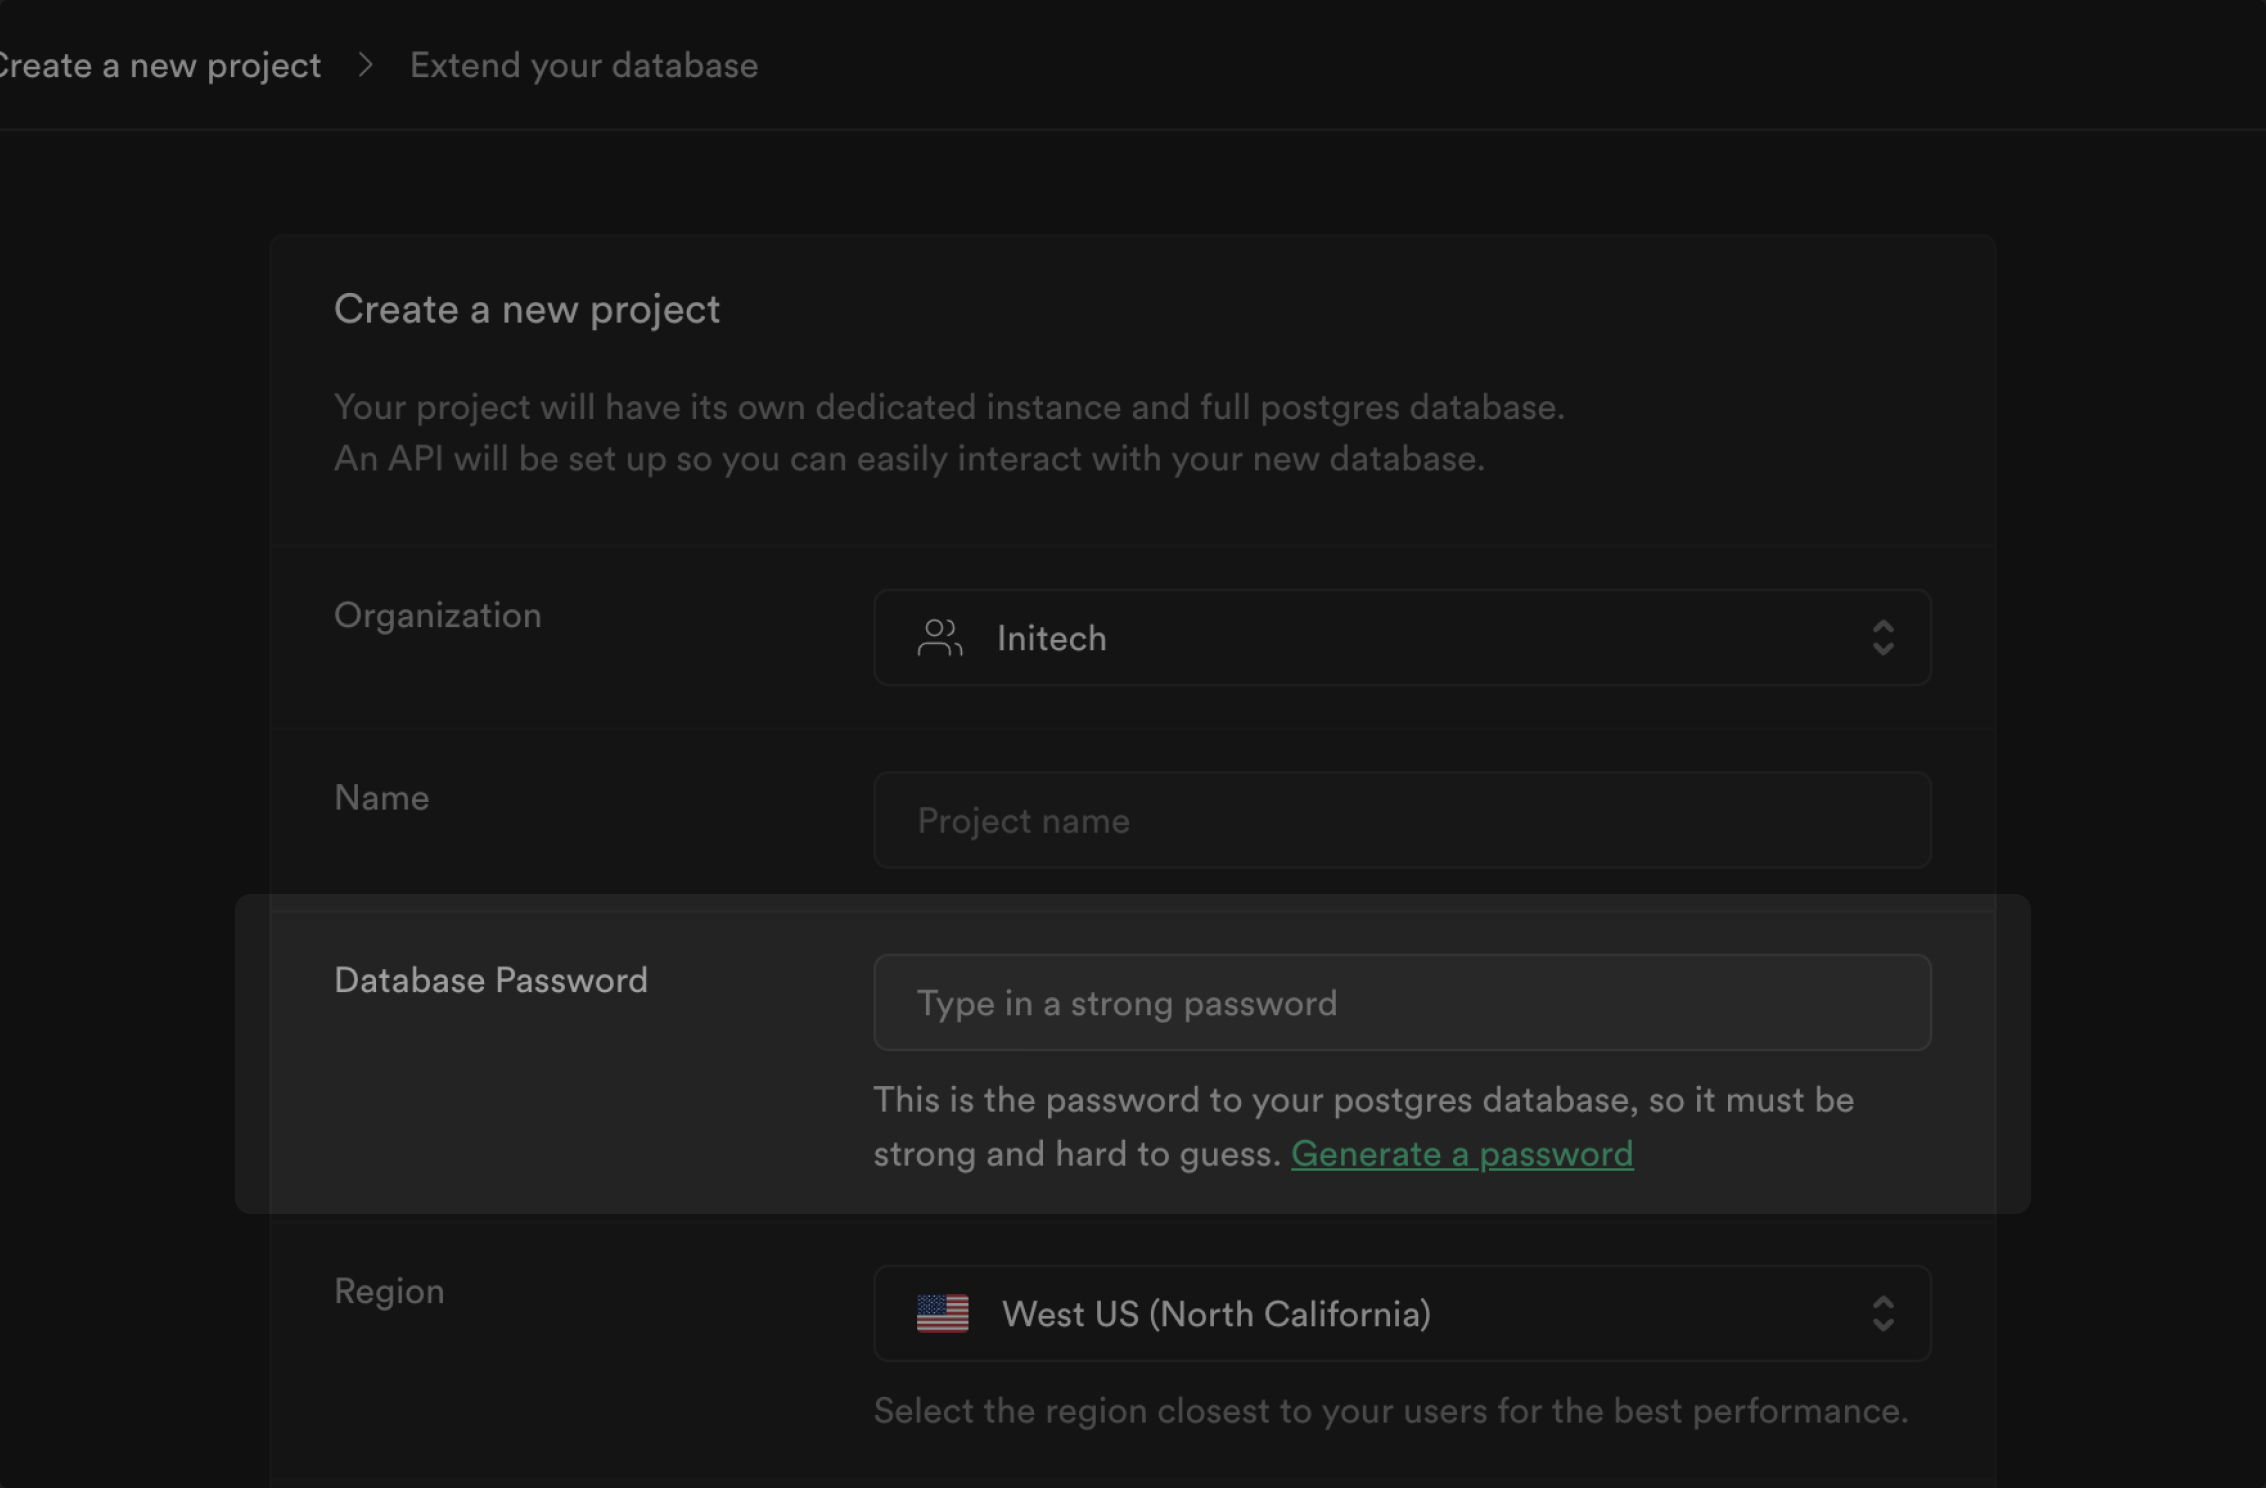
1. Setup your new Supabase project#
Create a new project in the Supabase Dashboard.
Be sure to make note of the Database Password you used as you will need this later to connect to your database.
2. Gather database connection strings#
Open the project Connect panel. This quickstart connects using the Transaction pooler and Session pooler mode. Transaction mode is used for application queries and Session mode is used for running migrations with Prisma.
To do this, set the connection mode to Transaction in the Database Settings page and copy the connection string and append ?pgbouncer=true&connection_limit=1. pgbouncer=true disables Prisma from generating prepared statements. This is required since our connection pooler does not support prepared statements in transaction mode yet. The connection_limit=1 parameter is only required if you are using Prisma from a serverless environment. This is the Transaction mode connection string.
To get the Session mode connection pooler string, change the port of the connection string from the dashboard to 5432.
You will need the Transaction mode connection string and the Session mode connection string to set up environment variables in Step 4.
You can copy and paste these connection strings from the Supabase Dashboard when needed in later steps.

3. Create a RedwoodJS app#
Create a RedwoodJS app with TypeScript.
The yarn package manager is required to create a RedwoodJS app. You will use it to run RedwoodJS commands later.
While TypeScript is recommended, If you want a JavaScript app, omit the --ts flag.
1yarn create redwood-app my-app --ts4. Configure environment variables#
In your .env file, add the following environment variables for your database connection:
-
The
DATABASE_URLshould use the Transaction mode connection string you copied in Step 2. -
The
DIRECT_URLshould use the Session mode connection string you copied in Step 2.
.env
1# Transaction mode connection string used for migrations2DATABASE_URL="postgres://postgres.[project-ref]:[db-password]@xxx.pooler.supabase.com:6543/postgres?pgbouncer=true&connection_limit=1"34# Session mode connection string — used by Prisma Client5DIRECT_URL="postgres://postgres.[project-ref]:[db-password]@xxx.pooler.supabase.com:5432/postgres"5. Update your Prisma schema#
By default, RedwoodJS ships with a SQLite database, but we want to use Postgres.
Update your Prisma schema file api/db/schema.prisma to use your Supabase Postgres database connection environment variables you set up in Step 4.
api/db/schema.prisma
1datasource db {2 provider = "postgresql"3 url = env("DATABASE_URL")4 directUrl = env("DIRECT_URL")5}6. Create the instrument model and apply a schema migration#
Create the Instrument model in api/db/schema.prisma and then run yarn rw prisma migrate dev from your terminal to apply the migration.
api/db/schema.prisma
1model Instrument {2 id Int @id @default(autoincrement())3 name String @unique4}7. Update seed script#
Seed the database with a few instruments.
Update the file scripts/seed.ts to contain the following code:
scripts/seed.ts
1import type { Prisma } from '@prisma/client'2import { db } from 'api/src/lib/db'34export default async () => {5 try {6 const data: Prisma.InstrumentCreateArgs['data'][] = [7 { name: 'dulcimer' },8 { name: 'harp' },9 { name: 'guitar' },10 ]1112 console.log('Seeding instruments ...')1314 const instruments = await db.instrument.createMany({ data })1516 console.log('Done.', instruments)17 } catch (error) {18 console.error(error)19 }20}8. Seed your database#
Run the seed database command to populate the Instrument table with the instruments you created.
The reset database command yarn rw prisma db reset recreates the tables and also runs the seed script.
1yarn rw prisma db seed9. Scaffold the instrument UI#
Use RedwoodJS generators to scaffold a CRUD UI for the Instrument model.
1yarn rw g scaffold instrument10. Start the app#
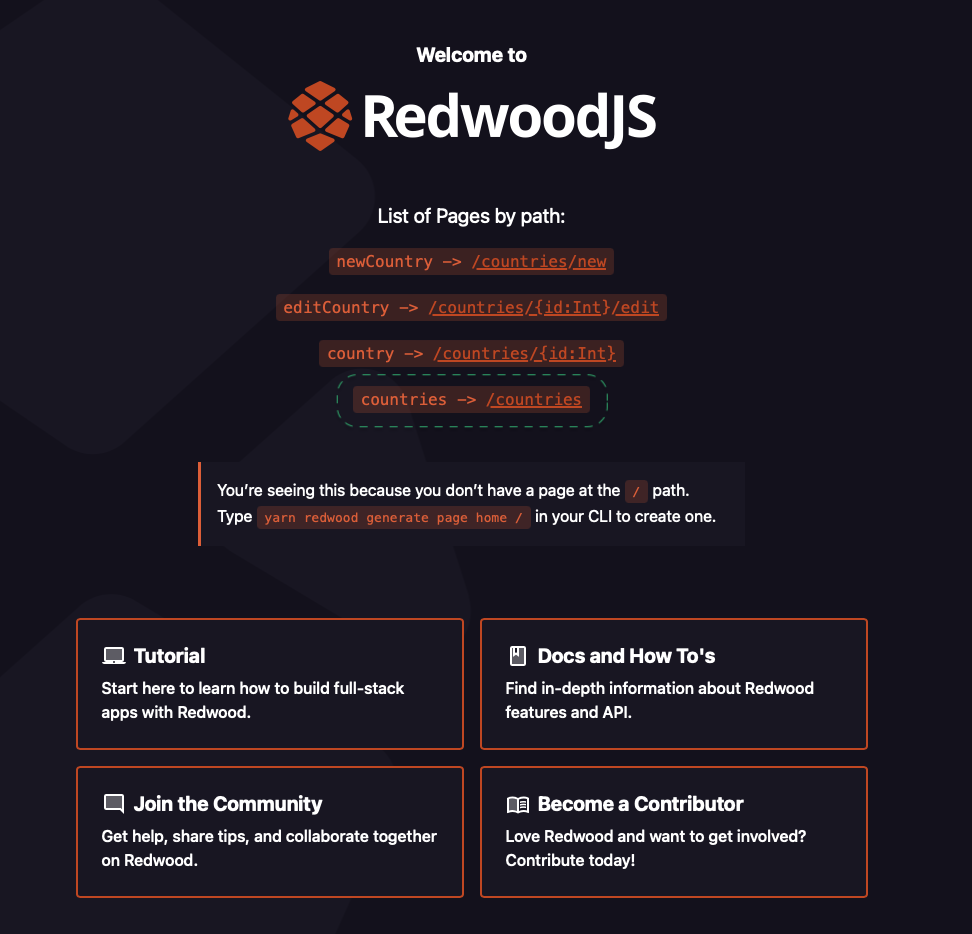
Start the app via yarn rw dev. A browser will open to the RedwoodJS Splash page.
11. View instruments UI#
Click on /instruments to visit http://localhost:8910/instruments where should see the list of instruments.
You may now edit, delete, and add new instruments using the scaffolded UI.