Build a User Management App with Ionic Angular
This tutorial demonstrates how to build a basic user management app. The app authenticates and identifies the user, stores their profile information in the database, and allows the user to log in, update their profile details, and upload a profile photo. The app uses:
- Supabase Database - a Postgres database for storing your user data and Row Level Security so data is protected and users can only access their own information.
- Supabase Auth - allow users to sign up and log in.
- Supabase Storage - allow users to upload a profile photo.
If you get stuck while working through this guide, refer to the full example on GitHub.
Project setup#
Before you start building you need to set up the Database and API. You can do this by starting a new Project in Supabase and then creating a "schema" inside the database.
Create a project#
- Create a new project in the Supabase Dashboard.
- Enter your project details.
- Wait for the new database to launch.
Set up the database schema#
Now set up the database schema. You can use the "User Management Starter" quickstart in the SQL Editor, or you can copy/paste the SQL from below and run it.
- Go to the SQL Editor page in the Dashboard.
- Click User Management Starter under the Community > Quickstarts tab.
- Click Run.
You can pull the database schema down to your local project by running the db pull command. Read the local development docs for detailed instructions.
1supabase link --project-ref <project-id>2# You can get <project-id> from your project's dashboard URL: https://supabase.com/dashboard/project/<project-id>3supabase db pullGet API details#
To interact with data in database tables, you use the client libraries that wrap the auto-generated Data API endpoints, authenticating using the Project URL and key from the project Connect dialog.
Project URL
Publishable key
Read the API keys docs for a full explanation of all key types, their uses, and where to find them.
Building the app#
Start building the Angular app from scratch.
Initialize an Ionic Angular app#
Use the Ionic CLI to initialize
an app called supabase-ionic-angular:
1npm install -g @ionic/cli2ionic start supabase-ionic-angular blank --type angular3cd supabase-ionic-angularInstall the only additional dependency: supabase-js
1npm install @supabase/supabase-jsAnd finally, save the environment variables in the src/environments/environment.ts file.
All you need are the API URL and the key that you copied earlier.
These variables will be exposed on the browser, and that's fine as Row Level Security is enabled on the Database.
src/environments/environment.ts
1// This file can be replaced during build by using the `fileReplacements` array.2// `ng build --prod` replaces `environment.ts` with `environment.prod.ts`.3// The list of file replacements can be found in `angular.json`.45export const environment = {6 production: false,7 supabaseUrl: '',8 supabasePublishableKey: '',9}1011/*12 * For easier debugging in development mode, you can import the following file13 * to ignore zone related error stack frames such as `zone.run`, `zoneDelegate.invokeTask`.14 *15 * This import should be commented out in production mode because it will have a negative impact16 * on performance if an error is thrown.17 */18// import 'zone.js/dist/zone-error'; // Included with Angular CLI.Now that you have the API credentials in place, create a SupabaseService with ionic g s supabase to initialize the Supabase client and implement functions to communicate with the Supabase API.
src/app/supabase.service.ts
1import { Injectable } from '@angular/core'2import { LoadingController, ToastController } from '@ionic/angular'3import { AuthChangeEvent, createClient, Session, SupabaseClient } from '@supabase/supabase-js'4import { environment } from '../environments/environment'56export interface Profile {7 username: string8 website: string9 avatar_url: string10}1112@Injectable({13 providedIn: 'root',14})15export class SupabaseService {16 private supabase: SupabaseClient1718 constructor(19 private loadingCtrl: LoadingController,20 private toastCtrl: ToastController21 ) {22 this.supabase = createClient(environment.supabaseUrl, environment.supabasePublishableKey)23 }2425 get user() {26 return this.supabase.auth.getUser().then(({ data }) => data?.user)27 }2829 get session() {30 return this.supabase.auth.getClaims().then(async ({ data }) => {31 if (!data?.claims) {32 return null33 }3435 const { data: userData } = await this.supabase.auth.getUser()36 return userData?.user ? ({ user: userData.user } as Session) : null37 })38 }3940 get profile() {41 return this.user42 .then((user) => user?.id)43 .then((id) =>44 this.supabase.from('profiles').select(`username, website, avatar_url`).eq('id', id).single()45 )46 }4748 authChanges(callback: (event: AuthChangeEvent, session: Session | null) => void) {49 return this.supabase.auth.onAuthStateChange(callback)50 }5152 signIn(email: string) {53 return this.supabase.auth.signInWithOtp({ email })54 }5556 signOut() {57 return this.supabase.auth.signOut()58 }5960 async updateProfile(profile: Profile) {61 const user = await this.user62 const update = {63 ...profile,64 id: user?.id,65 updated_at: new Date(),66 }6768 return this.supabase.from('profiles').upsert(update)69 }7071 downLoadImage(path: string) {72 return this.supabase.storage.from('avatars').download(path)73 }7475 uploadAvatar(filePath: string, file: File) {76 return this.supabase.storage.from('avatars').upload(filePath, file)77 }7879 async createNotice(message: string) {80 const toast = await this.toastCtrl.create({ message, duration: 5000 })81 await toast.present()82 }8384 createLoader() {85 return this.loadingCtrl.create()86 }87}Set up a login route#
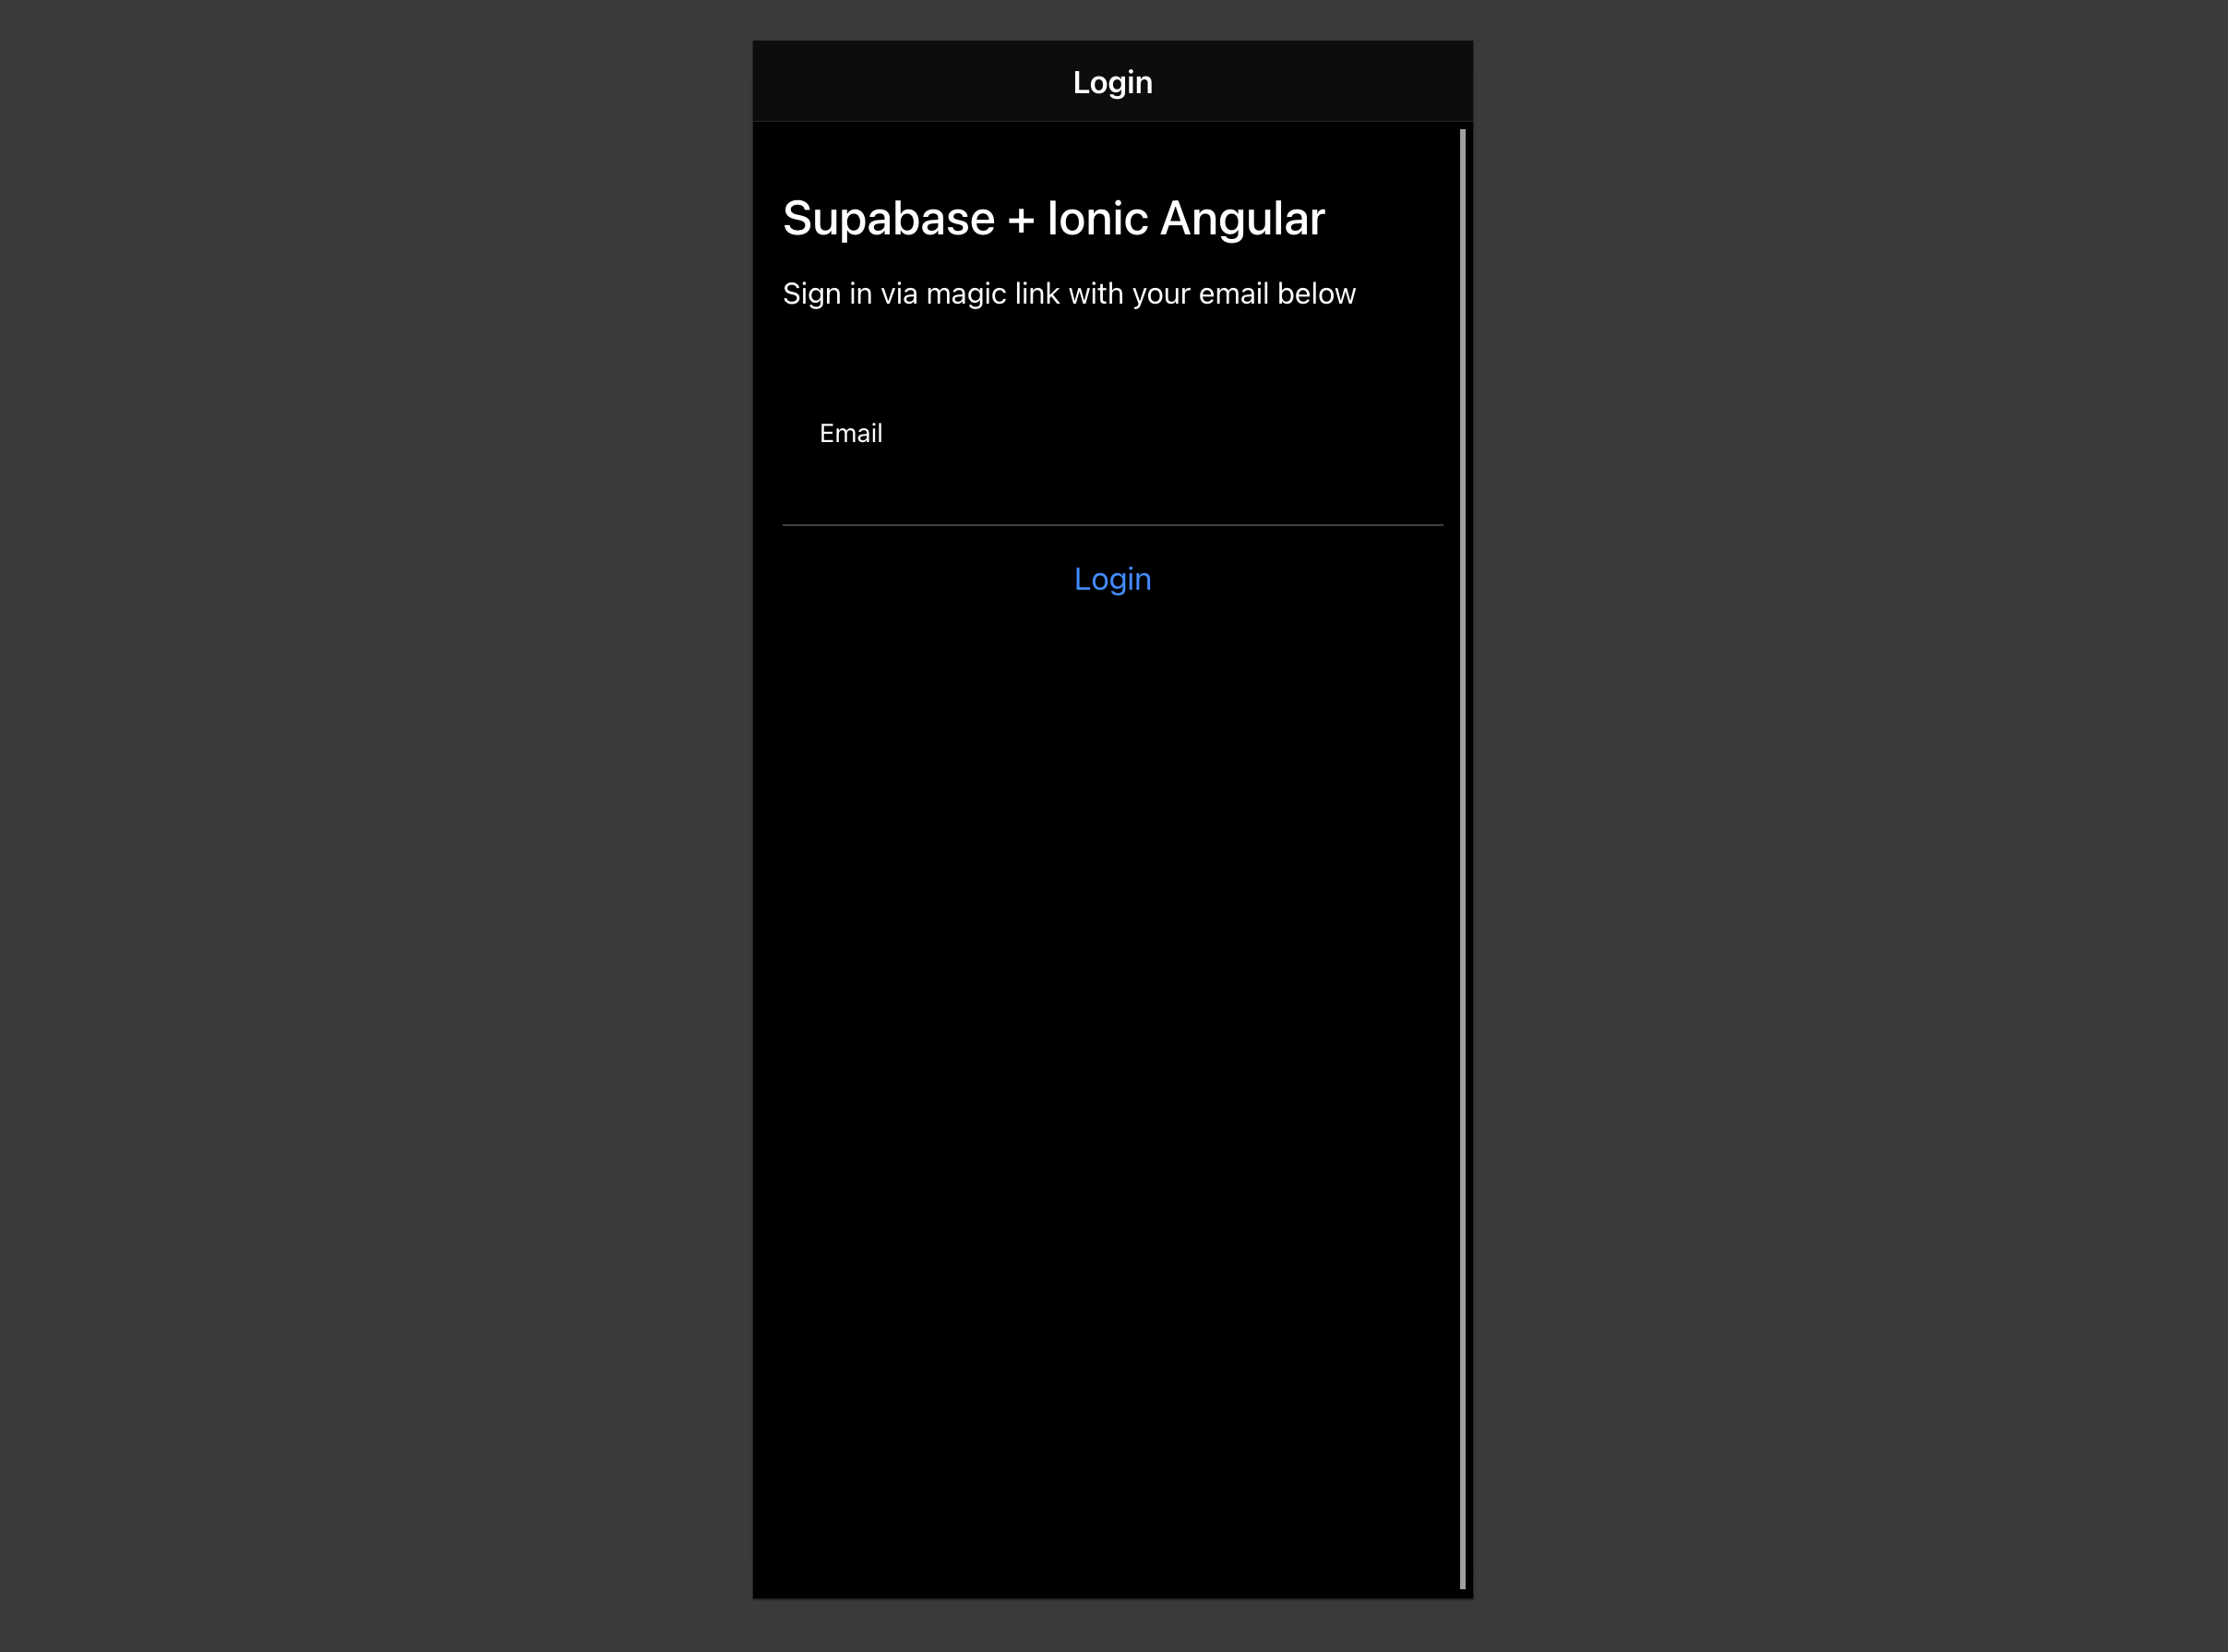
Set up a route to manage logins and signups. Use Magic Links so users can sign in with their email without using passwords.
Create a LoginPage with the ionic g page login Ionic CLI command.
src/app/login/login.page.ts
1import { Component, OnInit } from '@angular/core'2import { SupabaseService } from '../supabase.service'34@Component({5 selector: 'app-login',6 standalone: false,7 templateUrl: './login.page.html',8 styleUrls: ['./login.page.scss'],9})10export class LoginPage {11 email = ''1213 constructor(private readonly supabase: SupabaseService) {}1415 async handleLogin(event: any) {16 event.preventDefault()17 const loader = await this.supabase.createLoader()18 await loader.present()19 try {20 const { error } = await this.supabase.signIn(this.email)21 if (error) {22 throw error23 }24 await loader.dismiss()25 await this.supabase.createNotice('Check your email for the login link!')26 } catch (error: any) {27 await loader.dismiss()28 await this.supabase.createNotice(error.error_description || error.message)29 }30 }31}src/app/login/login.page.html
1<ion-header>2 <ion-toolbar>3 <ion-title>Login</ion-title>4 </ion-toolbar>5</ion-header>67<ion-content>8 <div class="ion-padding">9 <h1>Supabase + Ionic Angular</h1>10 <p>Sign in via magic link with your email below</p>11 </div>12 <ion-list inset="true">13 <form (ngSubmit)="handleLogin($event)">14 <ion-item>15 <ion-label position="stacked">Email</ion-label>16 <ion-input17 [(ngModel)]="email"18 name="email"19 autocomplete20 type="email"21 ></ion-input>22 </ion-item>23 <div class="ion-text-center">24 <ion-button type="submit" fill="clear">Login</ion-button>25 </div>26 </form>27 </ion-list>28</ion-content>Account page#
After a user is signed in, allow them to edit their profile details and manage their account.
Create an AccountComponent with ionic g page account Ionic CLI command.
src/app/account/account.page.ts
1import { Component, OnInit } from '@angular/core'2import { Router } from '@angular/router'3import { Profile, SupabaseService } from '../supabase.service'45@Component({6 selector: 'app-account',7 standalone: false,8 templateUrl: './account.page.html',9 styleUrls: ['./account.page.scss'],10})11export class AccountPage implements OnInit {12 profile: Profile = {13 username: '',14 avatar_url: '',15 website: '',16 }1718 email = ''1920 constructor(21 private readonly supabase: SupabaseService,22 private router: Router23 ) {}2425 ngOnInit() {26 this.getEmail()27 this.getProfile()28 }2930 async getEmail() {31 this.email = await this.supabase.user.then((user) => user?.email || '')32 }3334 async getProfile() {35 try {36 const { data: profile, error, status } = await this.supabase.profile37 if (error && status !== 406) {38 throw error39 }40 if (profile) {41 this.profile = profile42 }43 } catch (error: any) {44 alert(error.message)45 }46 }4748 async updateProfile(avatar_url: string = '') {49 const loader = await this.supabase.createLoader()50 await loader.present()51 try {52 const { error } = await this.supabase.updateProfile({ ...this.profile, avatar_url })53 if (error) {54 throw error55 }56 await loader.dismiss()57 await this.supabase.createNotice('Profile updated!')58 } catch (error: any) {59 await loader.dismiss()60 await this.supabase.createNotice(error.message)61 }62 }6364 async signOut() {65 console.log('testing?')66 await this.supabase.signOut()67 this.router.navigate(['/'], { replaceUrl: true })68 }69}src/app/account/account.page.html
1<ion-header>2 <ion-toolbar>3 <ion-title>Account</ion-title>4 </ion-toolbar>5</ion-header>67<ion-content>89 // ...1011 <form>12 <ion-item>13 <ion-label position="stacked">Email</ion-label>14 <ion-input type="email" name="email" [(ngModel)]="email" readonly></ion-input>15 </ion-item>1617 <ion-item>18 <ion-label position="stacked">Name</ion-label>19 <ion-input20 type="text"21 name="username"22 [(ngModel)]="profile.username"23 ></ion-input>24 </ion-item>2526 <ion-item>27 <ion-label position="stacked">Website</ion-label>28 <ion-input29 type="url"30 name="website"31 [(ngModel)]="profile.website"32 ></ion-input>33 </ion-item>34 <div class="ion-text-center">35 <ion-button fill="clear" (click)="updateProfile()"36 >Update Profile</ion-button37 >38 </div>39 </form>4041 <div class="ion-text-center">42 <ion-button fill="clear" (click)="signOut()">Log Out</ion-button>43 </div>44</ion-content>Launch!#
Now that you have all the components in place, update AppComponent:
src/app/app.component.ts
1import { Component } from '@angular/core'2import { Router } from '@angular/router'3import { SupabaseService } from './supabase.service'45@Component({6 selector: 'app-root',7 standalone: false,8 templateUrl: 'app.component.html',9 styleUrls: ['app.component.scss'],10})11export class AppComponent {12 constructor(13 private supabase: SupabaseService,14 private router: Router15 ) {16 this.supabase.authChanges((_, session) => {17 console.log(session)18 if (session?.user) {19 this.router.navigate(['/account'])20 }21 })22 }23}Then update the AppRoutingModule
src/app/app-routing.module.ts
1import { NgModule } from '@angular/core'2import { PreloadAllModules, RouterModule, Routes } from '@angular/router'34const routes: Routes = [5 {6 path: '',7 loadChildren: () => import('./login/login.module').then((m) => m.LoginPageModule),8 },9 {10 path: 'account',11 loadChildren: () => import('./account/account.module').then((m) => m.AccountPageModule),12 },13]1415@NgModule({16 imports: [RouterModule.forRoot(routes, { preloadingStrategy: PreloadAllModules })],17 exports: [RouterModule],18})19export class AppRoutingModule {}Once that's done, run this in a terminal window:
1ionic serveAnd the browser automatically opens to show the app.
Bonus: Profile photos#
Every Supabase project is configured with Storage for managing large files like photos and videos.
Create an upload widget#
Create an avatar so the user can upload a profile photo.
First, install two packages in order to interact with the user's camera.
1npm install @ionic/pwa-elements @capacitor/cameraCapacitor is a cross-platform native runtime from Ionic that enables web apps to be deployed through the app store and provides access to native device API.
Ionic PWA elements is a companion package that polyfills certain browser APIs that provide no user interface with custom Ionic UI.
With those packages installed, update main.ts to include an additional bootstrapping call for the Ionic PWA Elements.
src/main.ts
1import { enableProdMode } from '@angular/core'2import { platformBrowserDynamic } from '@angular/platform-browser-dynamic'34import { AppModule } from './app/app.module'5import { environment } from './environments/environment'67import { defineCustomElements } from '@ionic/pwa-elements/loader'8defineCustomElements(window)910if (environment.production) {11 enableProdMode()12}13platformBrowserDynamic()14 .bootstrapModule(AppModule)15 .catch((err) => console.log(err))Then create an AvatarComponent with this Ionic CLI command:
1ionic g component avatar --module=/src/app/account/account.module.ts --create-modulesrc/app/avatar/avatar.component.ts
1import { Component, EventEmitter, Input, OnInit, Output } from '@angular/core'2import { DomSanitizer, SafeResourceUrl } from '@angular/platform-browser'3import { SupabaseService } from '../supabase.service'4import { Camera, CameraResultType } from '@capacitor/camera'5import { addIcons } from 'ionicons'6import { person } from 'ionicons/icons'78@Component({9 selector: 'app-avatar',10 standalone: false,11 templateUrl: './avatar.component.html',12 styleUrls: ['./avatar.component.scss'],13})14export class AvatarComponent {15 _avatarUrl: SafeResourceUrl | undefined16 uploading = false1718 @Input()19 set avatarUrl(url: string | undefined) {20 if (url) {21 this.downloadImage(url)22 }23 }2425 @Output() upload = new EventEmitter<string>()2627 constructor(28 private readonly supabase: SupabaseService,29 private readonly dom: DomSanitizer30 ) {31 addIcons({ person })32 }3334 async downloadImage(path: string) {35 try {36 const { data, error } = await this.supabase.downLoadImage(path)37 if (error) {38 throw error39 }40 this._avatarUrl = this.dom.bypassSecurityTrustResourceUrl(URL.createObjectURL(data!))41 } catch (error: any) {42 console.error('Error downloading image: ', error.message)43 }44 }4546 async uploadAvatar() {47 const loader = await this.supabase.createLoader()48 try {49 const photo = await Camera.getPhoto({50 resultType: CameraResultType.DataUrl,51 })5253 const file = await fetch(photo.dataUrl!)54 .then((res) => res.blob())55 .then((blob) => new File([blob], 'my-file', { type: `image/${photo.format}` }))5657 const fileName = `${Math.random()}-${new Date().getTime()}.${photo.format}`5859 await loader.present()60 const { error } = await this.supabase.uploadAvatar(fileName, file)6162 if (error) {63 throw error64 }6566 this.upload.emit(fileName)67 } catch (error: any) {68 this.supabase.createNotice(error.message)69 } finally {70 loader.dismiss()71 }72 }73}src/app/avatar/avatar.component.html
1<div class="avatar_wrapper" (click)="uploadAvatar()">2 <img *ngIf="_avatarUrl; else noAvatar" [src]="_avatarUrl" />3 <ng-template #noAvatar>4 <ion-icon name="person" class="no-avatar"></ion-icon>5 </ng-template>6</div>src/app/avatar/avatar.component.scss
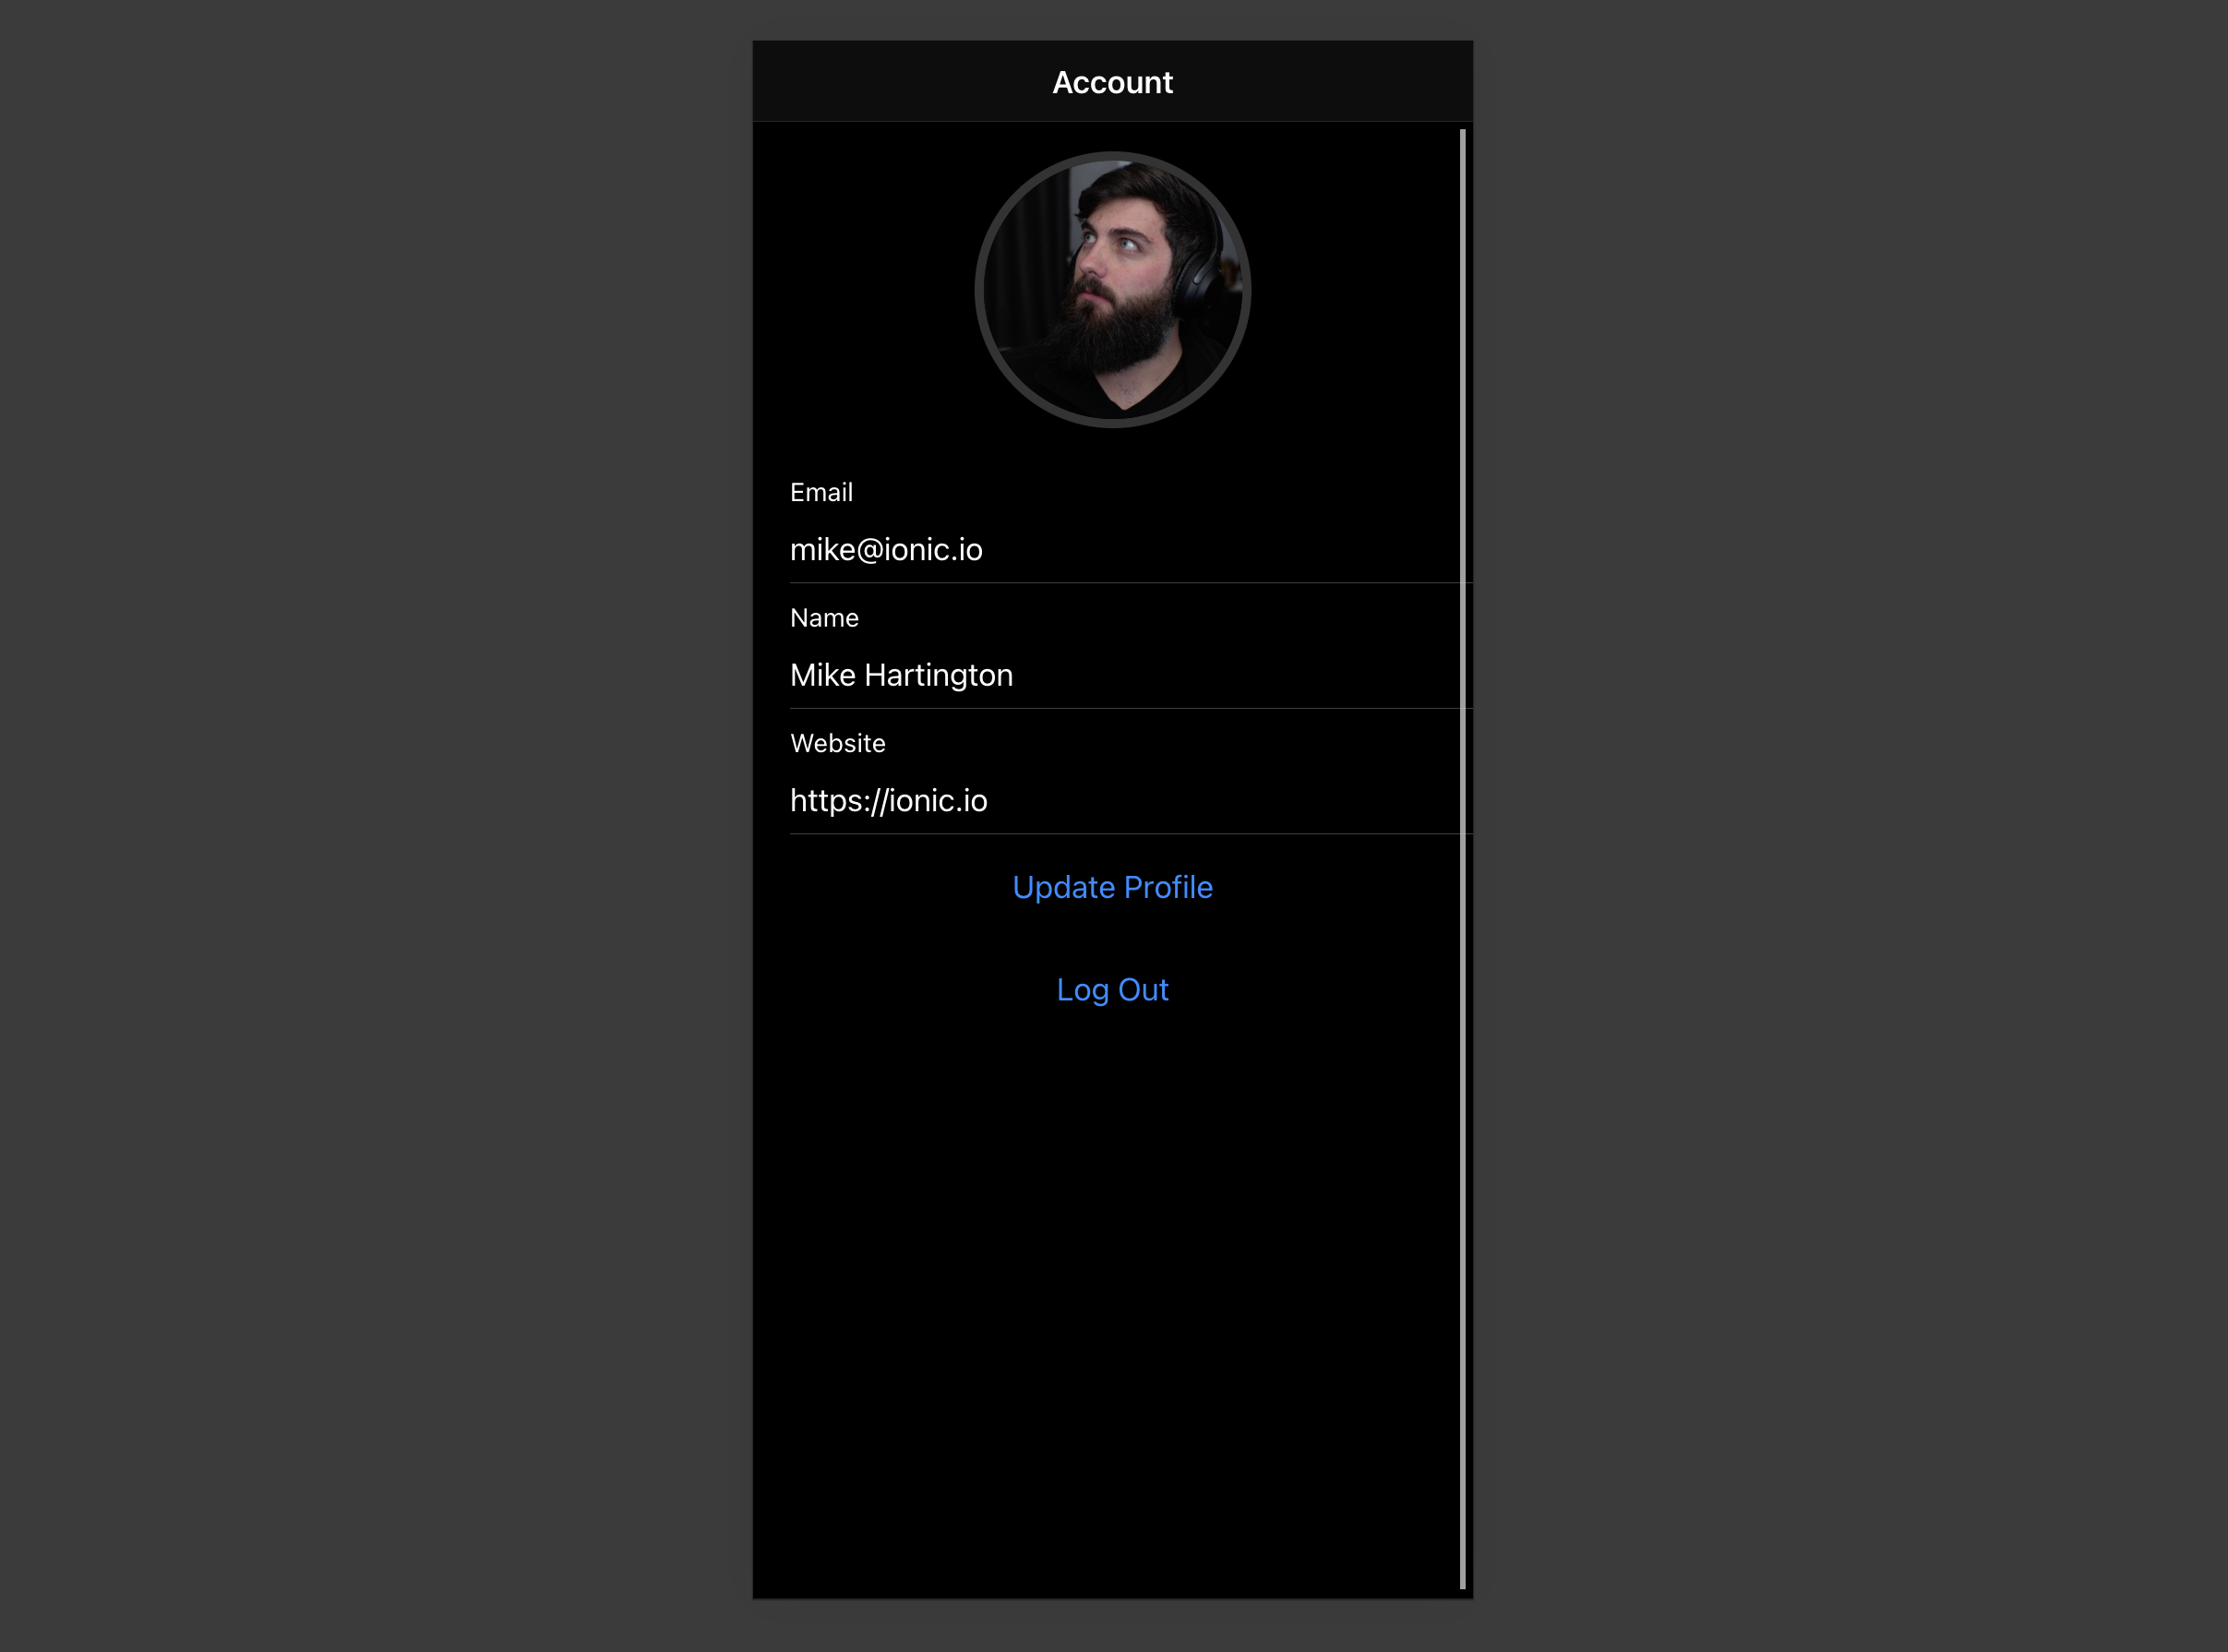
1:host {2 display: block;3 margin: auto;4 min-height: 150px;56 .avatar_wrapper {7 margin: 16px auto 16px;8 border-radius: 50%;9 overflow: hidden;10 height: 150px;11 aspect-ratio: 1/1;12 background: var(--ion-color-step-50);13 border: thick solid var(--ion-color-step-200);14 &:hover {15 cursor: pointer;16 }1718 ion-icon.no-avatar {19 width: 100%;20 height: 115%;21 }22 }2324 img {25 display: block;26 object-fit: cover;27 width: 100%;28 height: 100%;29 }30}Update the account page#
With the Avatar component created, update the account page template to include it:
src/app/account/account.page.html
1<ion-header>2 <ion-toolbar>3 <ion-title>Account</ion-title>4 </ion-toolbar>5</ion-header>67<ion-content>8 <app-avatar9 [avatarUrl]="this.profile?.avatar_url"10 (upload)="updateProfile($event)"11 >12 </app-avatar>13 <form>14 <ion-item>15 <ion-label position="stacked">Email</ion-label>16 <ion-input type="email" name="email" [(ngModel)]="email" readonly></ion-input>17 </ion-item>1819 <ion-item>20 <ion-label position="stacked">Name</ion-label>21 <ion-input22 type="text"23 name="username"24 [(ngModel)]="profile.username"25 ></ion-input>26 </ion-item>2728 <ion-item>29 <ion-label position="stacked">Website</ion-label>30 <ion-input31 type="url"32 name="website"33 [(ngModel)]="profile.website"34 ></ion-input>35 </ion-item>36 <div class="ion-text-center">37 <ion-button fill="clear" (click)="updateProfile()"38 >Update Profile</ion-button39 >40 </div>41 </form>4243 <div class="ion-text-center">44 <ion-button fill="clear" (click)="signOut()">Log Out</ion-button>45 </div>46</ion-content>At this stage, you have a fully functional application!